| If you have been locked out of your account you can request a password reset here. |
Difference between revisions of "Die Hard 2"
| Line 31: | Line 31: | ||
[[Image:BerettaM92FS DH1&LW1.jpg|thumb|300px|none|Beretta 92FS 9x19mm. This is the actual screen used Beretta carried and fired by Bruce Willis in the film]] | [[Image:BerettaM92FS DH1&LW1.jpg|thumb|300px|none|Beretta 92FS 9x19mm. This is the actual screen used Beretta carried and fired by Bruce Willis in the film]] | ||
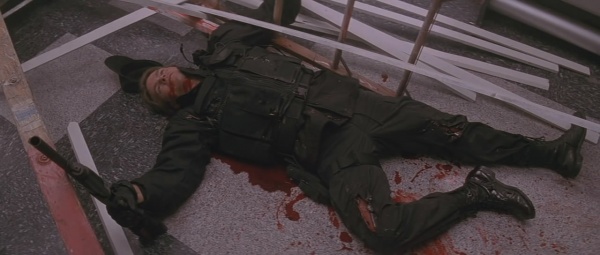
| − | [[Image:DH2-Beretta-3.jpg|thumb|none| | + | [[Image:DH2-Beretta-3.jpg|thumb|none|600px|An empty Beretta 92FS in the hand of a dead SWAT officer after the skywalk shootout.]] |
| − | [[Image:DH2_Beretta2.jpg|thumb|none| | + | [[Image:DH2_Beretta2.jpg|thumb|none|600px|Detective John McClane fires his [[Beretta M92F|Beretta 92FS]] at the skywalk]] |
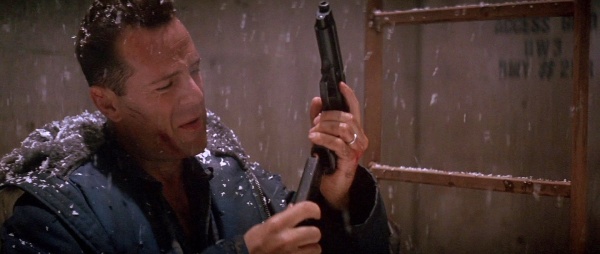
| − | [[Image:DH2_Beretta.jpg|thumb|none| | + | [[Image:DH2_Beretta.jpg|thumb|none|600px|Detective John McClane loads a fresh magazine into his Beretta 92FS]] |
| − | [[Image:DH2_Beretta-4.jpg|thumb|none| | + | [[Image:DH2_Beretta-4.jpg|thumb|none|600px|McClane checks the load on his Beretta 92FS before going to arrest General Esperanzo ([[Franco Nero]])]] |
[[Image:BerettaM92FS.jpg|thumb|300px|none|Beretta 92FS 9x19mm]] | [[Image:BerettaM92FS.jpg|thumb|300px|none|Beretta 92FS 9x19mm]] | ||
| − | [[Image:DH2_Beretta-5.jpg |thumb|none| | + | [[Image:DH2_Beretta-5.jpg |thumb|none|600px|Major Grant fires his Beretta 92FS]] |
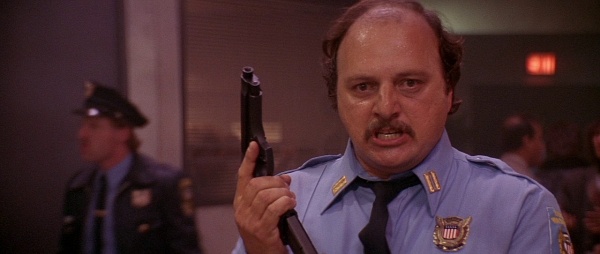
| − | [[Image:DH2-Beretta-6.jpg|thumb|none| | + | [[Image:DH2-Beretta-6.jpg|thumb|none|600px|Chief Lorenzo loads his Beretta 92FS]] |
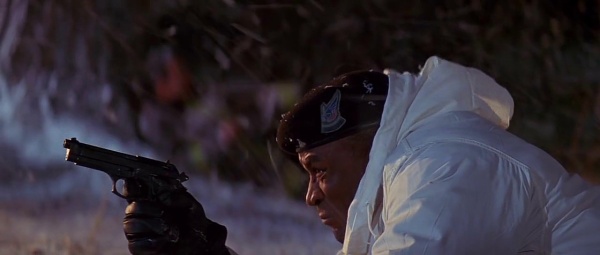
| − | [[Image:DH2-Beretta-7.jpg|thumb|none| | + | [[Image:DH2-Beretta-7.jpg|thumb|none|600px|Major Grant searches for McClane on the wing of the 747 with his Beretta 92FS drawn]] |
== Glock 17 == | == Glock 17 == | ||
| Line 45: | Line 45: | ||
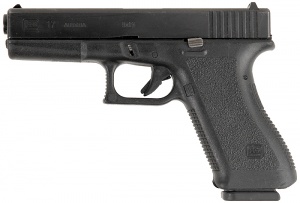
[[Image:Glock17EarlyModel.jpg|thumb|none|300px|A Generation 2 Glock 17 in 9x19mm. This model added finger stepping and cuts to the backstrap of the frame to make it easier to hold than the Generation 1 model.]] | [[Image:Glock17EarlyModel.jpg|thumb|none|300px|A Generation 2 Glock 17 in 9x19mm. This model added finger stepping and cuts to the backstrap of the frame to make it easier to hold than the Generation 1 model.]] | ||
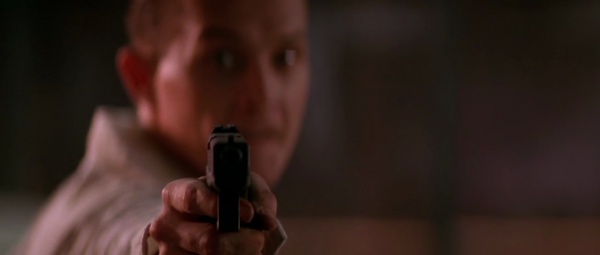
| − | [[Image:DH2_Glock.jpg|thumb|none| | + | [[Image:DH2_Glock.jpg|thumb|none|600px|A terrorist with a Glock 17]] |
| − | [[Image:DH2 Glock-3.jpg|thumb|none| | + | [[Image:DH2 Glock-3.jpg|thumb|none|600px|Colonel Stuart threatens to kill one of his men with a Glock 17, but the gun clicks empty, but Stuart promises him that next time there is a failure the chamber won't be empty]] |
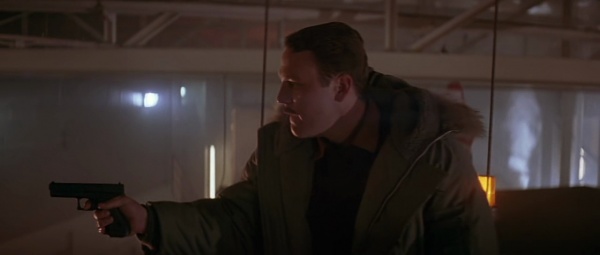
| − | [[Image:DH2_Glock2.jpg|thumb|none| | + | [[Image:DH2_Glock2.jpg|thumb|none|600px|O'Reilly ([[Robert Patrick]]) aiming a Glock 17]] |
| − | [[Image:DH2 Glock-4.jpg|thumb|none| | + | [[Image:DH2 Glock-4.jpg|thumb|none|600px|O'Reilly about to finish off Leslie Barnes ([[Art Evans]]) with a Glock 17 while also holding a Heckler & Koch MP5K before being foiled by McClane]] |
== M1911A1 == | == M1911A1 == | ||
| Line 55: | Line 55: | ||
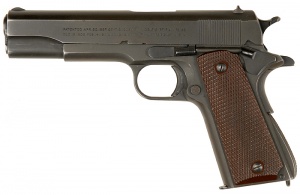
[[Image:M1911Colt.jpg|thumb|300px|none|M1911A1 .45 ACP]] | [[Image:M1911Colt.jpg|thumb|300px|none|M1911A1 .45 ACP]] | ||
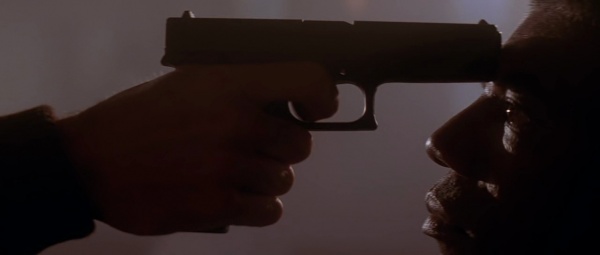
| − | [[Image:DH2_M911A1.jpg|thumb| | + | [[Image:DH2_M911A1.jpg|thumb|600px|none|General Ramon Esperanza holds an M1911A1 to the pilot's head]] |
| − | [[Image:DH2-M1911A1-2.jpg|thumb| | + | [[Image:DH2-M1911A1-2.jpg|thumb|600px|none|Esperanza picks up the snow-covered M1911A1 before leaving the plane]] |
== Heckler & Koch MP5A3 == | == Heckler & Koch MP5A3 == | ||
| Line 63: | Line 63: | ||
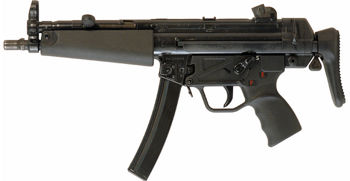
[[Image:MP5A3 StockCollapsed.jpg|thumb|none|350px|Heckler & Koch MP5A3 9x19mm]] | [[Image:MP5A3 StockCollapsed.jpg|thumb|none|350px|Heckler & Koch MP5A3 9x19mm]] | ||
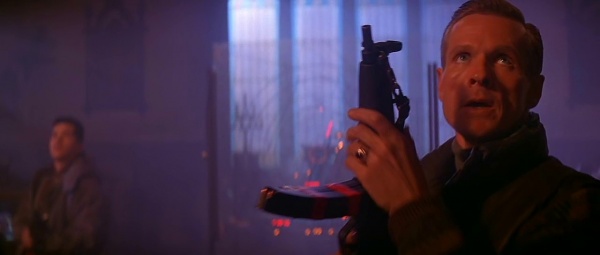
| − | [[Image:DH2_MP5A3.jpg|thumb|none| | + | [[Image:DH2_MP5A3.jpg|thumb|none|600px|Colonel Stuart ([[William Sadler]]) with a Heckler & Koch MP5A3]] |
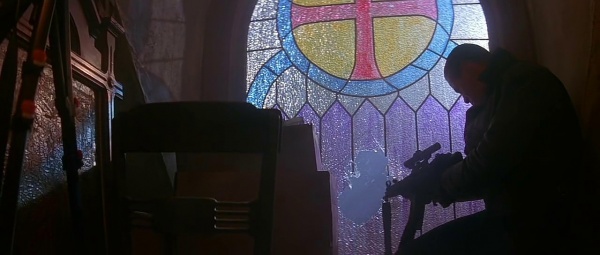
| − | [[Image:DH2-MP5-4.jpg|thumb|none| | + | [[Image:DH2-MP5-4.jpg|thumb|none|600px|A terrorist fires a Heckler & Koch MP5A3 out of the church window]] |
| − | [[Image:DH2-MP5-5.jpg|thumb|none| | + | [[Image:DH2-MP5-5.jpg|thumb|none|600px|Closeup of Stuart's Heckler & Koch MP5A3 after swapping his blanks with live rounds]] |
| − | [[Image:DH2-MP5-6.jpg|thumb|none| | + | [[Image:DH2-MP5-6.jpg|thumb|none|600px|A closeup of McClane's Heckler & Koch MP5A3 when he fires blanks at Chief Lorenzo]] |
| − | [[Image:DH2_MP5A3_2.jpg|thumb|none| | + | [[Image:DH2_MP5A3_2.jpg|thumb|none|600px|John McClane with a Heckler & Koch MP5A3 after firing several blanks at Captain Carmine Lorenzo]] |
| − | [[Image:DH2 MP5-7.jpg|thumb|none| | + | [[Image:DH2 MP5-7.jpg|thumb|none|600px|Stuart observes the fight between Major Grant and John McClane on the plane's wing with his Heckler & Koch MP5A3]] |
:''Trivia: One cannot switch between blanks rounds and live rounds in an Heckler & Koch MP5A3/MP5K or an M16A1. All firearms that 'autoload', i.e. are either semiautomatic or fully automatic, must be blank adapted in order to cycle. This does not apply to revolvers or other manually operated firearms like pump shotguns or lever/bolt action rifles. If a gun, like an MP5 has been firing blanks, one cannot just switch magazines and start firing live rounds. The blank adapter (which restricts the barrel down to anywhere from 50% to 75% of the original barrel interior) would have to be removed or else the first live round would blow up the firearm.'' | :''Trivia: One cannot switch between blanks rounds and live rounds in an Heckler & Koch MP5A3/MP5K or an M16A1. All firearms that 'autoload', i.e. are either semiautomatic or fully automatic, must be blank adapted in order to cycle. This does not apply to revolvers or other manually operated firearms like pump shotguns or lever/bolt action rifles. If a gun, like an MP5 has been firing blanks, one cannot just switch magazines and start firing live rounds. The blank adapter (which restricts the barrel down to anywhere from 50% to 75% of the original barrel interior) would have to be removed or else the first live round would blow up the firearm.'' | ||
| Line 77: | Line 77: | ||
[[Image:MP5K-SEF.jpg|thumb|none|300px|Heckler & Koch MP5K 9x19mm]] | [[Image:MP5K-SEF.jpg|thumb|none|300px|Heckler & Koch MP5K 9x19mm]] | ||
| − | [[Image:DH2 Glock-4.jpg|thumb|none| | + | [[Image:DH2 Glock-4.jpg|thumb|none|600px|O'Reilly about to finish off Leslie Barnes ([[Art Evans]]) with a Glock 17 while also holding an Heckler & Koch MP5K before being foiled by McClane]] |
| − | [[Image:DH2_MP5K.jpg|thumb|none| | + | [[Image:DH2_MP5K.jpg|thumb|none|600px|A terrorist with a Heckler & Koch MP5K]] |
| − | [[Image:DH2 MP5K-2.jpg|thumb|none| | + | [[Image:DH2 MP5K-2.jpg|thumb|none|600px|Burke ([[John Leguizamo]]) with an Heckler & Koch MP5K]] |
| − | [[Image:DH2-MP5-8.jpg|thumb|none| | + | [[Image:DH2-MP5-8.jpg|thumb|none|600px|A terrorist fires a Heckler & Koch MP5K during the skywalk fight]] |
| − | [[Image:DH2-MP5-9.jpg|thumb|none| | + | [[Image:DH2-MP5-9.jpg|thumb|none|600px|The same terrorist fires a Heckler & Koch MP5K at McClane]] |
| − | [[Image:DH2-MP5-10.jpg|thumb|none| | + | [[Image:DH2-MP5-10.jpg|thumb|none|600px|Another terrorist racks the cocking handle on his Heckler & Koch MP5K]] |
| − | [[Image:DH2-MP5-11.jpg|thumb|none| | + | [[Image:DH2-MP5-11.jpg|thumb|none|600px|A terrorist takes cover with his Heckler & Koch MP5K]] |
== M26 Hand Grenade == | == M26 Hand Grenade == | ||
| Line 92: | Line 92: | ||
[[Image:200px-M-67handgrenade.jpg|thumb|none|150px|M26 High-Explosive Fragmentation hand grenade]] | [[Image:200px-M-67handgrenade.jpg|thumb|none|150px|M26 High-Explosive Fragmentation hand grenade]] | ||
| − | [[Image:DH2_M26.jpg|thumb|none| | + | [[Image:DH2_M26.jpg|thumb|none|600px|Several M26 hand grenades land near John McClane in the cockpit]] |
== M16A1 == | == M16A1 == | ||
| Line 99: | Line 99: | ||
[[Image:M16A1w30rdMag.jpg|thumb|none|350px|M16A1 with 30-round magazine 5.56x45mm]] | [[Image:M16A1w30rdMag.jpg|thumb|none|350px|M16A1 with 30-round magazine 5.56x45mm]] | ||
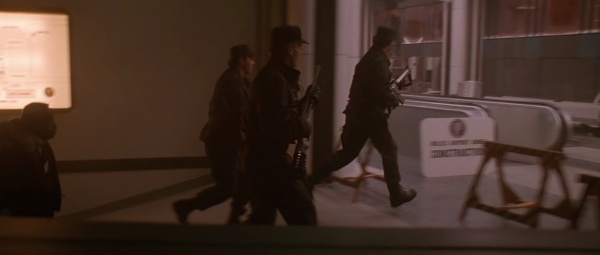
| − | [[Image:DH2_M16.jpg|thumb|none| | + | [[Image:DH2_M16.jpg|thumb|none|600px|An airport SWAT member with an M16A1]] |
| − | [[Image:DH2_M16_2.jpg|thumb|none| | + | [[Image:DH2_M16_2.jpg|thumb|none|600px|The same airport SWAT member firing an M16A1]] |
[[Image:M16A1wA2Handguards.jpg|thumb|none|350px|M16A1 with A2-style handguards 5.56x45mm]] | [[Image:M16A1wA2Handguards.jpg|thumb|none|350px|M16A1 with A2-style handguards 5.56x45mm]] | ||
| − | [[Image:DH2-M16-3.jpg|thumb|none| | + | [[Image:DH2-M16-3.jpg|thumb|none|600px|The soldier behind Major Grant has an M16A1 with A2 style handguards]] |
== Browning M2HB Heavy Machine Gun == | == Browning M2HB Heavy Machine Gun == | ||
| Line 109: | Line 109: | ||
[[Image:BrowningM2.jpg|thumb|none|300px|Browning M2HB .50 BMG]] | [[Image:BrowningM2.jpg|thumb|none|300px|Browning M2HB .50 BMG]] | ||
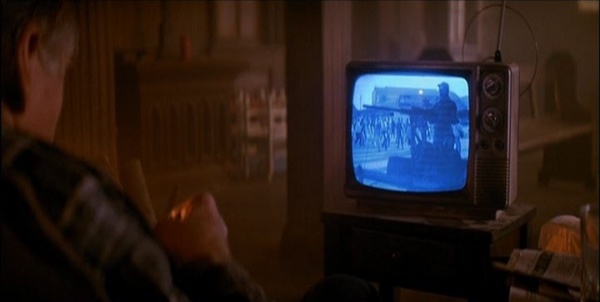
| − | [[Image:DH2-Browning M2.jpg|thumb|none| | + | [[Image:DH2-Browning M2.jpg|thumb|none|600px|The owner of the church watches a broadcast of Esperanza's trial in which a Browning M2HB is seen.]] |
== Smith & Wesson Model 19 == | == Smith & Wesson Model 19 == | ||
| Line 116: | Line 116: | ||
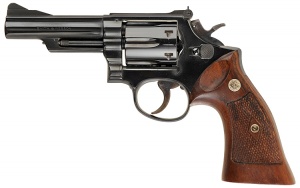
[[Image:Smith&Wesson-Model-19.jpg|thumb|none|300px|Smith & Wesson Model 19 .357 Magnum]] | [[Image:Smith&Wesson-Model-19.jpg|thumb|none|300px|Smith & Wesson Model 19 .357 Magnum]] | ||
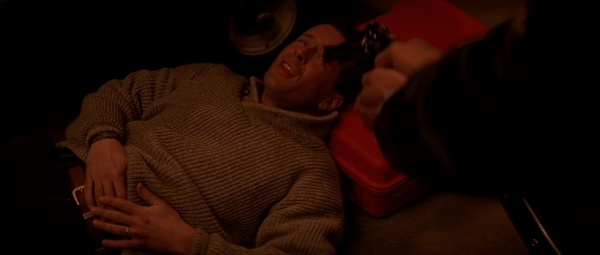
| − | [[Image:DH2-Revolver.jpg|thumb|none| | + | [[Image:DH2-Revolver.jpg|thumb|none|600px|An airport policer officer pulls an unknown revolver on McClane early in the film]] |
== Remington 870 == | == Remington 870 == | ||
| Line 123: | Line 123: | ||
[[Image:Remington870PoliceStd.jpg|thumb|none|350px|Remington 870 Police Magnum Riot Shotgun 12 gauge]] | [[Image:Remington870PoliceStd.jpg|thumb|none|350px|Remington 870 Police Magnum Riot Shotgun 12 gauge]] | ||
| − | [[Image:DH2-Shotgun.jpg|thumb|none| | + | [[Image:DH2-Shotgun.jpg|thumb|none|600px|An airport SWAT officer armed with a Remington 870 fitted with shell holders]] |
| − | [[Image:DH2_Shotgun-2.jpg|thumb|none| | + | [[Image:DH2_Shotgun-2.jpg|thumb|none|600px|The same SWAT officer lays dead with the 870 shotgun at his side]] |
==See Also== | ==See Also== | ||
Revision as of 03:10, 16 August 2009
The following weapons were used in the film Die Hard 2:
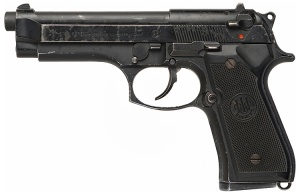
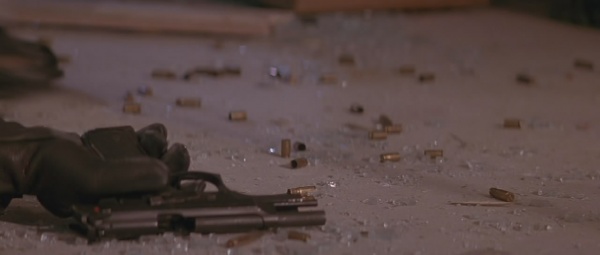
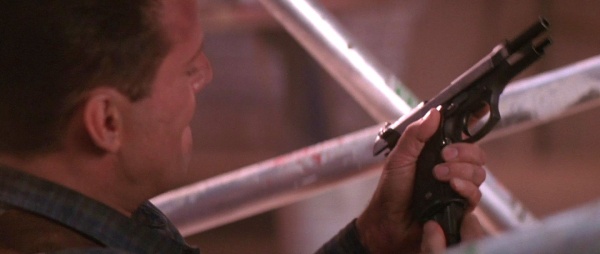
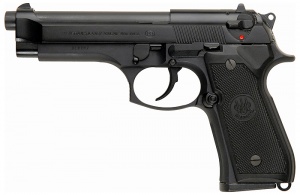
Beretta 92FS
Once again John McClane's (Bruce Willis) weapon of choice is the Beretta 92FS. The Airport Police, along with Police Chief Lorenzo (Dennis Franz) carry 92FS Pistols as well. Major Grant (John Amos) carries one as well, along with the rest of the army team.

Glock 17
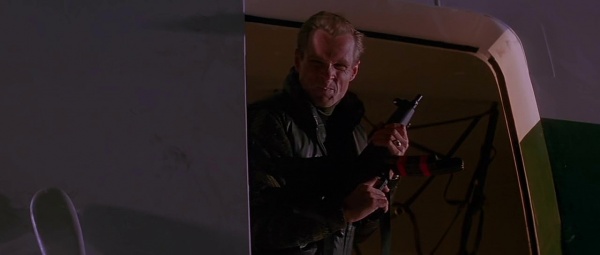
Although it is ID'ed as a "Glock 7", there is no such model, it is actually a Glock 17. These are the sidearms of the Terrorists. Another misconception is that the weapon is undetectable to the X-Ray machines at the airport, while in reality, Glock never produced such a handgun. In fact, 83.7% (by weight) of the Glock pistol is normal ordnance steel and the "plastic" parts are a dense polymer known as "Polymer 2", which is radio-opaque and is therefore visible to X-ray security equipment. In addition, virtually all of these "plastic" parts contain embedded steel not to make the firearms "detectable", but to increase functionality and shooting accuracy. Contrary to popular movies like Die Hard 2, neither Glock nor any other gun maker has ever produced a "porcelain", "ceramic" or "plastic" firearm which is undetectable by ordinary security screening devices. Even if a pistol were completely undetectable by either X-ray machines or metal detectors were to be developed, the ammunition inside would still be detectable.

M1911A1
Corrupt general Ramon Esperanzo (Franco Nero) steals an M1911A1 off one of the crewmembers on the military aircraft that's transporting him for trial in the U.S., and he also uses it to kill the plane's two pilots up to his confrontation with Detective John McClane.
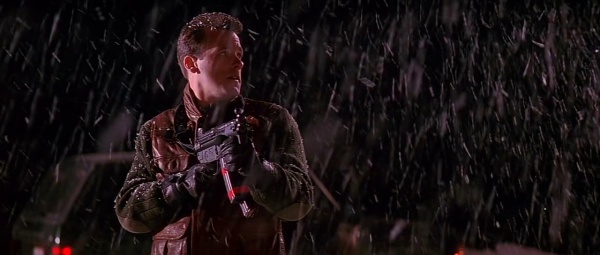
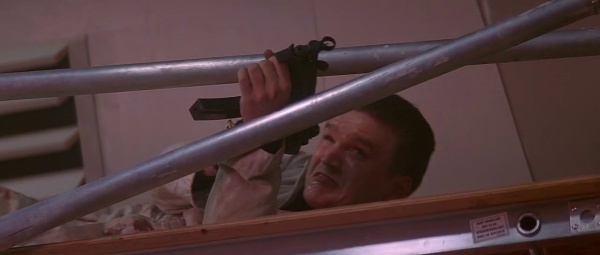
Heckler & Koch MP5A3
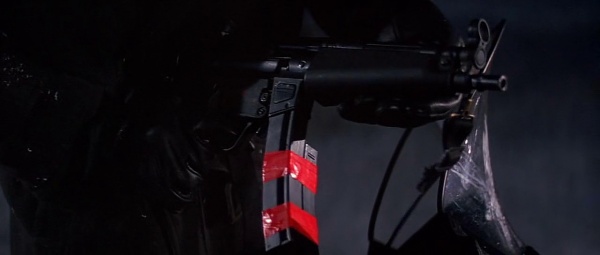
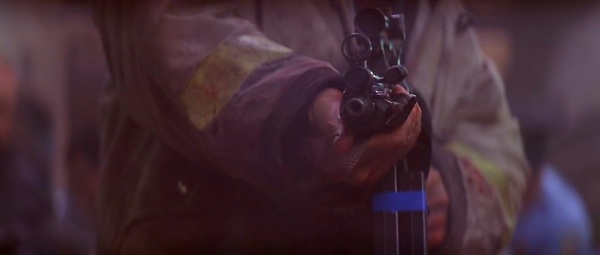
Some of the terrorists are supposed to be armed with Heckler & Koch MP5A3 submachine guns, mostly fitted with scopes and two magazines taped together 'jungle style'. John McClane also commandeers one of these machine guns while it's full of blanks, and later uses it to fire several blanks at Captain Carmine Lorenzo to prove the firefight between the terrorists and the Army Team was a set up. Unlike the chopped and converted Heckler & Koch HK94 carbines used to play MP5s in Die Hard, the MP5A3s used in Die Hard 2 were genuine MP5A3 submachine guns with the lugged barrels and paddle magazine release catch being dead giveaways that the firearms were real MP5s and not "chopped and converted" HK94s.
- Trivia: One cannot switch between blanks rounds and live rounds in an Heckler & Koch MP5A3/MP5K or an M16A1. All firearms that 'autoload', i.e. are either semiautomatic or fully automatic, must be blank adapted in order to cycle. This does not apply to revolvers or other manually operated firearms like pump shotguns or lever/bolt action rifles. If a gun, like an MP5 has been firing blanks, one cannot just switch magazines and start firing live rounds. The blank adapter (which restricts the barrel down to anywhere from 50% to 75% of the original barrel interior) would have to be removed or else the first live round would blow up the firearm.
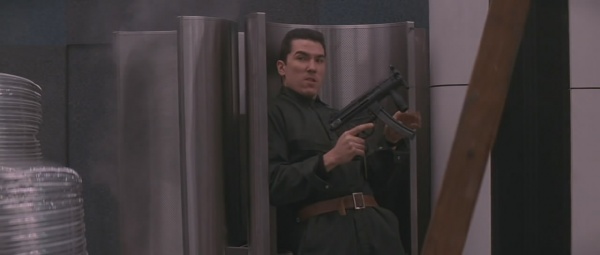
Heckler & Koch MP5K
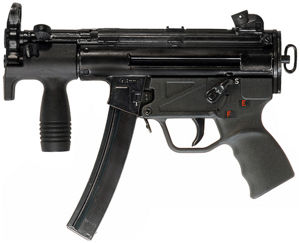
Another common weapon used by the terrorists is the Heckler & Koch MP5K submachine gun. Many of them have two mags taped together 'jungle style' with blank & live ammo, just like the MP5A3's.


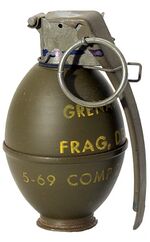
M26 Hand Grenade
In attempt to kill John McClane after securing General Ramon Esperanza, Colonel Stuart (William Sadler) and his men throw M26 hand grenades into the cockpit of the plane McClane is in, but luckily for McClane, he manages to escape the cockpit using the pilot's ejector seat before the grenades detonate. The grenades seen in the film (especially in close up) are obviously dummy training grenades meant to represent the M26 style grenade. They are obviously 'rough' cast iron and have no MFG markings. In typical Hollywood fashion the hand grenades create explosions far in excess of their power (mockingly called nuclear hand grenades by some prop masters). Also noteworthy, the M26, at maximum, has a seven second fuse delay, and it takes over half a minute for McClane to eject himself from the time the first grenade enters the cockpit.
And by the way a C-130 Cargo Plane does not have an ejection seat.
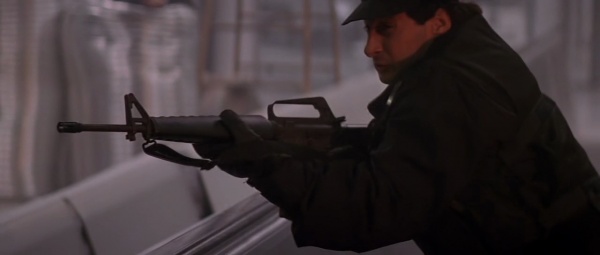
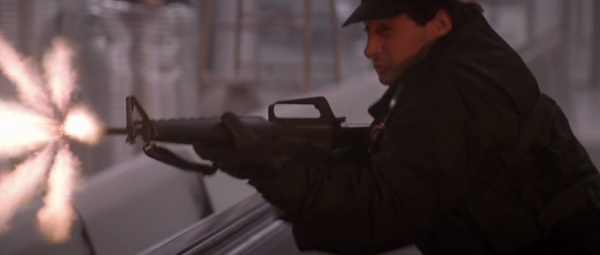
M16A1
The rifle used by the airport SWAT Team and the Army Team is the M16A1. Some of the M16A1s used by the Army Team also appear to have M16A2-style handguards.
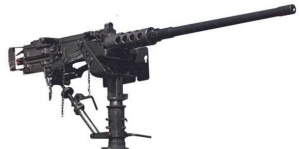
Browning M2HB Heavy Machine Gun
At the beginning of the movie, a Browning M2HB heavy machine gun can be seen during the news broadcast of Esperanza's trial.
Smith & Wesson Model 19
Several airport police officers throughout the film carry Smith & Wesson Model 19 revolvers as their sidearms.
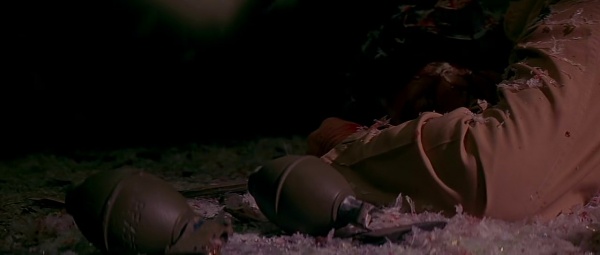
Remington 870
Just before the Skywalk shootout, one of the SWAT officers can be seen carrying a Remington 870 shotgun with shell holders on the side. While the ejection port, which usually helps I.D. shotguns is not visible, the shotgun clearly has an 870 style mag tube cap.
