| If you have been locked out of your account you can request a password reset here. |
Difference between revisions of "User:Pyramid Silent/Sandbox 2"
| Line 1: | Line 1: | ||
{{Infobox Movie | {{Infobox Movie | ||
|name = Momotaro: Sacred Sailors<br> 桃太郎 海の神兵<br> (Momotarō: Umi no Shinpei) | |name = Momotaro: Sacred Sailors<br> 桃太郎 海の神兵<br> (Momotarō: Umi no Shinpei) | ||
| − | |picture = | + | |picture = Momotarou Umi no Shinpei poster.jpg |
|caption = ''Modern poster'' | |caption = ''Modern poster'' | ||
|country = [[Image:JAP.jpg|25px]] Empire of Japan | |country = [[Image:JAP.jpg|25px]] Empire of Japan | ||
| Line 23: | Line 23: | ||
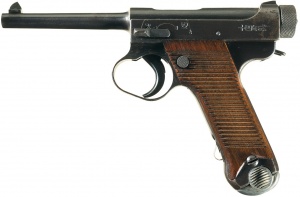
Captain Momotaro uses [[Nambu Type 14]] at the second part of the movie. | Captain Momotaro uses [[Nambu Type 14]] at the second part of the movie. | ||
[[File:Late Nambu Type 14.jpg|thumb|300px|none|Late Nambu Type 14 - 8x22mm Nambu]] | [[File:Late Nambu Type 14.jpg|thumb|300px|none|Late Nambu Type 14 - 8x22mm Nambu]] | ||
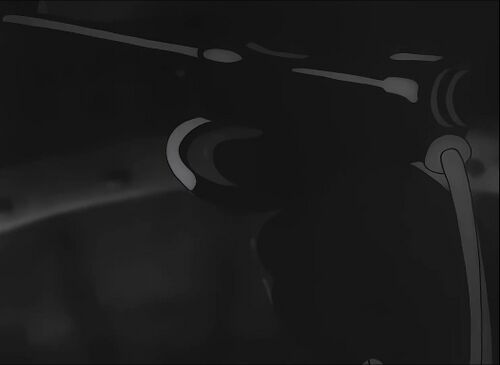
| + | [[Image:Momotarou Umi no Shinpei pistol 1.jpg|thumb|500px|none|Captain grabs his pistol...]] | ||
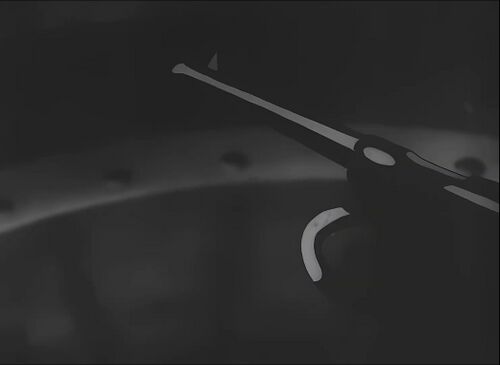
| + | [[Image:Momotarou Umi no Shinpei pistol 2.jpg|thumb|500px|none|...and prepares to holsters it.]] | ||
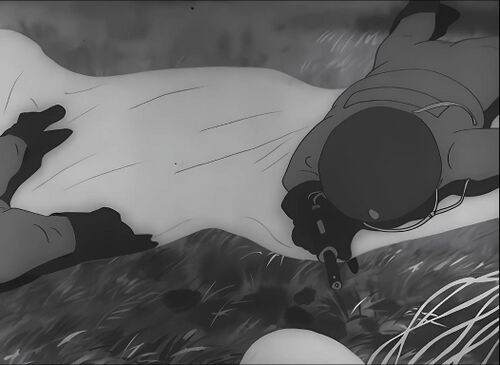
| + | [[Image:Momotarou Umi no Shinpei pistol 3.jpg|thumb|500px|none|Captain holds his pistol during the battle.]] | ||
=Submachine Guns= | =Submachine Guns= | ||
| Line 28: | Line 31: | ||
A [[Lanchester Mk. I]] is seen surrounded by British soldier. | A [[Lanchester Mk. I]] is seen surrounded by British soldier. | ||
[[File:Lanchester early model.jpg|thumb|none|400px|Lanchester Mk. I - 9x19mm. This gun has a fire selector removed.]] | [[File:Lanchester early model.jpg|thumb|none|400px|Lanchester Mk. I - 9x19mm. This gun has a fire selector removed.]] | ||
| + | [[Image:Momotarou Umi no Shinpei weapons 2 1.jpg|thumb|500px|none|The SMG is seen on the bottom.]] | ||
=Rifles= | =Rifles= | ||
| Line 34: | Line 38: | ||
[[Image:Arisakat38.jpg|thumb|400px|none|Arisaka Type 38 rifle - 6.5x50mmSR Arisaka]] | [[Image:Arisakat38.jpg|thumb|400px|none|Arisaka Type 38 rifle - 6.5x50mmSR Arisaka]] | ||
[[Image:Arisaka Type38.jpg|thumb|400px|none|Arisaka Type 38 Carbine - 6.5x50mmSR Arisaka]] | [[Image:Arisaka Type38.jpg|thumb|400px|none|Arisaka Type 38 Carbine - 6.5x50mmSR Arisaka]] | ||
| + | [[Image:Momotarou Umi no Shinpei weapons 1 1.jpg|thumb|500px|none|Numerous rifles is seen at the background.]] | ||
| + | [[Image:Momotarou Umi no Shinpei rifle 1 1.jpg|thumb|500px|none|Japanese soldiers assemble their rifles.]] | ||
| + | [[Image:Momotarou Umi no Shinpei rifle 1 2.jpg|thumb|500px|none|A slightly other view of the same scene.]] | ||
| + | [[Image:Momotarou Umi no Shinpei rifle 1 3.jpg|thumb|500px|none|Japanese soldier guards the airfield.]] | ||
| + | [[Image:Momotarou Umi no Shinpei rifle 1 4.jpg|thumb|500px|none|A close view of the bayonet of his rifle.]] | ||
| + | [[Image:Momotarou Umi no Shinpei weapons 1 3.jpg|thumb|500px|none|Numerous rifles is seen in the box (bottom, right).]] | ||
| + | [[Image:Momotarou Umi no Shinpei rifle 1 5.jpg|thumb|500px|none|Japanese soldier hols his rifle during the battle.]] | ||
| + | [[Image:Momotarou Umi no Shinpei machine gun 5 2.jpg|thumb|500px|none|Japanese soldier (at the left) aims his rifle.]] | ||
| + | [[Image:Momotarou Umi no Shinpei rifle 1 6.jpg|thumb|500px|none|Japanese soldier runs, rifle in hands.]] | ||
| + | [[Image:Momotarou Umi no Shinpei rifle 1 7.jpg|thumb|500px|none|The same soldier bayonets injured British tank crewman.]] | ||
| + | [[Image:Momotarou Umi no Shinpei rifle 1 8.jpg|thumb|500px|none|Japanese soldier runs during the battle.]] | ||
| + | [[Image:Momotarou Umi no Shinpei rifle 1 9.jpg|thumb|500px|none|Japanese soldier threatens surrounded British soldiers by the rifle.]] | ||
==Matchlock Musket== | ==Matchlock Musket== | ||
Dutch East India Company mercenaries use [[matchlock musket]]s | Dutch East India Company mercenaries use [[matchlock musket]]s | ||
[[File:Modern Matchlock reproduction.jpg|thumb|none|400px|17th century Swedish style matchlock musket reproduction.]] | [[File:Modern Matchlock reproduction.jpg|thumb|none|400px|17th century Swedish style matchlock musket reproduction.]] | ||
| + | [[Image:Momotarou Umi no Shinpei musket 1.jpg|thumb|500px|none|Numerous muskets is seen in the gun rack. The serpents for the matches is seen.]] | ||
| + | [[Image:Momotarou Umi no Shinpei musket 2.jpg|thumb|500px|none|Mercenary grabs the musket.]] | ||
| + | |||
==Unknown Rifle== | ==Unknown Rifle== | ||
| − | An unknown rifles can be briefly seen in the hands of British soldier. Another | + | An unknown rifles can be briefly seen in the hands of British soldier. Another rifles is seen surrounded by British soldiers. |
| + | [[Image:Momotarou Umi no Shinpei rifle 2 1.jpg|thumb|500px|none|British soldiers tries to escape, rifle in hands.]] | ||
| + | [[Image:Momotarou Umi no Shinpei rifle 2 2.jpg|thumb|500px|none|The rifle is seen on the ground (pointed by the red arrow).]] | ||
| + | [[Image:Momotarou Umi no Shinpei weapons 2 1.jpg|thumb|500px|none|The bayonet attached rifle is partly seen at the left.]] | ||
=Machine Guns= | =Machine Guns= | ||
| − | |||
==Type 3 heavy machine gun== | ==Type 3 heavy machine gun== | ||
Imperial Japanese army soldiers use [[Type 3 heavy machine gun]]s. | Imperial Japanese army soldiers use [[Type 3 heavy machine gun]]s. | ||
[[Image:Type 3 Taisho 14 heavy machine gun.jpg|thumb|none|300px|Type 3 Heavy Machine Gun with tripod - 6.5x50mm SR]] | [[Image:Type 3 Taisho 14 heavy machine gun.jpg|thumb|none|300px|Type 3 Heavy Machine Gun with tripod - 6.5x50mm SR]] | ||
| + | [[Image:Momotarou Umi no Shinpei weapons 1 1.jpg|thumb|500px|none|The machine gun is seen at the background, right.]] | ||
| + | [[Image:Momotarou Umi no Shinpei machine gun 2 1.jpg|thumb|500px|none|The muzzle of machine gun is seen at the bottom, right. Japanese soldiers assemble Arisaka rifles at the background.]] | ||
| + | [[Image:Momotarou Umi no Shinpei machine gun 2 2.jpg|thumb|500px|none|Japanese soldiers cleans the machine gun.]] | ||
| + | [[Image:Momotarou Umi no Shinpei machine gun 2 3.jpg|thumb|500px|none|Another view of the same scene.]] | ||
| + | [[Image:Momotarou Umi no Shinpei machine gun 2 4.jpg|thumb|500px|none|A perfect view of the machine gun.]] | ||
| + | [[Image:Momotarou Umi no Shinpei machine gun 2 5.jpg|thumb|500px|none|The disassembled machine gun is seen in the box.]] | ||
| + | [[Image:Momotarou Umi no Shinpei weapons 1 3.jpg|thumb|500px|none|The low-qulity drawn machine gun is seen at the background, right.]] | ||
| + | [[Image:Momotarou Umi no Shinpei machine gun 2 6.jpg|thumb|500px|none|Japanese soldier fires the machine gun.]] | ||
==Type 92== | ==Type 92== | ||
A [[Type 92]] is seen operated by Imperial Japanese army soldier. | A [[Type 92]] is seen operated by Imperial Japanese army soldier. | ||
[[File:Type 92 IJN.JPG|thumb|none|400px|Type 92 with 97-round magazine - 7.7x56mmR]] | [[File:Type 92 IJN.JPG|thumb|none|400px|Type 92 with 97-round magazine - 7.7x56mmR]] | ||
| + | [[Image:Momotarou Umi no Shinpei machine gun 4 1.jpg|thumb|500px|none|A good view of aircraft mounted machine gun.]] | ||
==Type 99 Light Machine Gun== | ==Type 99 Light Machine Gun== | ||
A [[Type 99 Light Machine Gun]] was used by Imperial Japanese army soldiers. | A [[Type 99 Light Machine Gun]] was used by Imperial Japanese army soldiers. | ||
[[File:Type 99 LMG.jpg|thumb|none|400px|Type 99 light machine gun with bipod folded - 7.7x58mm Arisaka]] | [[File:Type 99 LMG.jpg|thumb|none|400px|Type 99 light machine gun with bipod folded - 7.7x58mm Arisaka]] | ||
| + | [[Image:Momotarou Umi no Shinpei machine gun 5 1.jpg|thumb|500px|none|The machine gun is seen at the background (pointed by the red arrow).]] | ||
| + | [[Image:Momotarou Umi no Shinpei machine gun 5 2.jpg|thumb|500px|none|Japanese soldier aims his machine gun.]] | ||
==Vickers Mk. I== | ==Vickers Mk. I== | ||
| − | British soldiers use [[Vickers Mk. I]] during the | + | British soldiers use [[Vickers Mk. I]] during the battle. |
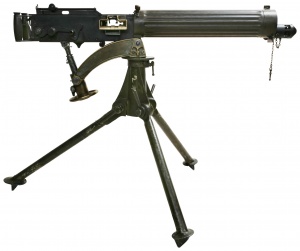
[[Image:Vickers gun.JPG|thumb|none|300px|Vickers Mk. I with ribbed water jacket - .303 British]] | [[Image:Vickers gun.JPG|thumb|none|300px|Vickers Mk. I with ribbed water jacket - .303 British]] | ||
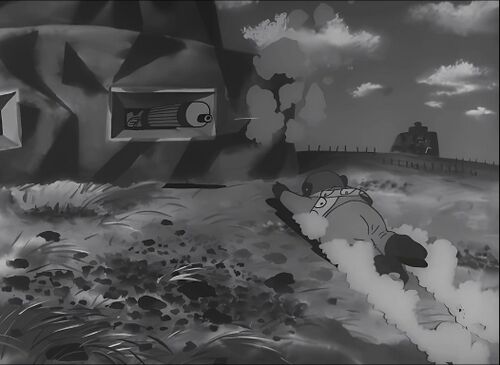
| + | [[Image:Momotarou Umi no Shinpei machine gun 6 1.jpg|thumb|500px|none|British soldiers fire the machine gun during the siege of the fort.]] | ||
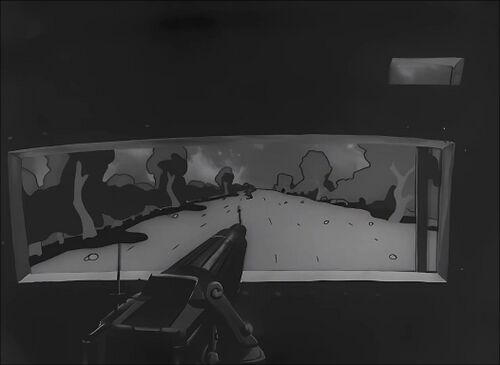
| + | [[Image:Momotarou Umi no Shinpei machine gun 6 2.jpg|thumb|500px|none|The tank gunner aims the machine gun.]] | ||
| + | [[Image:Momotarou Umi no Shinpei tank 3.jpg|thumb|500px|none|The guns of destroyed British tanks is seen.]] | ||
| + | [[Image:Momotarou Umi no Shinpei weapons 2 2.jpg|thumb|500px|none|The gun is partly seen at the right.]] | ||
| + | [[Image:Momotarou Umi no Shinpei weapons 2 4.jpg|thumb|500px|none|The guns at the right.]] | ||
| + | [[Image:Momotarou Umi no Shinpei weapons 2 5.jpg|thumb|500px|none|A ditto.]] | ||
| + | [[Image:Momotarou Umi no Shinpei weapons 2 7.jpg|thumb|500px|none|The guns is seen at the left.]] | ||
==Maxim M1910== | ==Maxim M1910== | ||
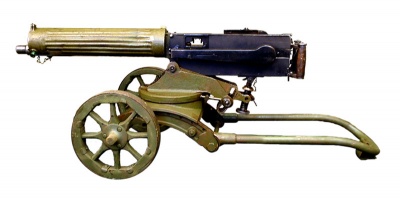
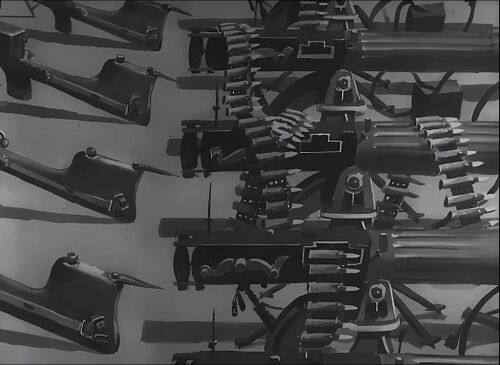
Numerous [[Maxim M1910]]s were surrounded by British army. | Numerous [[Maxim M1910]]s were surrounded by British army. | ||
[[Image:Maxim1910.jpg|thumb|none|400px|Maxim M1910 with 'Sokolov' wheel mount, w/o shield - 7.62x54mmR]] | [[Image:Maxim1910.jpg|thumb|none|400px|Maxim M1910 with 'Sokolov' wheel mount, w/o shield - 7.62x54mmR]] | ||
| + | [[Image:Momotarou Umi no Shinpei weapons 2 1.jpg|thumb|500px|none|The machine gun is partly seen at the right.]] | ||
| + | [[Image:Momotarou Umi no Shinpei weapons 2 3.jpg|thumb|500px|none|Three guns at the right.]] | ||
| + | [[Image:Momotarou Umi no Shinpei weapons 2 4.jpg|thumb|500px|none|All guns at the center.]] | ||
| + | [[Image:Momotarou Umi no Shinpei weapons 2 5.jpg|thumb|500px|none|A ditto.]] | ||
| + | |||
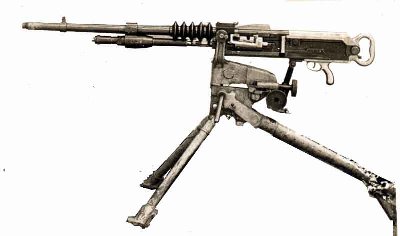
==Hotchkiss M1914== | ==Hotchkiss M1914== | ||
Numerous [[Hotchkiss M1914]]s can be seen among weapons, which were srrounded by British soldiers. | Numerous [[Hotchkiss M1914]]s can be seen among weapons, which were srrounded by British soldiers. | ||
[[File:HotchkissM1914Mk1.jpg|thumb|none|400px|British Hotchkiss M1914 Mk 1 - .303]] | [[File:HotchkissM1914Mk1.jpg|thumb|none|400px|British Hotchkiss M1914 Mk 1 - .303]] | ||
| + | [[Image:Momotarou Umi no Shinpei weapons 2 4.jpg|thumb|500px|none|Five guns at the top, left.]] | ||
| + | [[Image:Momotarou Umi no Shinpei weapons 2 5.jpg|thumb|500px|none|A ditto.]] | ||
| + | [[Image:Momotarou Umi no Shinpei weapons 2 7.jpg|thumb|500px|none|The guns is seen at the center.]] | ||
==Hotchkiss M1909== | ==Hotchkiss M1909== | ||
| − | Several [[Hotchkiss M1909]]s can be seen among weapons, which were | + | Several [[Hotchkiss M1909]]s can be seen among weapons, which were surrounded by British soldiers. |
[[File:Hotchkiss1909.jpg|thumb|none|400px|Hotchkiss M1909 - 8x50mm R]] | [[File:Hotchkiss1909.jpg|thumb|none|400px|Hotchkiss M1909 - 8x50mm R]] | ||
| + | [[Image:Momotarou Umi no Shinpei weapons 2 1.jpg|thumb|500px|none|The machine gun is partly seen at the top.]] | ||
| + | [[Image:Momotarou Umi no Shinpei weapons 2 3.jpg|thumb|500px|none|Four guns at the left.]] | ||
| + | [[Image:Momotarou Umi no Shinpei weapons 2 4.jpg|thumb|500px|none|A ditto.]] | ||
| + | [[Image:Momotarou Umi no Shinpei weapons 2 5.jpg|thumb|500px|none|A ditto.]] | ||
==Gatling Gun== | ==Gatling Gun== | ||
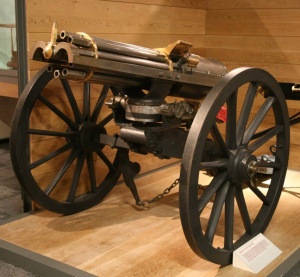
A [[Gatling Gun]]s is seen among weapons, which were surrounded by British soldiers. | A [[Gatling Gun]]s is seen among weapons, which were surrounded by British soldiers. | ||
[[Image:Gatling_gun_1865.jpg|thumb|none|300px|British M1865 Gatling Gun at the Royal Artillery Museum with hopper feed - .58 Rimfire/.50-70 Government]] | [[Image:Gatling_gun_1865.jpg|thumb|none|300px|British M1865 Gatling Gun at the Royal Artillery Museum with hopper feed - .58 Rimfire/.50-70 Government]] | ||
| + | [[Image:Momotarou Umi no Shinpei weapons 2 6.jpg|thumb|500px|none|The Gatling gun is seen at the left.]] | ||
| + | [[Image:Momotarou Umi no Shinpei weapons 2 7.jpg|thumb|500px|none|The Gatling gun is seen at the center.]] | ||
=Grenades= | =Grenades= | ||
| Line 79: | Line 132: | ||
Imperial Japanese army soldiers use [[Type 97 hand grenade]]s during the battle. | Imperial Japanese army soldiers use [[Type 97 hand grenade]]s during the battle. | ||
[[Image:Japanese-type97-grenade.jpg|thumb|none|200px|Type 97 High-Explosive Fragmentation hand grenade (minus pin)]] | [[Image:Japanese-type97-grenade.jpg|thumb|none|200px|Type 97 High-Explosive Fragmentation hand grenade (minus pin)]] | ||
| + | [[Image:Momotarou Umi no Shinpei grenade 1.jpg|thumb|500px|none|Numerous grenades is seen in the box.]] | ||
| + | [[Image:Momotarou Umi no Shinpei grenade 2.jpg|thumb|500px|none|Japanese soldier holds the grenade.]] | ||
=Artillery= | =Artillery= | ||
| Line 84: | Line 139: | ||
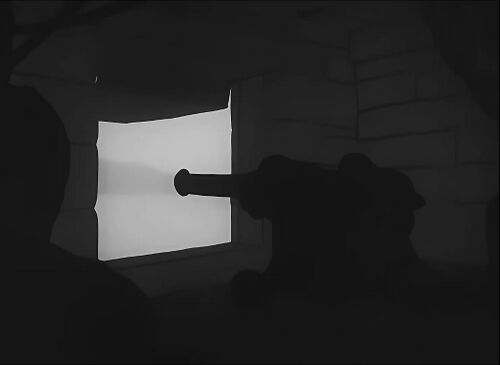
A [[Type 96 25 mm AT/AA Gun]] is seen on the watchtower at the Imperial Japanese army air base on the occupationed island at the Pacific. | A [[Type 96 25 mm AT/AA Gun]] is seen on the watchtower at the Imperial Japanese army air base on the occupationed island at the Pacific. | ||
[[Image:Type 96 25mm twin.jpg|thumb|none|400px|Type 96 AT/AA Gun on twin mount - 25x163mm]] | [[Image:Type 96 25mm twin.jpg|thumb|none|400px|Type 96 AT/AA Gun on twin mount - 25x163mm]] | ||
| + | [[Image:Momotarou Umi no Shinpei machine gun 1 1.jpg|thumb|500px|none|The twin gun is mounted on the watchtower.]] | ||
| + | [[Image:Momotarou Umi no Shinpei machine gun 1 2.jpg|thumb|500px|none|Another view of the same gun.]] | ||
| + | [[Image:Momotarou Umi no Shinpei machine gun 1 3.jpg|thumb|500px|none|The same twin gun is seen from the other angle.]] | ||
==Type 99 cannon== | ==Type 99 cannon== | ||
A [[Type 99 cannon]] is seen mounted on the Japanese combat plane. | A [[Type 99 cannon]] is seen mounted on the Japanese combat plane. | ||
[[Image:Type 99-1.jpg|thumb|none|400px|Type 99 Mark 1, flexible configuration - 20x72mmRB]] | [[Image:Type 99-1.jpg|thumb|none|400px|Type 99 Mark 1, flexible configuration - 20x72mmRB]] | ||
| + | [[Image:Momotarou Umi no Shinpei machine gun 3 1.jpg|thumb|500px|none|The gun is seen.]] | ||
==Type 92 Battalion Gun== | ==Type 92 Battalion Gun== | ||
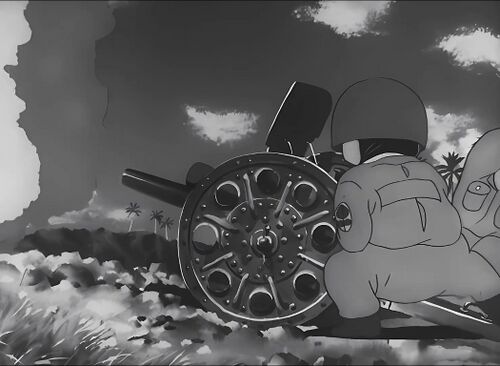
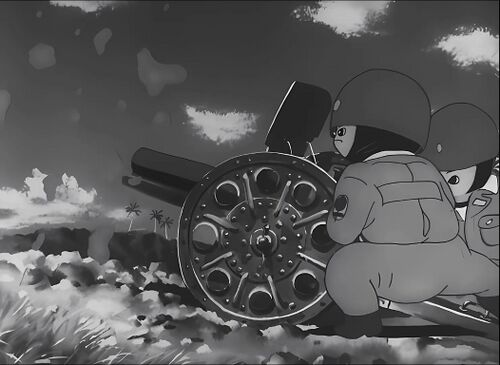
Imperial Japanese army soldiers fire Type 92 Battalion Guns during the battle. | Imperial Japanese army soldiers fire Type 92 Battalion Guns during the battle. | ||
[[Image:Type 92 battalion gun.jpg|thumb|none|400px|Type 92 Battalion Gun]] | [[Image:Type 92 battalion gun.jpg|thumb|none|400px|Type 92 Battalion Gun]] | ||
| + | [[Image:Momotarou Umi no Shinpei cannon 2 1.jpg|thumb|500px|none|Japanese soldier aim the gun.]] | ||
| + | [[Image:Momotarou Umi no Shinpei cannon 2 2.jpg|thumb|500px|none|The gun is seen reloading.]] | ||
| + | [[Image:Momotarou Umi no Shinpei cannon 2 3.jpg|thumb|500px|none|The gun is fired.]] | ||
| + | [[Image:Momotarou Umi no Shinpei cannon 2 4.jpg|thumb|500px|none|The barrel is turning to standard position after the end of recoiling.]] | ||
==Naval cannon== | ==Naval cannon== | ||
| − | Dutch East India Company ship was equipped with the naval cannons. | + | Dutch East India Company ship was equipped with the smoothbore muzzleloaded naval cannons. |
[[Image:Naval cannon.jpg|thumb|none|400px|Naval cannon - 18th century]] | [[Image:Naval cannon.jpg|thumb|none|400px|Naval cannon - 18th century]] | ||
| + | [[Image:Momotarou Umi no Shinpei cannon 1 1.jpg|thumb|500px|none|The cannon is readied for battle.]] | ||
==AA guns== | ==AA guns== | ||
Numerous AA guns were surrounded by British soldiers. | Numerous AA guns were surrounded by British soldiers. | ||
| + | [[Image:Momotarou Umi no Shinpei weapons 2 6.jpg|thumb|500px|none|Numerous AA guns is seen at the background.]] | ||
| + | [[Image:Momotarou Umi no Shinpei weapons 2 7.jpg|thumb|500px|none|A ditto.]] | ||
=Military Vehicles= | =Military Vehicles= | ||
==Combat planes== | ==Combat planes== | ||
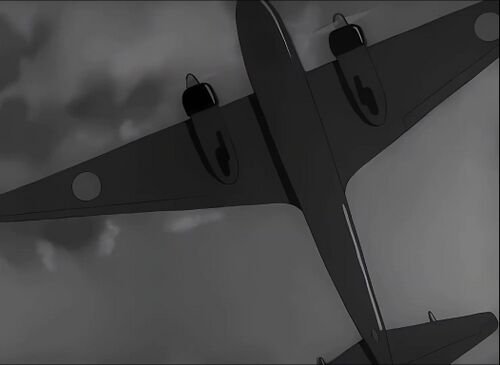
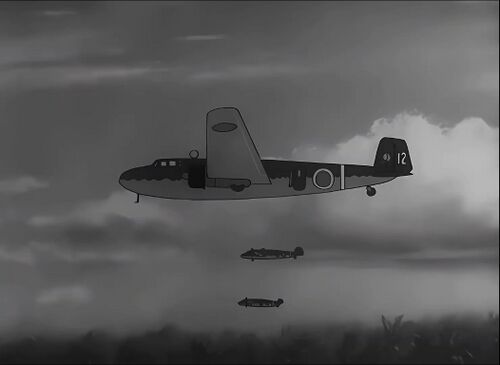
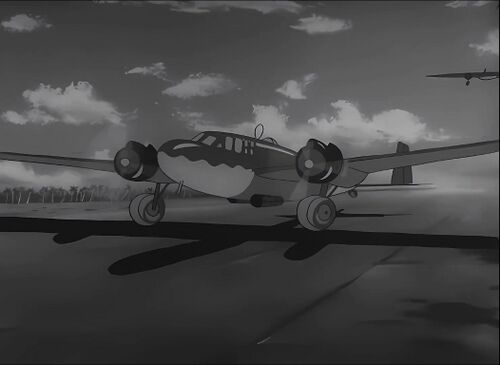
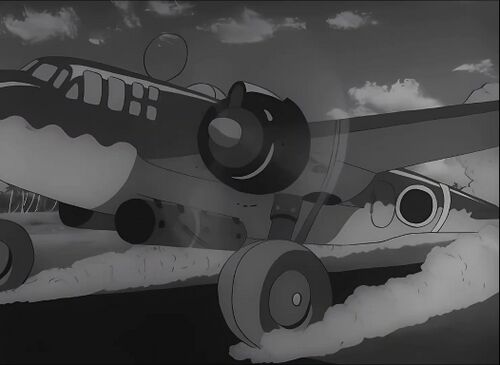
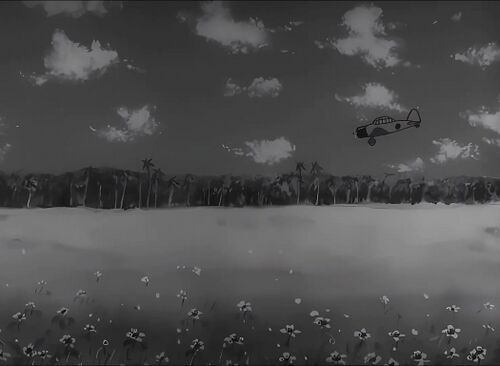
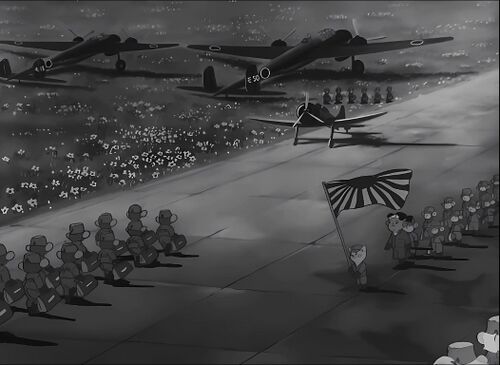
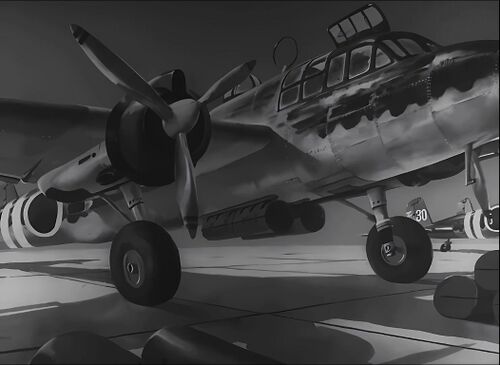
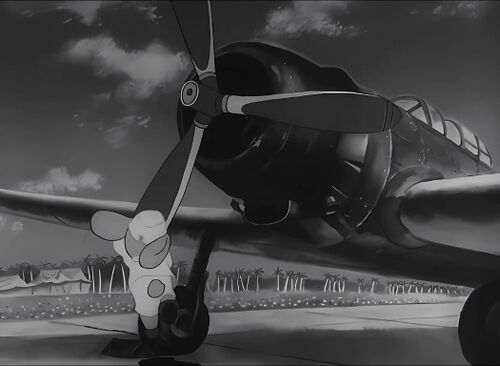
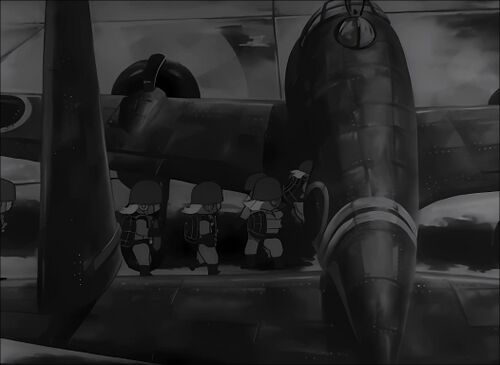
Various types of combat planes were used by Imperial Japanese and British armies. | Various types of combat planes were used by Imperial Japanese and British armies. | ||
| + | [[Image:Momotarou Umi no Shinpei plane 1.jpg|thumb|500px|none|Japanese combat plane is perfectly seen.]] | ||
| + | [[Image:Momotarou Umi no Shinpei plane 2.jpg|thumb|500px|none|The side view of the Japanese combat planes.]] | ||
| + | [[Image:Momotarou Umi no Shinpei plane 3.jpg|thumb|500px|none|The Japanese combat plane...]] | ||
| + | [[Image:Momotarou Umi no Shinpei plane 4.jpg|thumb|500px|none|...is landing.]] | ||
| + | [[Image:Momotarou Umi no Shinpei plane 5.jpg|thumb|500px|none|The Japanese combat plane is seen.]] | ||
| + | [[Image:Momotarou Umi no Shinpei plane 6.jpg|thumb|500px|none|The same plane is seen after landing.]] | ||
| + | [[Image:Momotarou Umi no Shinpei plane 7.jpg|thumb|500px|none|A god view of the Japanese combat planes.]] | ||
| + | [[Image:Momotarou Umi no Shinpei plane 8.jpg|thumb|500px|none|Numerous Japanese combat planes is seen on the airfield.]] | ||
| + | [[Image:Momotarou Umi no Shinpei plane 16.jpg|thumb|500px|none|Damaged Japanese combat plane is perfectly seen.]] | ||
| + | [[Image:Momotarou Umi no Shinpei plane 9.jpg|thumb|500px|none|The Japanese combat planes is seen.]] | ||
| + | [[Image:Momotarou Umi no Shinpei plane 10.jpg|thumb|500px|none|A close view of the Japanese combat plane.]] | ||
| + | [[Image:Momotarou Umi no Shinpei plane 11.jpg|thumb|500px|none|The Japanese combat plane is perfectly seen.]] | ||
| + | [[Image:Momotarou Umi no Shinpei plane 12.jpg|thumb|500px|none|A top view of the Japanese combat plane.]] | ||
| + | [[Image:Momotarou Umi no Shinpei plane 13.jpg|thumb|500px|none|The front part of the Japanese combat plane is seen.]] | ||
| + | [[Image:Momotarou Umi no Shinpei plane 14.jpg|thumb|500px|none|The Japanese combat planes is seen during the battle.]] | ||
| + | [[Image:Momotarou Umi no Shinpei plane 15.jpg|thumb|500px|none|Numerous destroyed British combat planes is seen.]] | ||
| + | [[Image:Momotarou Umi no Shinpei rifle 1 8.jpg|thumb|500px|none|The destroyed British combat planes can be seen at the background.]] | ||
==Tanks== | ==Tanks== | ||
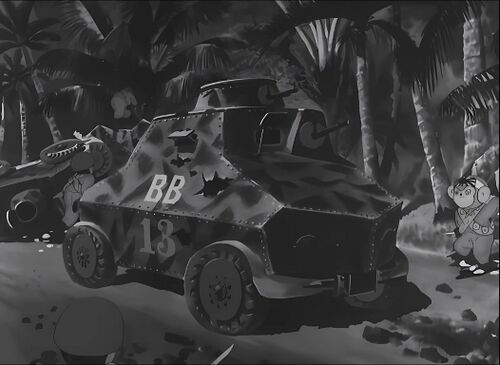
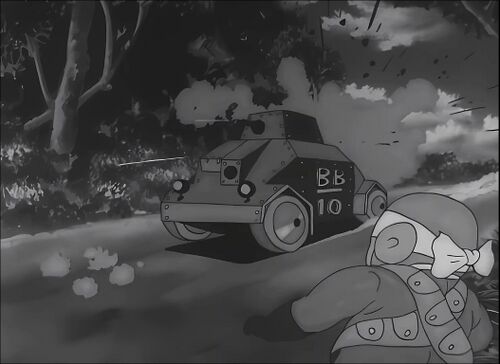
British army soldiers use tanks. | British army soldiers use tanks. | ||
| + | [[Image:Momotarou Umi no Shinpei tank 1.jpg|thumb|500px|none|Numerous British tanks is seen.]] | ||
| + | [[Image:Momotarou Umi no Shinpei tank 2.jpg|thumb|500px|none|Japanese soldiers attack the tank.]] | ||
| + | [[Image:Momotarou Umi no Shinpei tank 3.jpg|thumb|500px|none|Destroyed British tanks is perfectly seen.]] | ||
| + | [[Image:Momotarou Umi no Shinpei weapons 2 6.jpg|thumb|500px|none|Numerous tanks is seen at the background.]] | ||
| + | [[Image:Momotarou Umi no Shinpei weapons 2 7.jpg|thumb|500px|none|A ditto.]] | ||
Revision as of 21:46, 28 December 2022
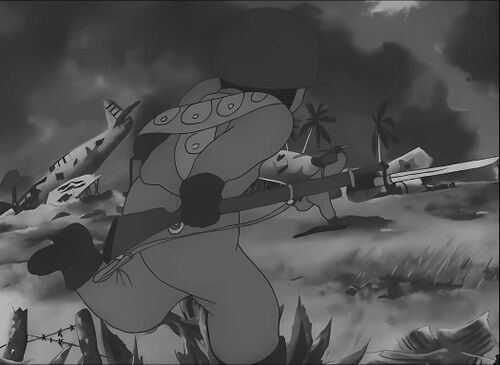
Momotaro: Sacred Sailors or also known as Momotaro's Divine Sea Warriors (桃太郎 海の神兵; Momotarô: Umi no shinpei), is the 1945 propaganda anime of Japanese Empire which was premiered at the final stage of World War II. It's the first feature-length anime.
Note: The original movie tape is rather bad preservation, so, the restored version was used to create screenshots. However, the restoration was made by non-Japanese crew, so, some screenshots became more cartoonish, rather than it was at the original version.
The following weapons were used in the anime film Pyramid Silent/Sandbox 2:
Pistols
Nambu Type 14
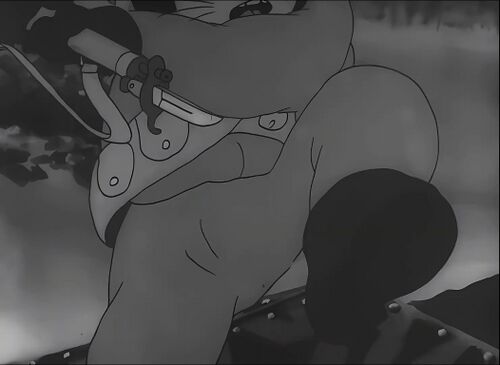
Captain Momotaro uses Nambu Type 14 at the second part of the movie.
Submachine Guns
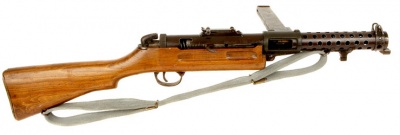
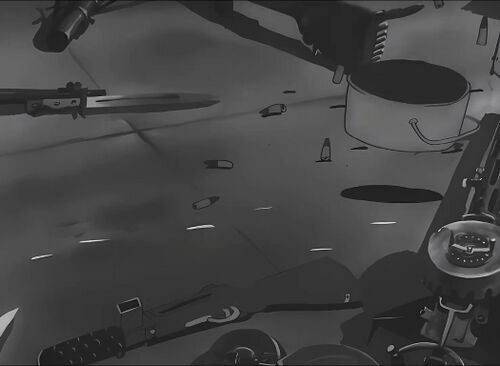
Lanchester Mk. I
A Lanchester Mk. I is seen surrounded by British soldier.
Rifles
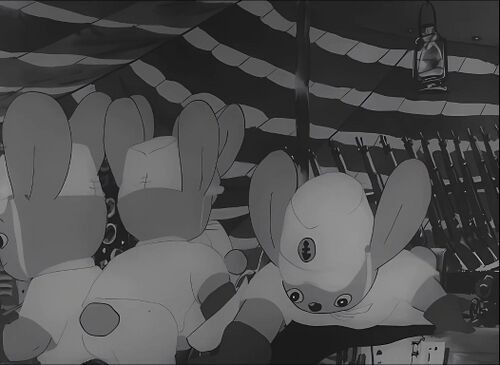
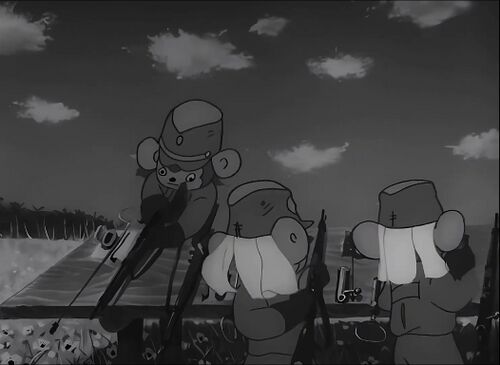
Arisaka Type 38
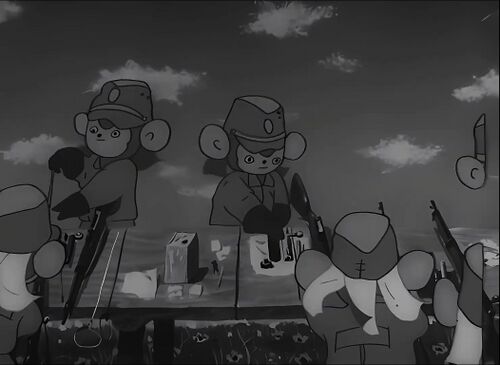
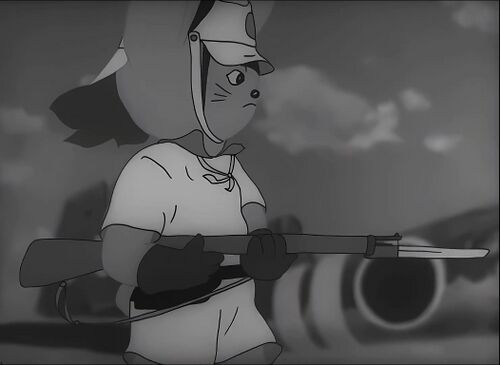
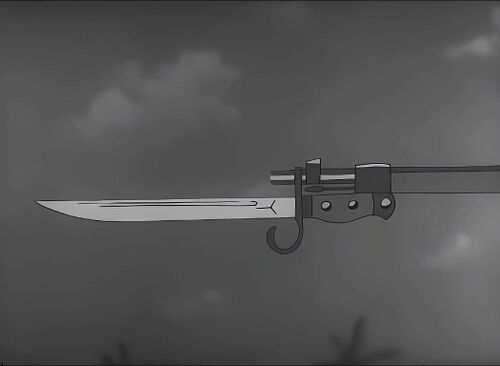
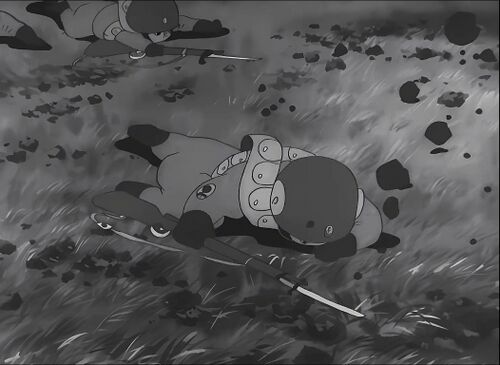
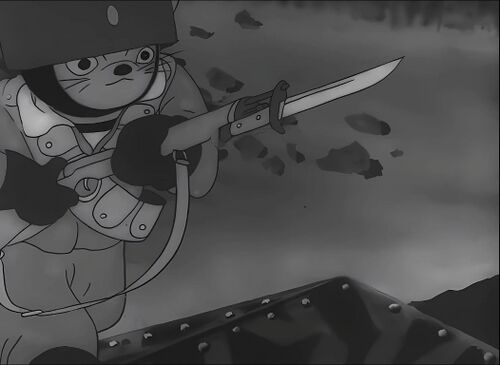
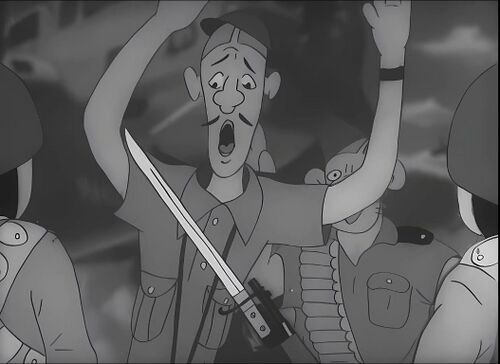
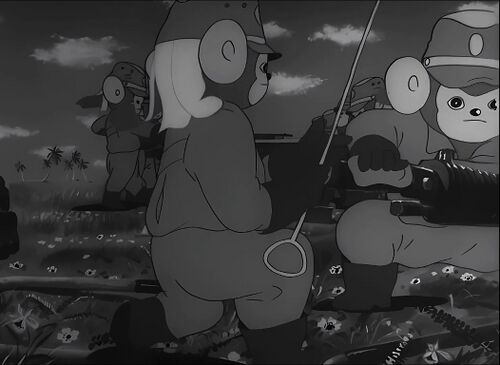
Most of the Imperial Japanese army soldiers can be seen armed with the Arisaka Type 38 rifles and carbines.
Matchlock Musket
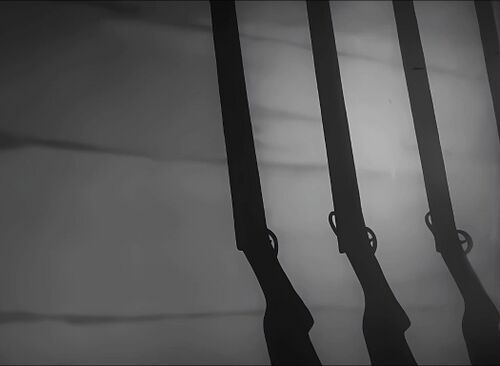
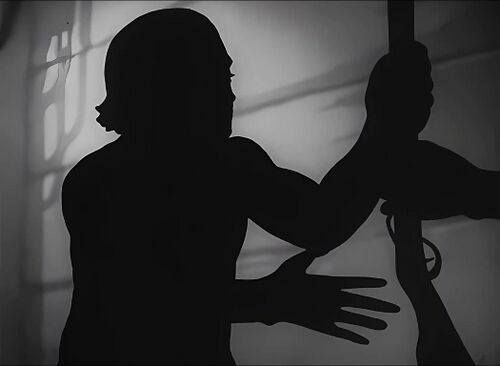
Dutch East India Company mercenaries use matchlock muskets
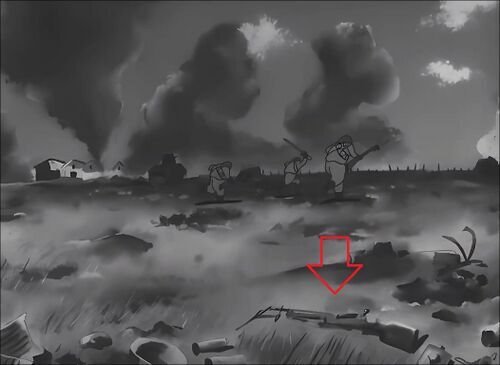
Unknown Rifle
An unknown rifles can be briefly seen in the hands of British soldier. Another rifles is seen surrounded by British soldiers.
Machine Guns
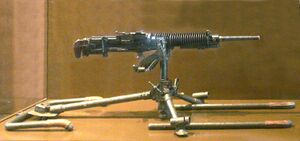
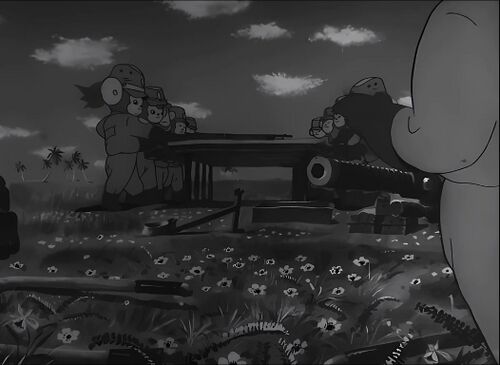
Type 3 heavy machine gun
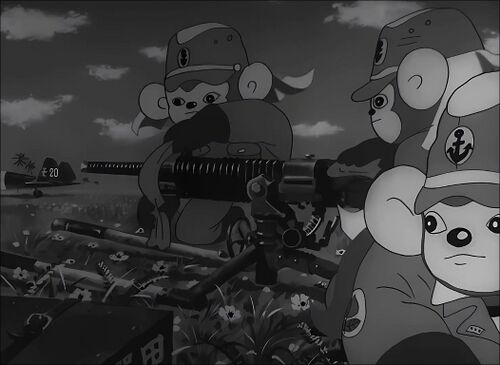
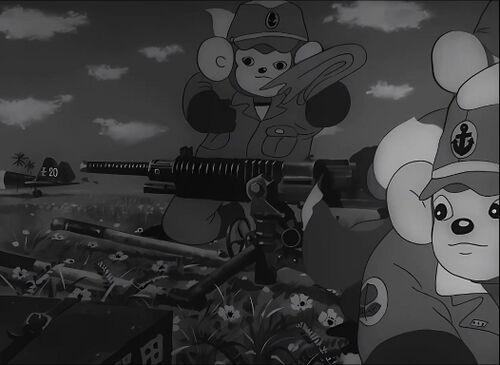
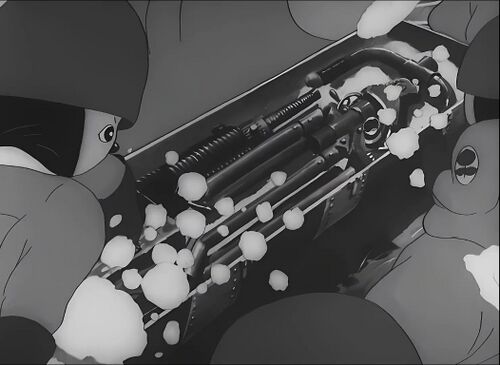
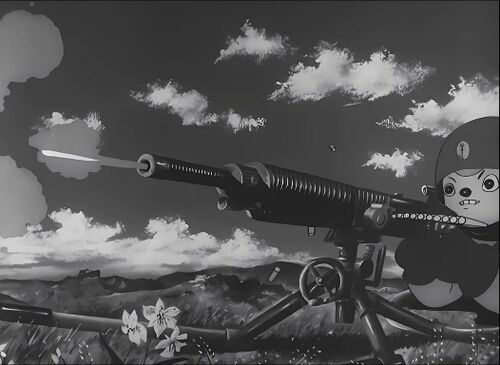
Imperial Japanese army soldiers use Type 3 heavy machine guns.
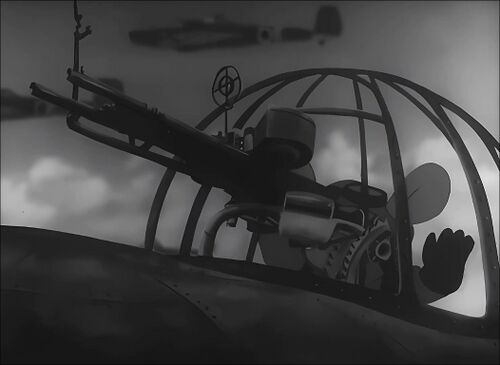
Type 92
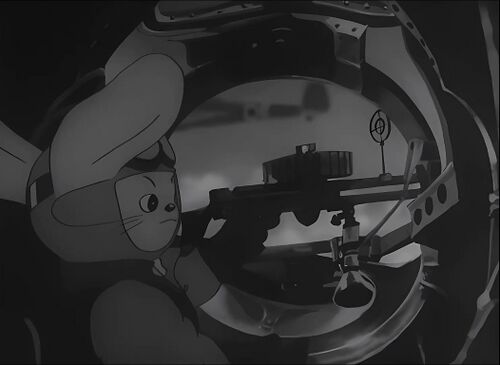
A Type 92 is seen operated by Imperial Japanese army soldier.
Type 99 Light Machine Gun
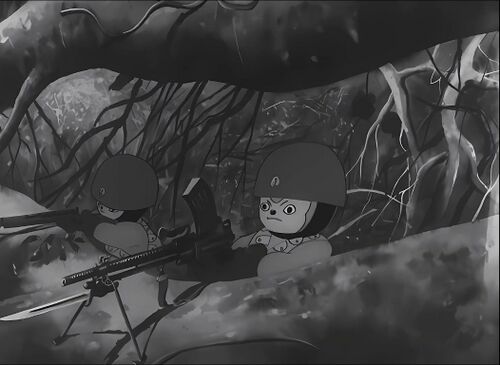
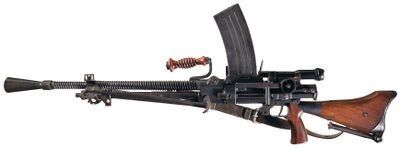
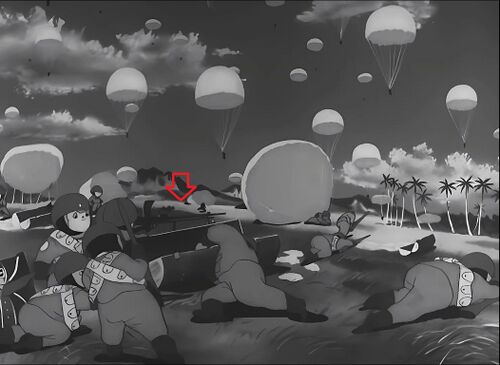
A Type 99 Light Machine Gun was used by Imperial Japanese army soldiers.
Vickers Mk. I
British soldiers use Vickers Mk. I during the battle.
Maxim M1910
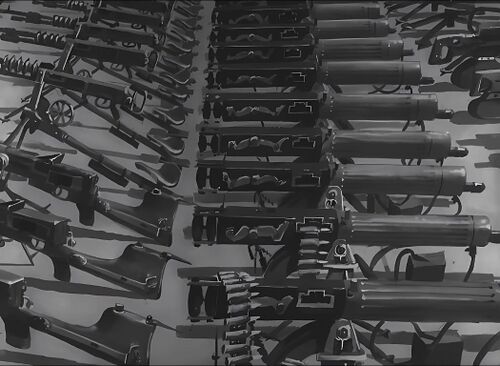
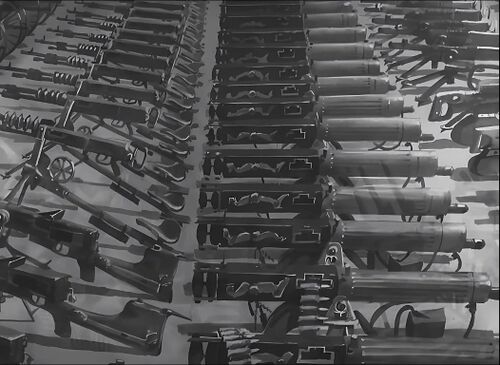
Numerous Maxim M1910s were surrounded by British army.
Hotchkiss M1914
Numerous Hotchkiss M1914s can be seen among weapons, which were srrounded by British soldiers.
Hotchkiss M1909
Several Hotchkiss M1909s can be seen among weapons, which were surrounded by British soldiers.
Gatling Gun
A Gatling Guns is seen among weapons, which were surrounded by British soldiers.
Grenades
Type 97 hand grenade
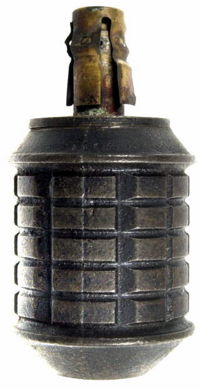
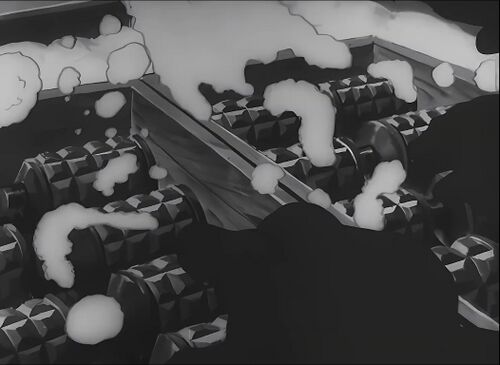
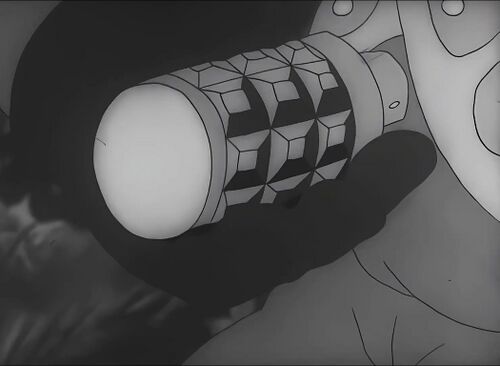
Imperial Japanese army soldiers use Type 97 hand grenades during the battle.
Artillery
Type 96 25 mm AT/AA Gun
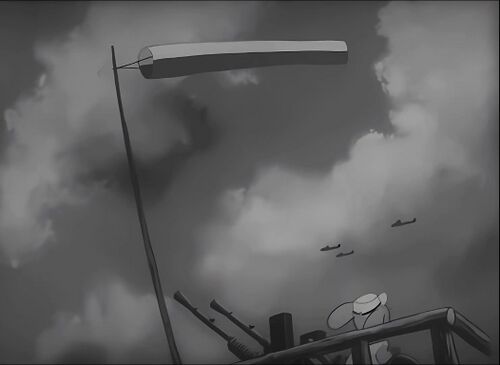
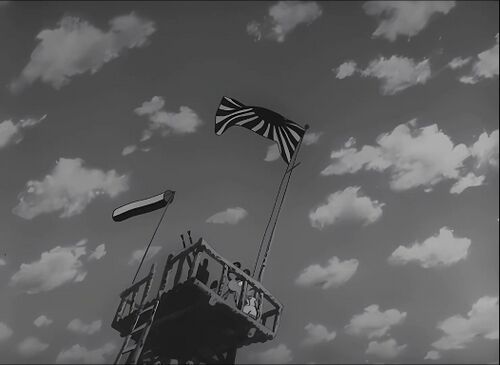
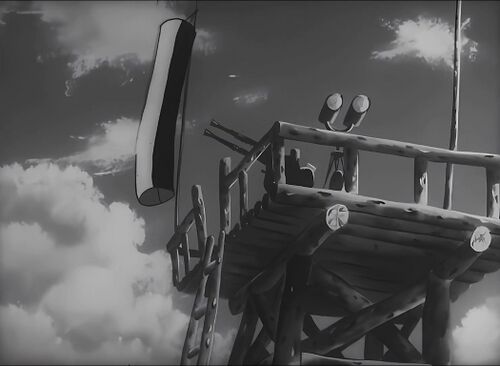
A Type 96 25 mm AT/AA Gun is seen on the watchtower at the Imperial Japanese army air base on the occupationed island at the Pacific.
Type 99 cannon
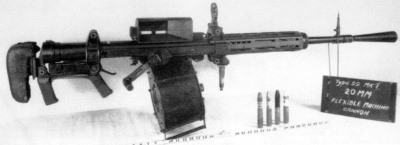
A Type 99 cannon is seen mounted on the Japanese combat plane.
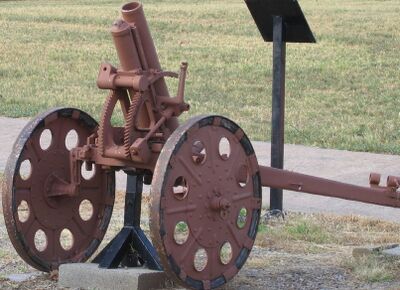
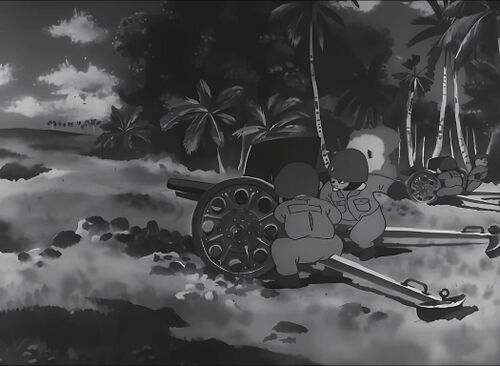
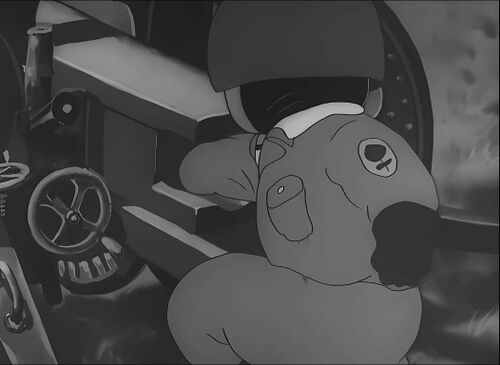
Type 92 Battalion Gun
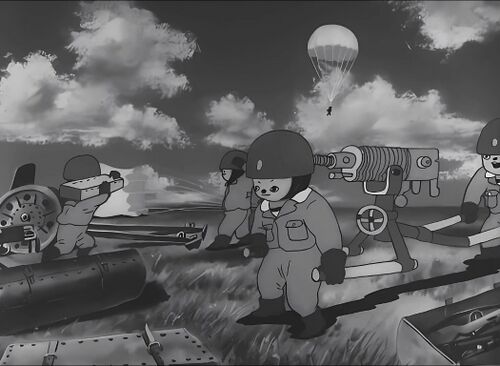
Imperial Japanese army soldiers fire Type 92 Battalion Guns during the battle.
Dutch East India Company ship was equipped with the smoothbore muzzleloaded naval cannons.
AA guns
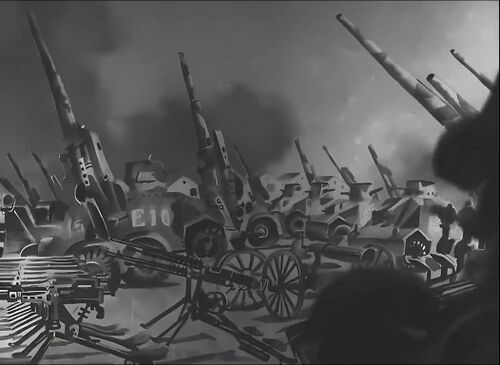
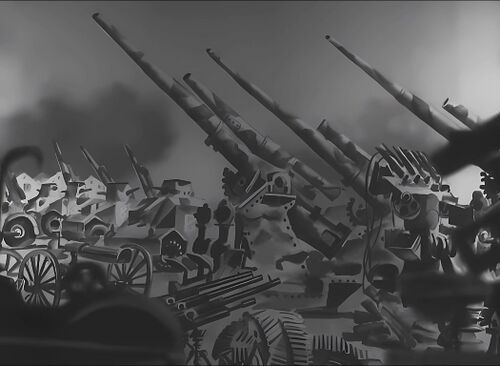
Numerous AA guns were surrounded by British soldiers.
Military Vehicles
Combat planes
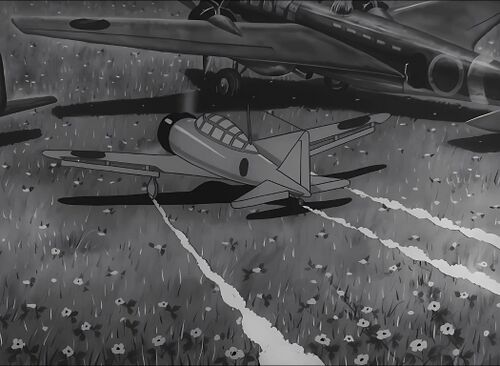
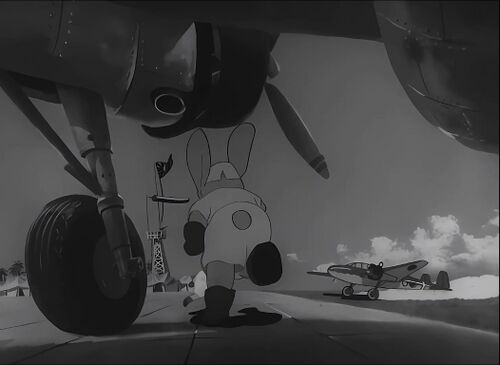
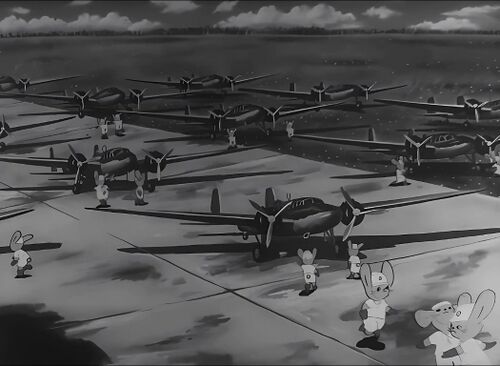
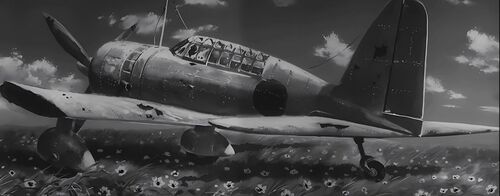
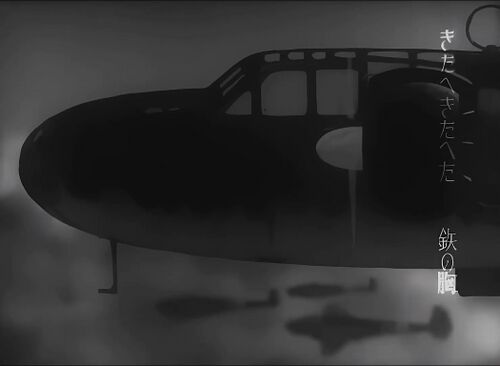
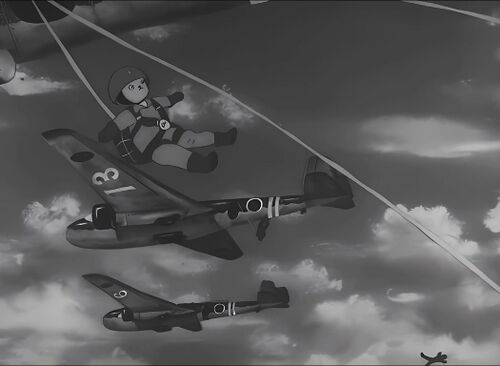
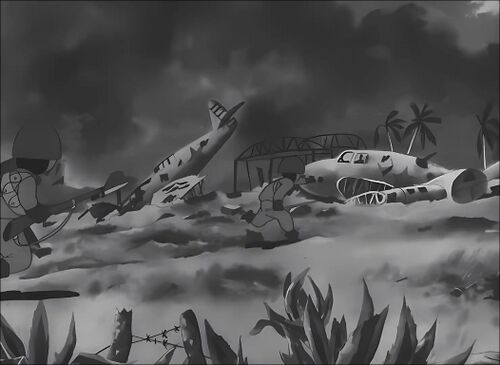
Various types of combat planes were used by Imperial Japanese and British armies.
Tanks
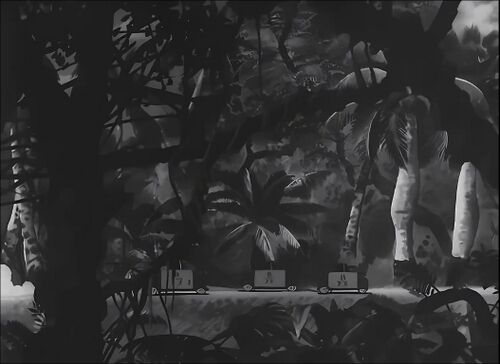
British army soldiers use tanks.

