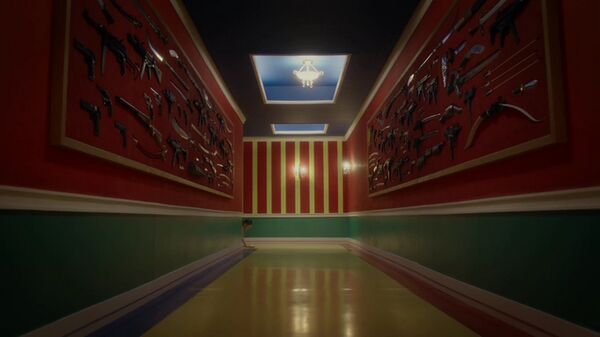
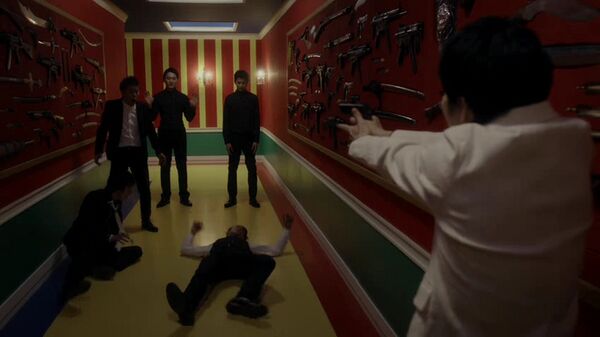
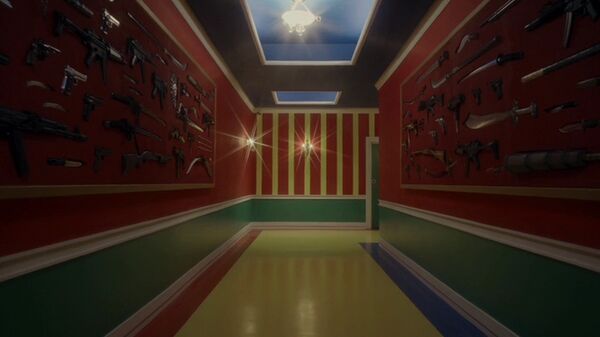
| If you have been locked out of your account you can request a password reset here. |
Difference between revisions of "User:Pyramid Silent/Sandbox 2"
| Line 69: | Line 69: | ||
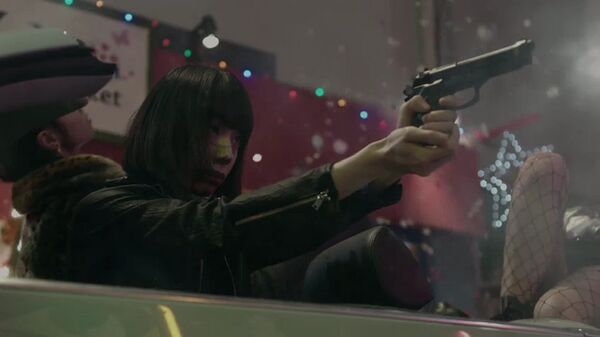
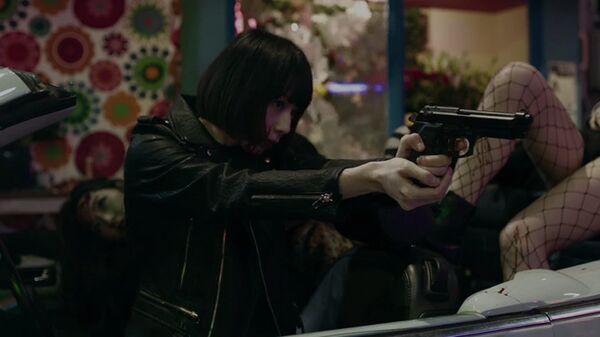
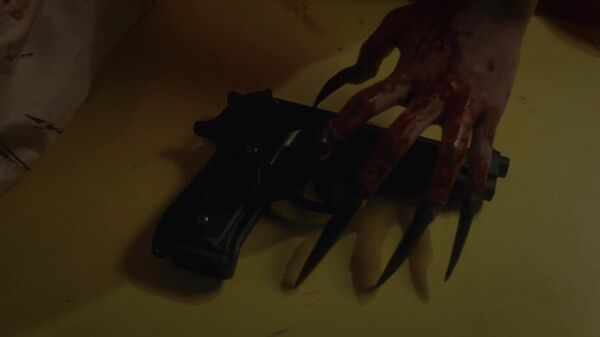
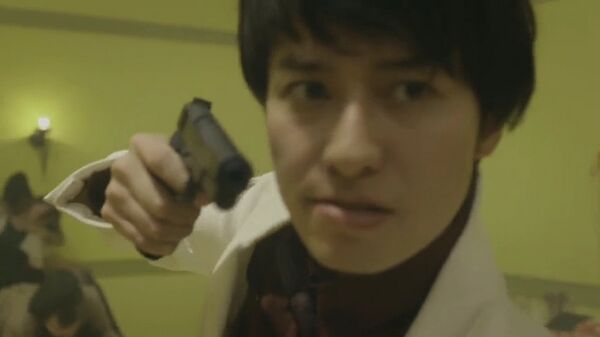
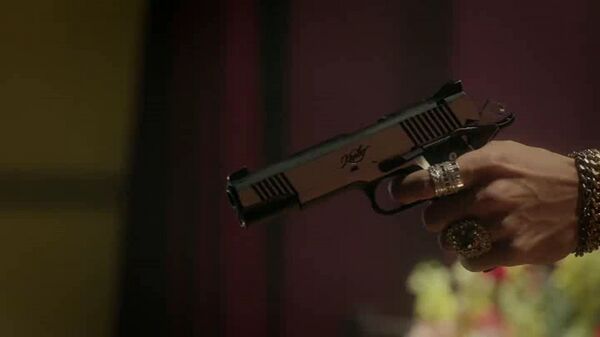
[[Image:Tokyo Vampire Hotel E01 pistol 4 4.jpg|thumb|none|600px|A better view of K's Beretta. (Ep.1).]] | [[Image:Tokyo Vampire Hotel E01 pistol 4 4.jpg|thumb|none|600px|A better view of K's Beretta. (Ep.1).]] | ||
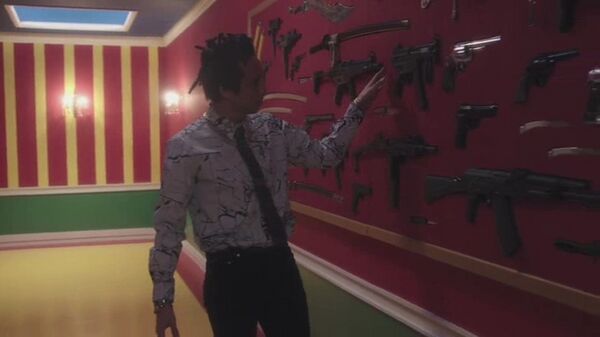
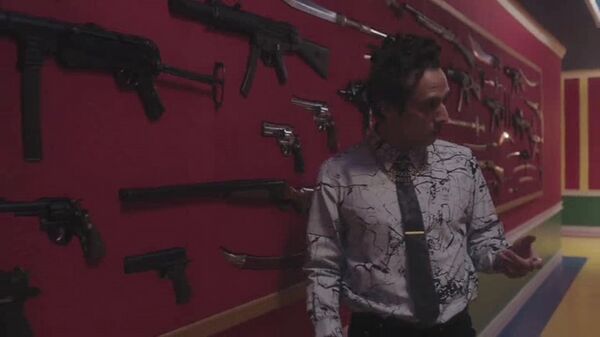
[[Image:Tokyo Vampire Hotel E03 guns 3 4.jpg|thumb|none|600px|The Beretta is seen at the right, center, above the AK. (Ep.3).]] | [[Image:Tokyo Vampire Hotel E03 guns 3 4.jpg|thumb|none|600px|The Beretta is seen at the right, center, above the AK. (Ep.3).]] | ||
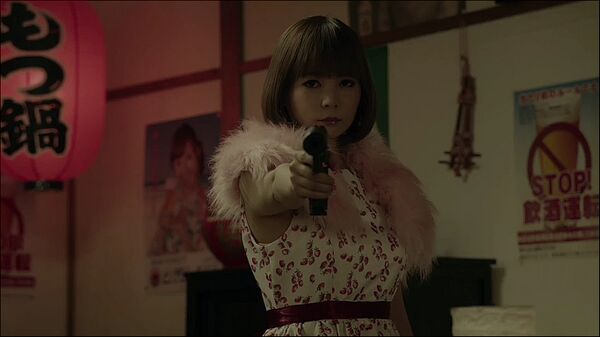
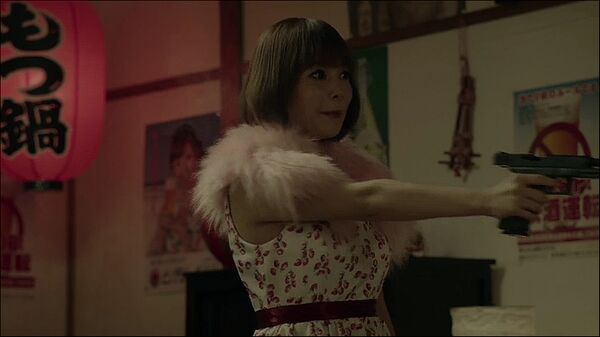
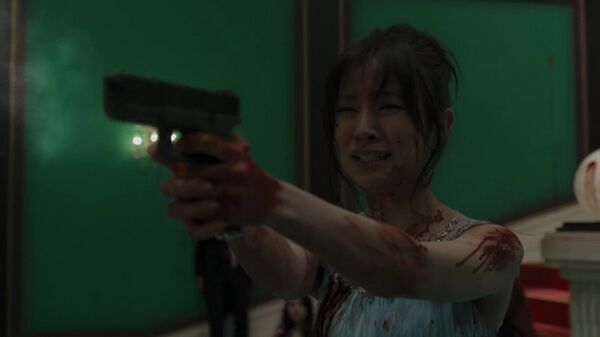
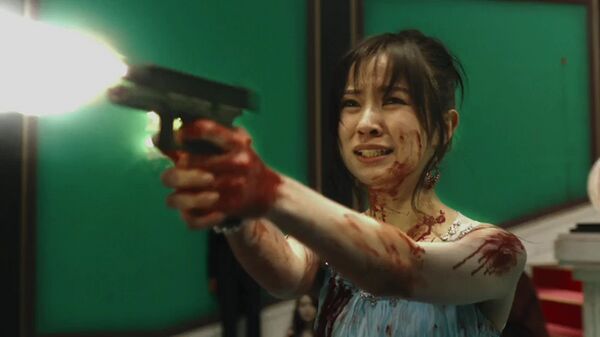
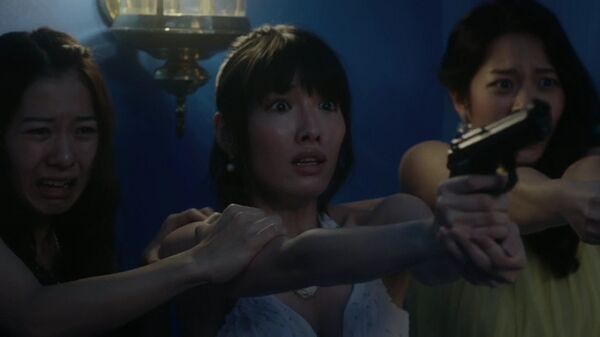
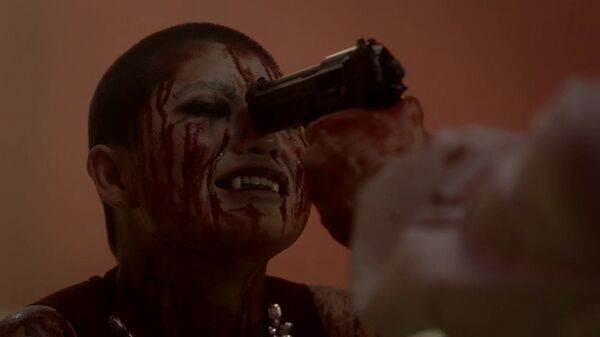
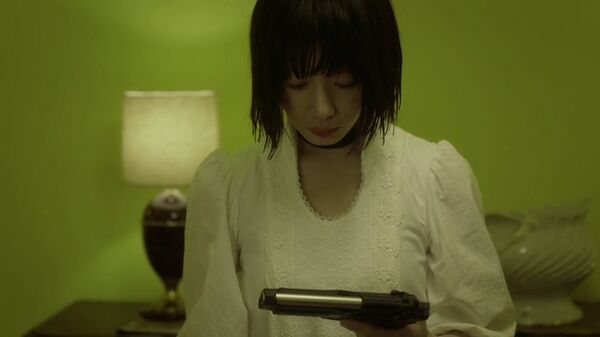
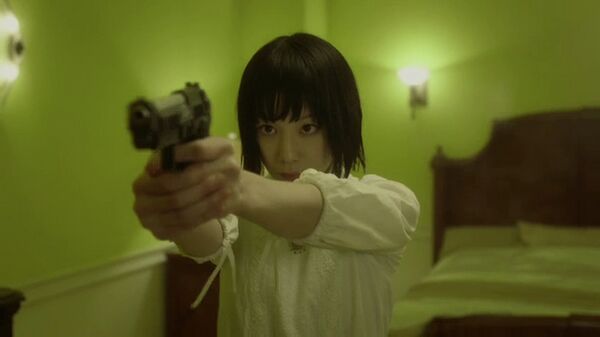
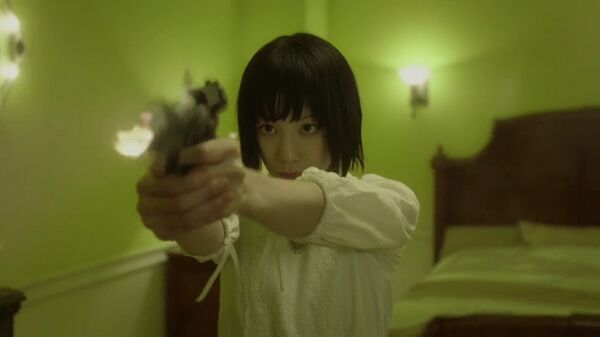
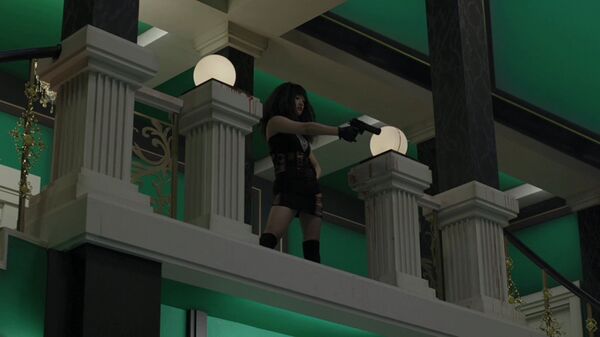
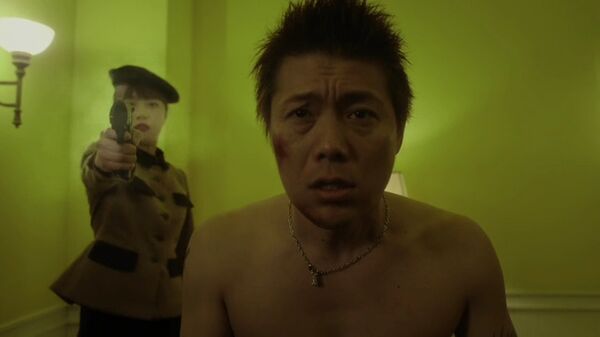
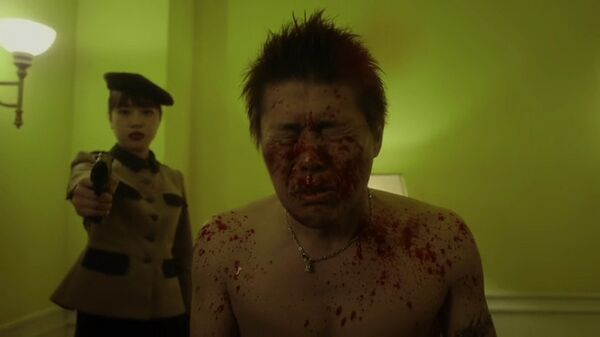
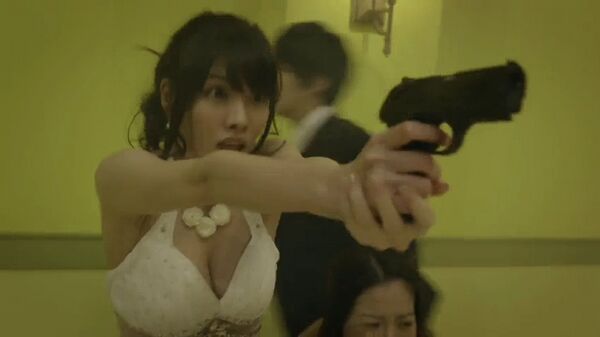
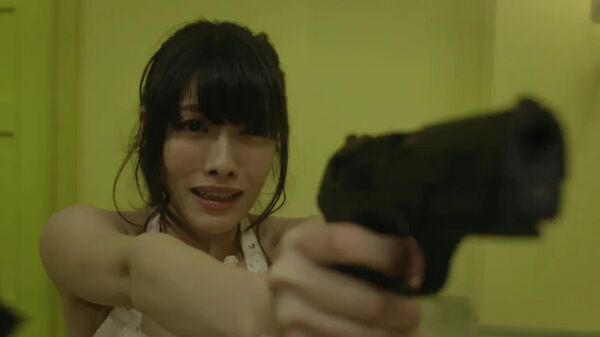
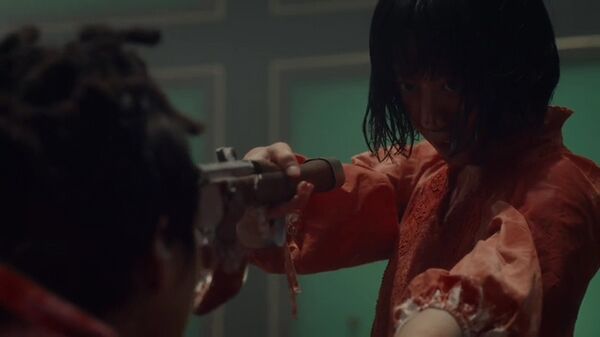
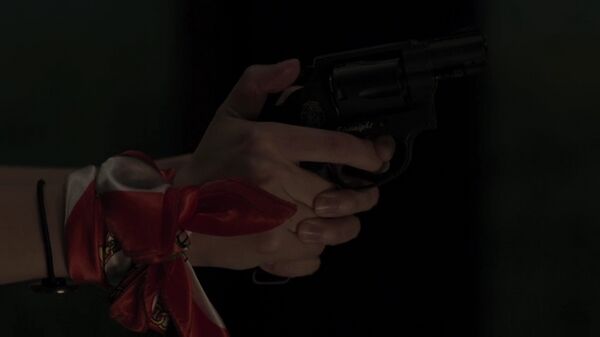
| + | [[Image:Tokyo Vampire Hotel E05 pistol 4 9.jpg|thumb|none|600px|Ami Nagashima (Anna Konno) aims the unloaded Beretta. (Ep.5).]] | ||
| + | [[Image:Tokyo Vampire Hotel E05 pistol 4 10.jpg|thumb|none|600px|Another view of Ami's Beretta. It rather interesting, that, despite she didn't reload it, but the pistol is loaded now. (Ep.5).]] | ||
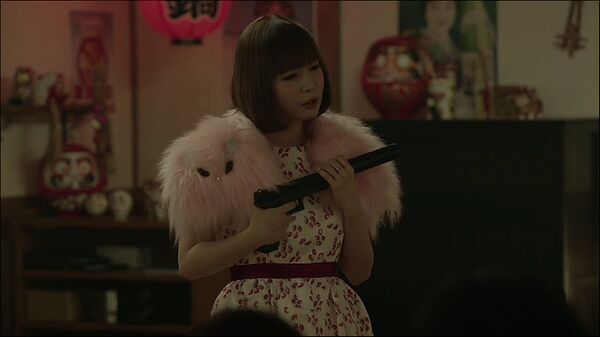
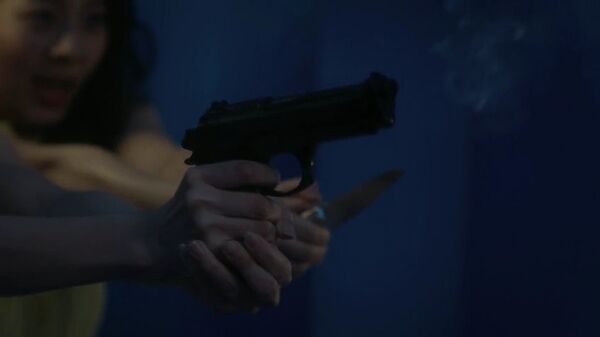
| + | [[Image:Tokyo Vampire Hotel E05 pistol 4 11.jpg|thumb|none|600px|A close view of Ami's Beretta. (Ep.5).]] | ||
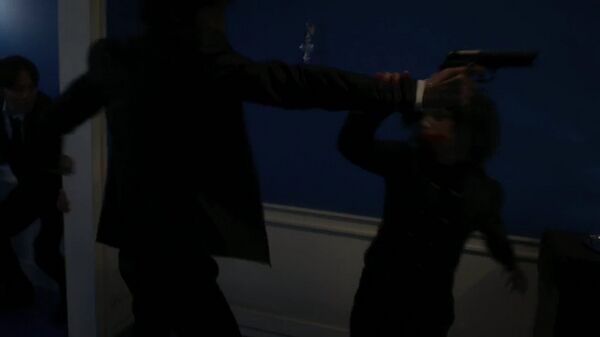
| + | [[Image:Tokyo Vampire Hotel E05 pistol 4 7.jpg|thumb|none|600px|Survivor and vampire grapples for the Beretta. (Ep.5).]] | ||
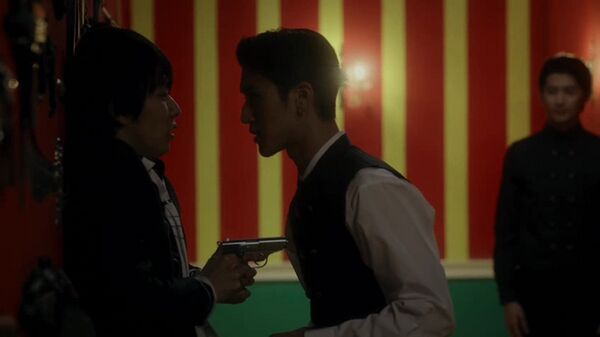
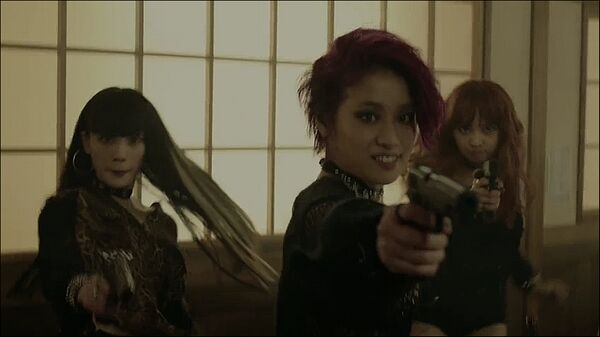
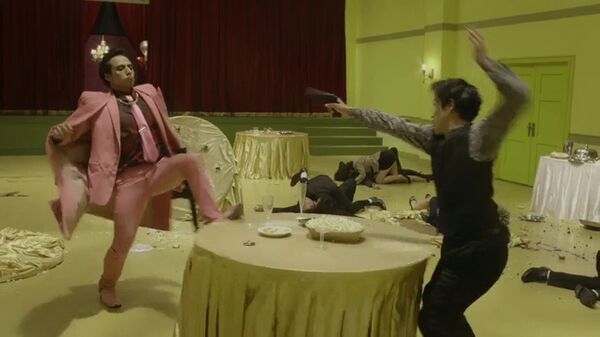
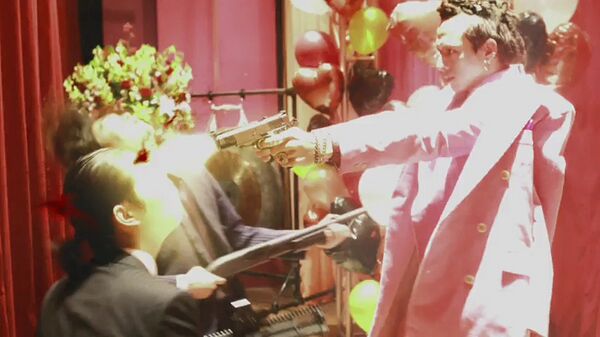
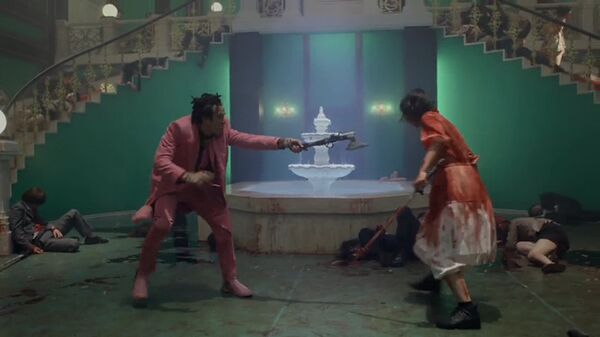
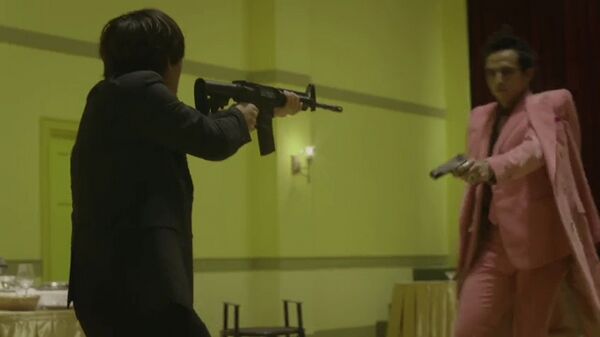
| + | [[Image:Tokyo Vampire Hotel E05 pistols 5 1.jpg|thumb|none|600px|Survivor (at the left) aims the Beretta, Takumi (at the right) aims M1911. (Ep.5).]] | ||
| + | [[Image:Tokyo Vampire Hotel E07 pistol 4 20.jpg|thumb|none|600px|Survivor struggles with female vampire, while holding Beretta in hand. (Ep.7).]] | ||
[[Image:Tokyo Vampire Hotel E07 pistol 4 21.jpg|thumb|none|600px|Yamada fires the pistol in his left hand. (Ep.7).]] | [[Image:Tokyo Vampire Hotel E07 pistol 4 21.jpg|thumb|none|600px|Yamada fires the pistol in his left hand. (Ep.7).]] | ||
[[Image:Tokyo Vampire Hotel E07 pistol 4 22.jpg|thumb|none|600px|Yamada holds another similar pistol in his right hand. (Ep.7).]] | [[Image:Tokyo Vampire Hotel E07 pistol 4 22.jpg|thumb|none|600px|Yamada holds another similar pistol in his right hand. (Ep.7).]] | ||
| Line 78: | Line 84: | ||
[[File:Beretta-Inox.jpg|thumb|none|300px|Beretta 92FS Inox - 9x19mm Parabellum. This pistol was the screen used gun, used throughout the film by Det. Max Kirkpatrick ([[William Baldwin]]) and once by Kate McQuean ([[Cindy Crawford]]) in the film ''[[Fair Game]]''.]] | [[File:Beretta-Inox.jpg|thumb|none|300px|Beretta 92FS Inox - 9x19mm Parabellum. This pistol was the screen used gun, used throughout the film by Det. Max Kirkpatrick ([[William Baldwin]]) and once by Kate McQuean ([[Cindy Crawford]]) in the film ''[[Fair Game]]''.]] | ||
[[Image:Tokyo Vampire Hotel E04 guns 3 20.jpg|thumb|none|600px|The Beretta Inox is seen hanged on the wall (aright from vampire, between his neck and Beretta 92 FS). (Ep.4).]] | [[Image:Tokyo Vampire Hotel E04 guns 3 20.jpg|thumb|none|600px|The Beretta Inox is seen hanged on the wall (aright from vampire, between his neck and Beretta 92 FS). (Ep.4).]] | ||
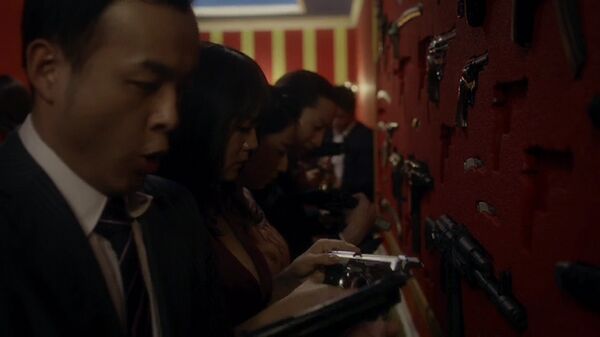
| + | [[Image:Tokyo Vampire Hotel E06 guns 3 27.jpg|thumb|none|600px|Female survivor investigates Beretta Inox. (Ep.6).]] | ||
==Beretta 93R== | ==Beretta 93R== | ||
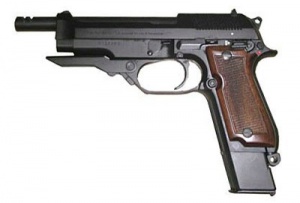
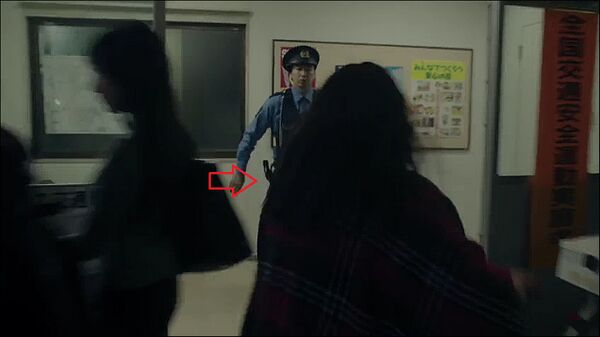
| − | [[Beretta 93R]] | + | At least one survivor uses a [[Beretta 93R]]. |
[[Image:Beretta M93.jpg|thumb|none|300px|Beretta 93R with wood grips - 9x19mm]] | [[Image:Beretta M93.jpg|thumb|none|300px|Beretta 93R with wood grips - 9x19mm]] | ||
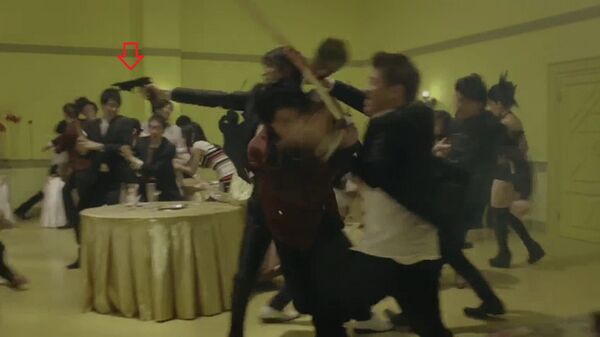
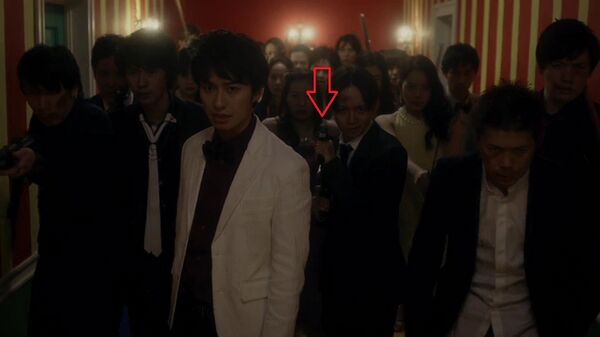
| + | [[Image:Tokyo Vampire Hotel E07 pistol 11 1.jpg|thumb|none|600px|Survivor aims the Beretta (pointed by the red arrow). (Ep.7).]] | ||
==Taurus PT92AF== | ==Taurus PT92AF== | ||
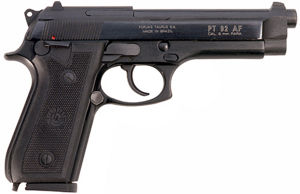
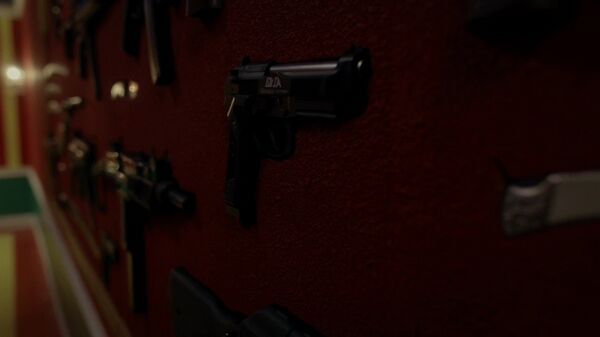
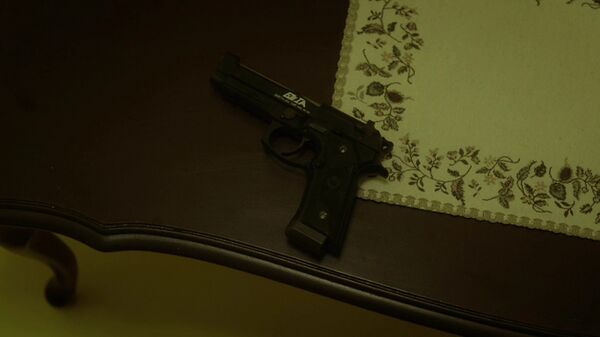
A [[Taurus PT92AF]] is used by K at the episode 7. | A [[Taurus PT92AF]] is used by K at the episode 7. | ||
[[Image:Taurus-PT92AF.jpg|thumb|none|300px|Taurus PT92AF - 9x19mm]] | [[Image:Taurus-PT92AF.jpg|thumb|none|300px|Taurus PT92AF - 9x19mm]] | ||
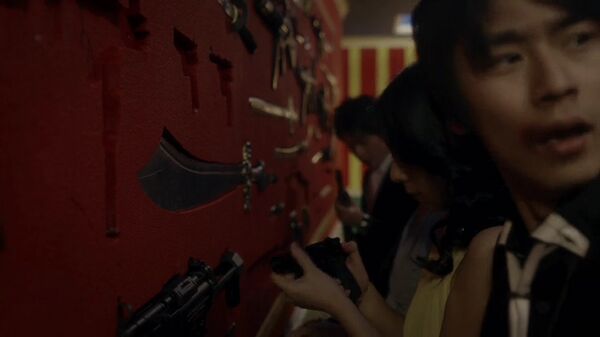
| + | [[Image:Tokyo Vampire Hotel E05 guns 3 23.jpg|thumb|none|600px|The pistol is seen on the wall. (Ep.5).]] | ||
[[Image:Tokyo Vampire Hotel E07 pistol 15 1.jpg|thumb|none|600px|A close up.]] | [[Image:Tokyo Vampire Hotel E07 pistol 15 1.jpg|thumb|none|600px|A close up.]] | ||
[[Image:Tokyo Vampire Hotel E07 pistol 15 2.jpg|thumb|none|600px|K grabs the pistol...]] | [[Image:Tokyo Vampire Hotel E07 pistol 15 2.jpg|thumb|none|600px|K grabs the pistol...]] | ||
| Line 100: | Line 109: | ||
[[Image:Tokyo Vampire Hotel E04 guns 3 17.jpg|thumb|none|600px|Survivor grabs the Walther. (Ep.4).]] | [[Image:Tokyo Vampire Hotel E04 guns 3 17.jpg|thumb|none|600px|Survivor grabs the Walther. (Ep.4).]] | ||
[[Image:Tokyo Vampire Hotel E04 guns 3 19.jpg|thumb|none|600px|The same survivor tries to threatening vampire with the Walther. (Ep.4).]] | [[Image:Tokyo Vampire Hotel E04 guns 3 19.jpg|thumb|none|600px|The same survivor tries to threatening vampire with the Walther. (Ep.4).]] | ||
| + | [[Image:Tokyo Vampire Hotel E05 pistol 7 1.jpg|thumb|none|600px|Momoko (uncredited) holds the Walther. (Ep.5).]] | ||
| + | [[Image:Tokyo Vampire Hotel E05 pistol 7 2.jpg|thumb|none|600px|Momoko about to fire her Walther. (Ep.5).]] | ||
| + | [[Image:Tokyo Vampire Hotel E06 guns 3 28.jpg|thumb|none|600px|Aiko Uozumi (uncredited) grabs the pistol from the wall. (Ep.6).]] | ||
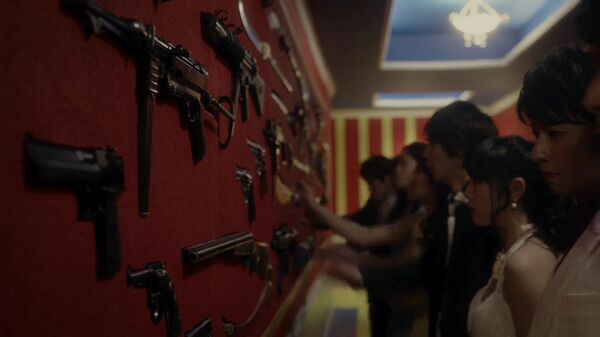
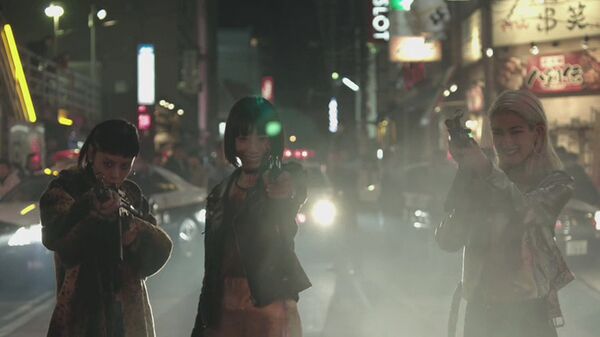
| + | [[Image:Tokyo Vampire Hotel E06 guns 3 34.jpg|thumb|none|600px|Female survivor (at the background, center, between Ichiro and Takumi) aims the Walther. (Ep.6).]] | ||
==Walther P38== | ==Walther P38== | ||
| Line 105: | Line 118: | ||
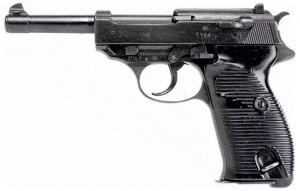
[[File:P38Black.jpg|thumb|none|300px|Walther P38 WWII dated with black grips - 9x19mm]] | [[File:P38Black.jpg|thumb|none|300px|Walther P38 WWII dated with black grips - 9x19mm]] | ||
[[Image:Tokyo Vampire Hotel E03 guns 3 5.jpg|thumb|none|600px|The Walther P38 is seen aright from Walther PP. (Ep.3).]] | [[Image:Tokyo Vampire Hotel E03 guns 3 5.jpg|thumb|none|600px|The Walther P38 is seen aright from Walther PP. (Ep.3).]] | ||
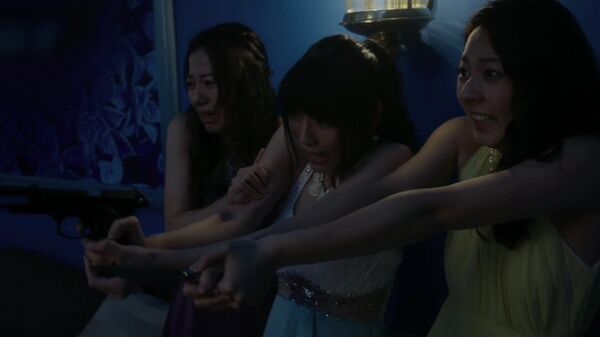
| + | [[Image:Tokyo Vampire Hotel E06 guns 3 34.jpg|thumb|none|600px|Survivor (third from the left) aims the Walther. (Ep.6).]] | ||
==M1911A1== | ==M1911A1== | ||
| Line 112: | Line 126: | ||
[[Image:Tokyo Vampire Hotel E01 pistols 1 2.jpg|thumb|none|600px|a ditto. (Ep.1).]] | [[Image:Tokyo Vampire Hotel E01 pistols 1 2.jpg|thumb|none|600px|a ditto. (Ep.1).]] | ||
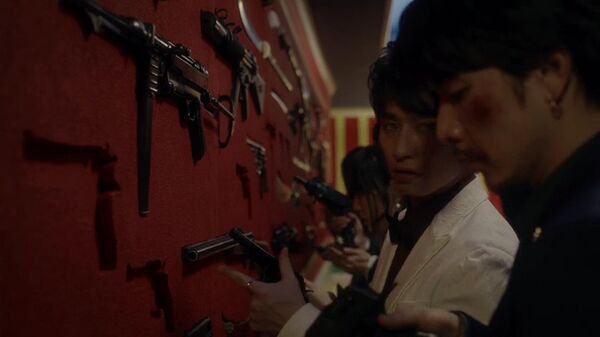
[[Image:Tokyo Vampire Hotel E03 guns 3 8.jpg|thumb|none|600px|The M1911 pistol is seen on the wall (bottom, left). (Ep.3).]] | [[Image:Tokyo Vampire Hotel E03 guns 3 8.jpg|thumb|none|600px|The M1911 pistol is seen on the wall (bottom, left). (Ep.3).]] | ||
| + | [[Image:Tokyo Vampire Hotel E04 guns 3 13.jpg|thumb|none|600px|Takumi Kaga (uncredited) pulls the M1911. (Ep.4).]] | ||
| + | [[Image:Tokyo Vampire Hotel E04 guns 3 14.jpg|thumb|none|600px|A close view of Takumi's M1911. (Ep.4).]] | ||
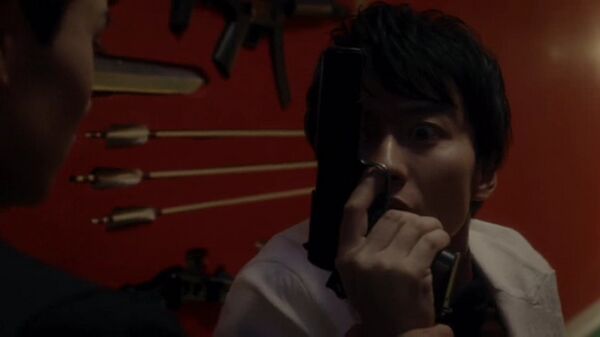
| + | [[Image:Tokyo Vampire Hotel E04 guns 3 18.jpg|thumb|none|600px|Takumi realizes, that the standard bullets is useless against vampire. (Ep.4).]] | ||
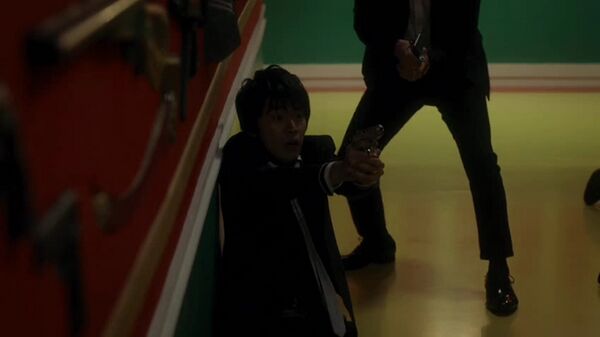
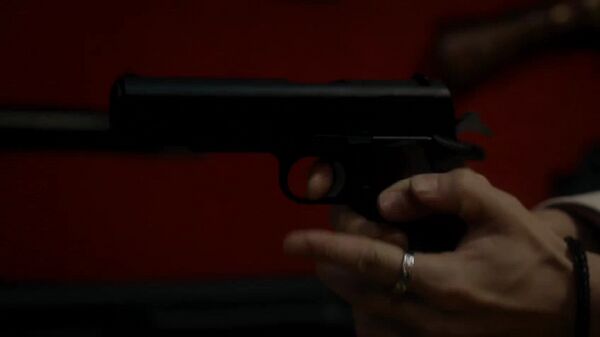
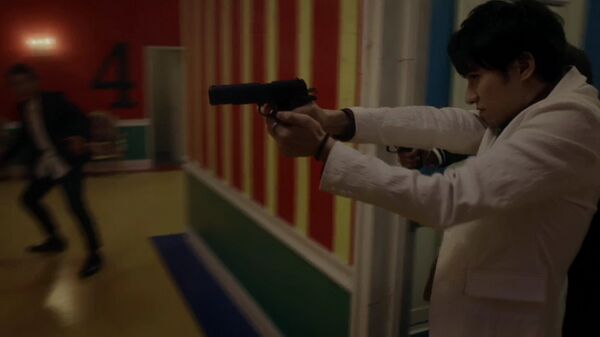
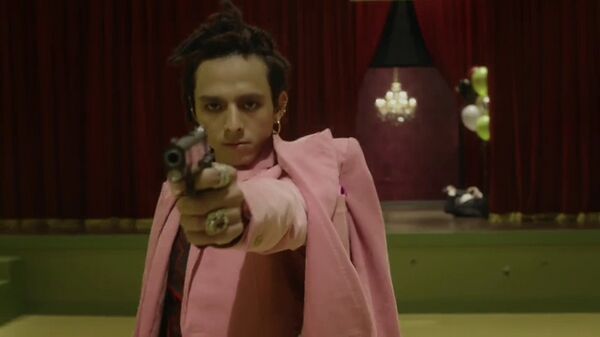
| + | [[Image:Tokyo Vampire Hotel E05 pistol 8 1.jpg|thumb|none|600px|Takumi Kaga aims his M1911. (Ep.5).]] | ||
| + | [[Image:Tokyo Vampire Hotel E05 pistol 8 2.jpg|thumb|none|600px|A good view of Takumi's M1911. (Ep.5).]] | ||
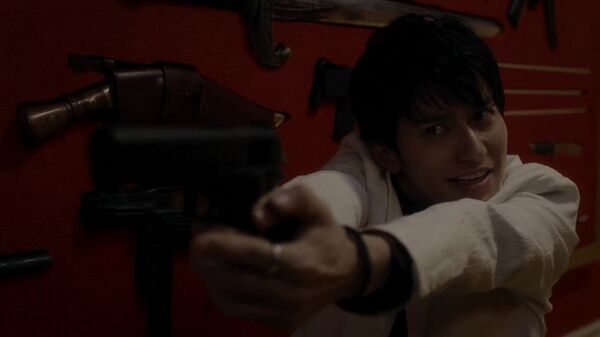
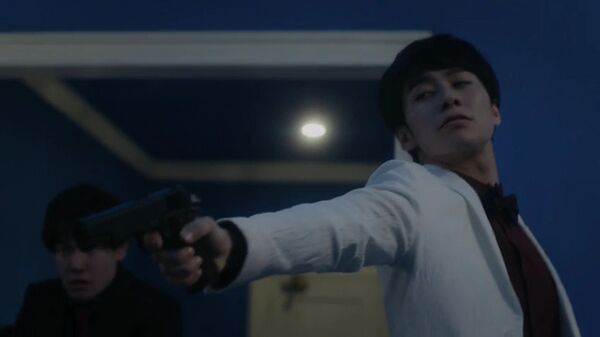
| + | [[Image:Tokyo Vampire Hotel E07 pistol 10 1.jpg|thumb|none|600px|Takumi aims his M1911 at vampire. (Ep.7).]] | ||
| + | [[Image:Tokyo Vampire Hotel E07 pistol 10 2.jpg|thumb|none|600px|Survovor pulls his pistol at Yamada. (Ep.7).]] | ||
==Desert Eagle Mark I== | ==Desert Eagle Mark I== | ||
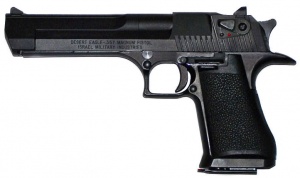
| Line 122: | Line 143: | ||
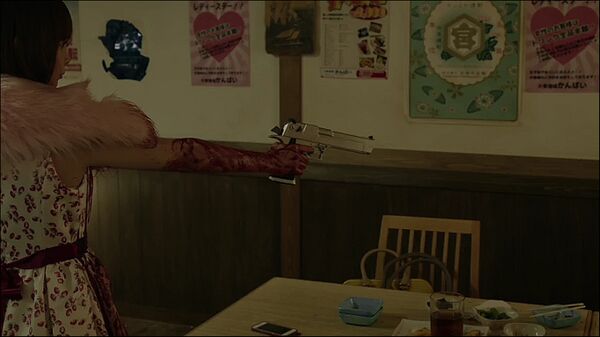
[[Image:Tokyo Vampire Hotel E01 pistol 2 3.jpg|thumb|none|600px|Giga aims her Desert Eagle...]] | [[Image:Tokyo Vampire Hotel E01 pistol 2 3.jpg|thumb|none|600px|Giga aims her Desert Eagle...]] | ||
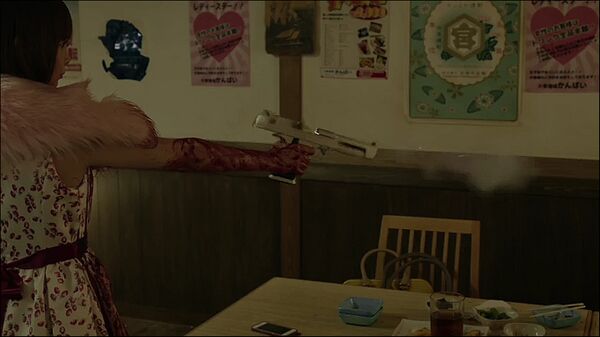
[[Image:Tokyo Vampire Hotel E01 pistol 2 4.jpg|thumb|none|600px|...and fires it. (Ep.1).]] | [[Image:Tokyo Vampire Hotel E01 pistol 2 4.jpg|thumb|none|600px|...and fires it. (Ep.1).]] | ||
| − | [[Image:Tokyo Vampire Hotel E03 guns 3 9.jpg|thumb|none|600px|The Desert Eagle pistol is seen at the bottom, left, alfet from | + | [[Image:Tokyo Vampire Hotel E03 guns 3 9.jpg|thumb|none|600px|The Desert Eagle pistol is seen at the bottom, left, alfet from S&W. (Ep.3).]] |
[[Image:Tokyo Vampire Hotel E03 guns 3 11.jpg|thumb|none|600px|A better view of two Desert Eagles, one of them was previously depicted, another one is seen above it. (Ep.3).]] | [[Image:Tokyo Vampire Hotel E03 guns 3 11.jpg|thumb|none|600px|A better view of two Desert Eagles, one of them was previously depicted, another one is seen above it. (Ep.3).]] | ||
| + | [[Image:Tokyo Vampire Hotel E06 guns 3 26.jpg|thumb|none|600px|The Desert Eagle is seen on the wall. (Ep.6).]] | ||
[[Image:Tokyo Vampire Hotel E08.1 pistol 16 1.jpg|thumb|none|600px|Maruki (Moe Miura) aims the Desert Eagle after firing it. (Ep.8.1).]] | [[Image:Tokyo Vampire Hotel E08.1 pistol 16 1.jpg|thumb|none|600px|Maruki (Moe Miura) aims the Desert Eagle after firing it. (Ep.8.1).]] | ||
[[Image:Tokyo Vampire Hotel E08.1 pistol 16 2.jpg|thumb|none|600px|A closer view of Maruki's Desert Eagle. (Ep.8.1).]] | [[Image:Tokyo Vampire Hotel E08.1 pistol 16 2.jpg|thumb|none|600px|A closer view of Maruki's Desert Eagle. (Ep.8.1).]] | ||
| Line 146: | Line 168: | ||
[[Image:Tokyo Vampire Hotel E06 pistol 9 1.jpg|thumb|none|600px|Vampire aims the pistol...]] | [[Image:Tokyo Vampire Hotel E06 pistol 9 1.jpg|thumb|none|600px|Vampire aims the pistol...]] | ||
[[Image:Tokyo Vampire Hotel E06 pistol 9 2.jpg|thumb|none|600px|and fires it. (Ep.6).]] | [[Image:Tokyo Vampire Hotel E06 pistol 9 2.jpg|thumb|none|600px|and fires it. (Ep.6).]] | ||
| + | [[Image:Tokyo Vampire Hotel E07 pistol 12 1.jpg|thumb|none|600px|Ami Nagashima (Anna Konno) pulls the pistol. (Ep.7).]] | ||
| + | [[Image:Tokyo Vampire Hotel E07 pistol 12 2.jpg|thumb|none|600px|A closer view of Nagashima's pistol. (Ep.7).]] | ||
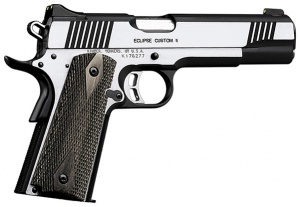
==Kimber Eclipse Custom II== | ==Kimber Eclipse Custom II== | ||
| Line 186: | Line 210: | ||
[[Image:Tokyo Vampire Hotel E03 guns 3 4.jpg|thumb|none|600px|The S&W is seen at the top, right. (Ep.3).]] | [[Image:Tokyo Vampire Hotel E03 guns 3 4.jpg|thumb|none|600px|The S&W is seen at the top, right. (Ep.3).]] | ||
[[Image:Tokyo Vampire Hotel E03 guns 3 9.jpg|thumb|none|600px|A good view of the S&W (under the MP40). (Ep.3).]] | [[Image:Tokyo Vampire Hotel E03 guns 3 9.jpg|thumb|none|600px|A good view of the S&W (under the MP40). (Ep.3).]] | ||
| + | [[Image:Tokyo Vampire Hotel E06 guns 3 26.jpg|thumb|none|600px|The S&W is seen on the wall. (Ep.6).]] | ||
| + | [[Image:Tokyo Vampire Hotel E06 guns 3 29.jpg|thumb|none|600px|Takumi Kaga grabs the S&W from the wall. (Ep.6).]] | ||
| + | [[Image:Tokyo Vampire Hotel E06 guns 3 30.jpg|thumb|none|600px|A top view of Takumi's revolver. (Ep.6).]] | ||
| + | [[Image:Tokyo Vampire Hotel E06 guns 3 31.jpg|thumb|none|600px|Takumi holds the revolver after checking it. (Ep.6).]] | ||
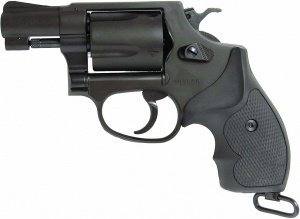
==Smith & Wesson Model 37== | ==Smith & Wesson Model 37== | ||
| Line 194: | Line 222: | ||
[[Image:Tokyo Vampire Hotel E09 revolver 3 3.jpg|thumb|none|600px|Vampire brandishes the revolver. (Ep.9).]] | [[Image:Tokyo Vampire Hotel E09 revolver 3 3.jpg|thumb|none|600px|Vampire brandishes the revolver. (Ep.9).]] | ||
[[Image:Tokyo Vampire Hotel E09 revolver 3 4.jpg|thumb|none|600px|Vampire aims his revolver. (Ep.9).]] | [[Image:Tokyo Vampire Hotel E09 revolver 3 4.jpg|thumb|none|600px|Vampire aims his revolver. (Ep.9).]] | ||
| − | |||
| − | |||
| − | |||
| − | |||
==Smith & Wesson Model 60== | ==Smith & Wesson Model 60== | ||
| Line 230: | Line 254: | ||
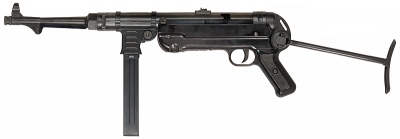
[[File:MP40Side.jpg|thumb|none|400px|MP40 - 9x19mm]] | [[File:MP40Side.jpg|thumb|none|400px|MP40 - 9x19mm]] | ||
[[Image:Tokyo Vampire Hotel E03 guns 3 9.jpg|thumb|none|600px|A good view of the MP40. (Ep.3).]] | [[Image:Tokyo Vampire Hotel E03 guns 3 9.jpg|thumb|none|600px|A good view of the MP40. (Ep.3).]] | ||
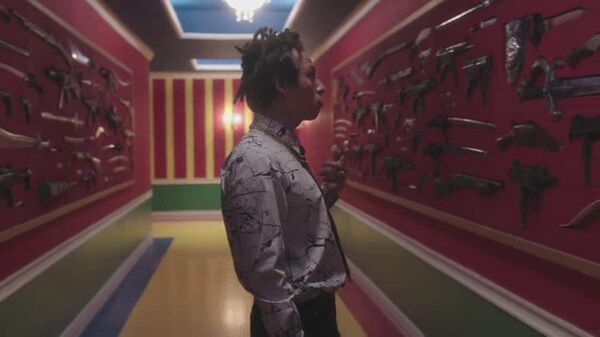
| − | + | [[Image:Tokyo Vampire Hotel E06 guns 3 26.jpg|thumb|none|600px|The MP40 is seen on the wall. (Ep.6).]] | |
==IMI Uzi== | ==IMI Uzi== | ||
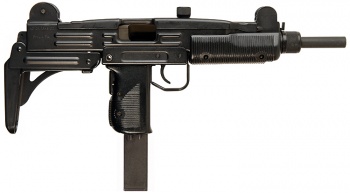
| Line 237: | Line 261: | ||
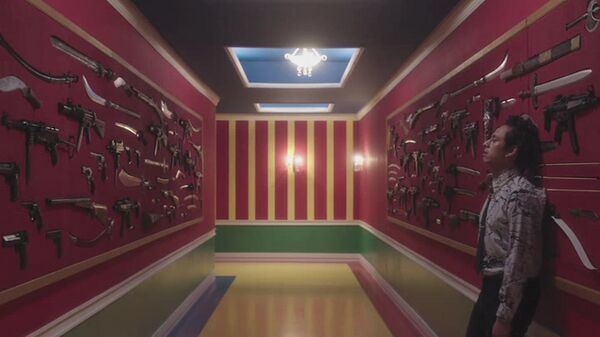
[[Image:Tokyo Vampire Hotel E03 guns 3 2.jpg|thumb|none|600px|Numerous Uzi's is seen on the wall (at the right). (Ep.3).]] | [[Image:Tokyo Vampire Hotel E03 guns 3 2.jpg|thumb|none|600px|Numerous Uzi's is seen on the wall (at the right). (Ep.3).]] | ||
[[Image:Tokyo Vampire Hotel E03 guns 3 3.jpg|thumb|none|600px|A ditto. (Ep.3).]] | [[Image:Tokyo Vampire Hotel E03 guns 3 3.jpg|thumb|none|600px|A ditto. (Ep.3).]] | ||
| − | |||
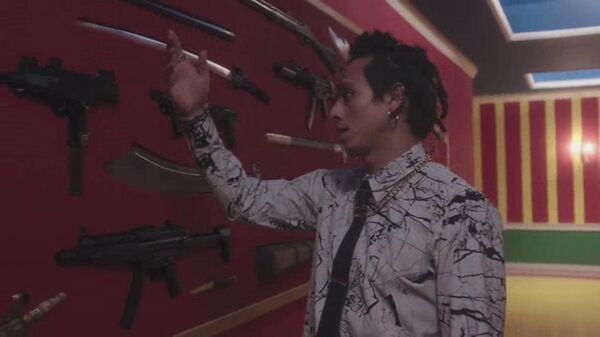
[[Image:Tokyo Vampire Hotel E03 guns 3 4.jpg|thumb|none|600px|The good view of the Uzi (between Yamada's arm and AK). (Ep.3).]] | [[Image:Tokyo Vampire Hotel E03 guns 3 4.jpg|thumb|none|600px|The good view of the Uzi (between Yamada's arm and AK). (Ep.3).]] | ||
[[Image:Tokyo Vampire Hotel E03 guns 3 7.jpg|thumb|none|600px|A good view of the Uzi (top, left). (Ep.3).]] | [[Image:Tokyo Vampire Hotel E03 guns 3 7.jpg|thumb|none|600px|A good view of the Uzi (top, left). (Ep.3).]] | ||
[[Image:Tokyo Vampire Hotel E03 guns 3 10.jpg|thumb|none|600px|More Uzi's is seen hanged on the wall. (Ep.3).]] | [[Image:Tokyo Vampire Hotel E03 guns 3 10.jpg|thumb|none|600px|More Uzi's is seen hanged on the wall. (Ep.3).]] | ||
| + | [[Image:Tokyo Vampire Hotel E04 guns 3 13.jpg|thumb|none|600px|The Uzi is seen at the background. (Ep.4).]] | ||
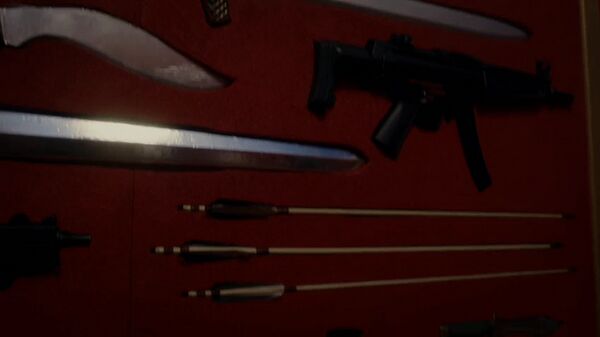
| + | [[Image:Tokyo Vampire Hotel E05 guns 3 23.jpg|thumb|none|600px|The Uzi is seen on the wall. (Ep.5).]] | ||
==Ingram MAC-10== | ==Ingram MAC-10== | ||
| Line 248: | Line 273: | ||
[[Image:Tokyo Vampire Hotel E03 guns 3 3.jpg|thumb|none|600px|A ditto. (Ep.3).]] | [[Image:Tokyo Vampire Hotel E03 guns 3 3.jpg|thumb|none|600px|A ditto. (Ep.3).]] | ||
[[Image:Tokyo Vampire Hotel E03 guns 3 10.jpg|thumb|none|600px|One more MAC-10 is seen hanged on the wall. (Ep.3).]] | [[Image:Tokyo Vampire Hotel E03 guns 3 10.jpg|thumb|none|600px|One more MAC-10 is seen hanged on the wall. (Ep.3).]] | ||
| + | [[Image:Tokyo Vampire Hotel E04 guns 3 13.jpg|thumb|none|600px|The MAC is seen at the background. (Ep.4).]] | ||
==Heckler & Koch MP5A2== | ==Heckler & Koch MP5A2== | ||
| Line 263: | Line 289: | ||
[[Image:Tokyo Vampire Hotel E01 SMG 2 2.jpg|thumb|none|600px|The stock of Dre's MP5 is seen. (Ep.1).]] | [[Image:Tokyo Vampire Hotel E01 SMG 2 2.jpg|thumb|none|600px|The stock of Dre's MP5 is seen. (Ep.1).]] | ||
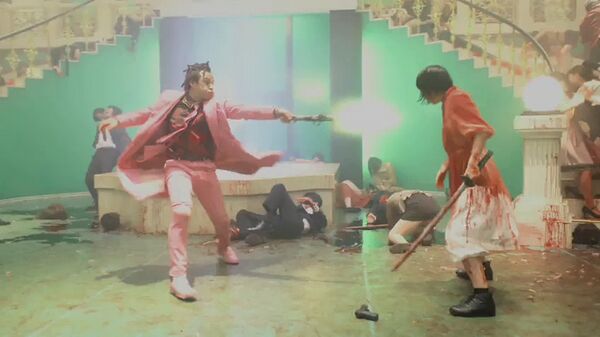
[[Image:Tokyo Vampire Hotel E02 guns 2 3.jpg|thumb|none|600px|Jill (Izumi Yumeno) and Dre (Haruna Yokoyama) fire their MP5A3. K fires the Beretta. (Ep.2).]] | [[Image:Tokyo Vampire Hotel E02 guns 2 3.jpg|thumb|none|600px|Jill (Izumi Yumeno) and Dre (Haruna Yokoyama) fire their MP5A3. K fires the Beretta. (Ep.2).]] | ||
| − | |||
[[Image:Tokyo Vampire Hotel E03 guns 3 1.jpg|thumb|none|600px|The MP5A3 is seen on the wall. (Ep.3).]] | [[Image:Tokyo Vampire Hotel E03 guns 3 1.jpg|thumb|none|600px|The MP5A3 is seen on the wall. (Ep.3).]] | ||
[[Image:Tokyo Vampire Hotel E03 guns 3 5.jpg|thumb|none|600px|Another MP5A3 is seen on the wall (bottom, left). (Ep.3).]] | [[Image:Tokyo Vampire Hotel E03 guns 3 5.jpg|thumb|none|600px|Another MP5A3 is seen on the wall (bottom, left). (Ep.3).]] | ||
[[Image:Tokyo Vampire Hotel E03 guns 3 11.jpg|thumb|none|600px|One more MPA3 is seen on the wall. (Ep.3).]] | [[Image:Tokyo Vampire Hotel E03 guns 3 11.jpg|thumb|none|600px|One more MPA3 is seen on the wall. (Ep.3).]] | ||
| + | [[Image:Tokyo Vampire Hotel E05 guns 3 21.jpg|thumb|none|600px|A perfect view of the MP5A3. (Ep.5).]] | ||
| + | [[Image:Tokyo Vampire Hotel E06 guns 3 33.jpg|thumb|none|600px|Takumi Kaga (uncredited) aims the MP5. (Ep.6).]] | ||
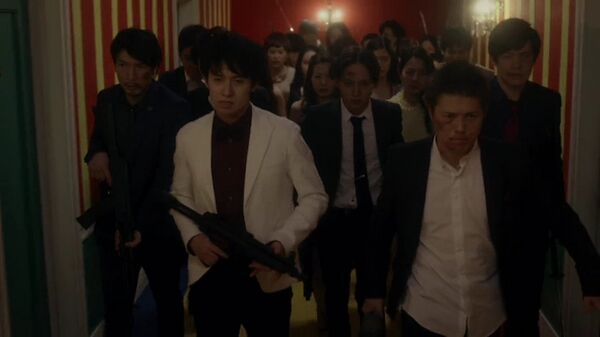
| + | [[Image:Tokyo Vampire Hotel E06 guns 3 32.jpg|thumb|none|600px|Takumi holds the MP5A3. (Ep.6).]] | ||
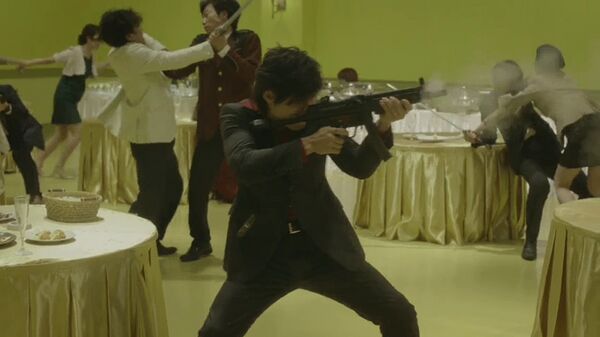
| + | [[Image:Tokyo Vampire Hotel E07 SMG 2 9.jpg|thumb|none|600px|Survivor fires his MP5A3. (Ep.7).]] | ||
==Heckler & Koch MP5SD== | ==Heckler & Koch MP5SD== | ||
| Line 274: | Line 303: | ||
[[Image:Tokyo Vampire Hotel E03 guns 3 8.jpg|thumb|none|600px|Another MPA2 is seen at the top. (Ep.3).]] | [[Image:Tokyo Vampire Hotel E03 guns 3 8.jpg|thumb|none|600px|Another MPA2 is seen at the top. (Ep.3).]] | ||
[[Image:Tokyo Vampire Hotel E03 guns 3 9.jpg|thumb|none|600px|A ditto. (Ep.3).]] | [[Image:Tokyo Vampire Hotel E03 guns 3 9.jpg|thumb|none|600px|A ditto. (Ep.3).]] | ||
| + | [[Image:Tokyo Vampire Hotel E06 guns 3 26.jpg|thumb|none|600px|The MP5SD is seen on the wall. (Ep.6).]] | ||
==Heckler & Koch MP5K== | ==Heckler & Koch MP5K== | ||
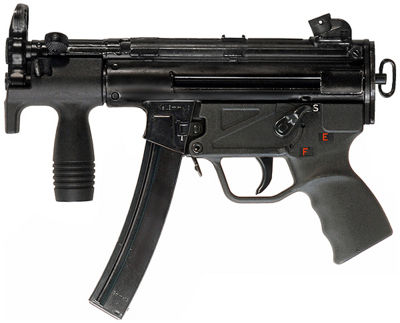
| Line 281: | Line 311: | ||
[[Image:Tokyo Vampire Hotel E03 guns 3 3.jpg|thumb|none|600px|A ditto. (Ep.3).]] | [[Image:Tokyo Vampire Hotel E03 guns 3 3.jpg|thumb|none|600px|A ditto. (Ep.3).]] | ||
[[Image:Tokyo Vampire Hotel E03 guns 3 4.jpg|thumb|none|600px|The MP5K is seen on the wall (between Yamada's hand and S&W). (Ep.3).]] | [[Image:Tokyo Vampire Hotel E03 guns 3 4.jpg|thumb|none|600px|The MP5K is seen on the wall (between Yamada's hand and S&W). (Ep.3).]] | ||
| + | |||
| + | ==Sa 25== | ||
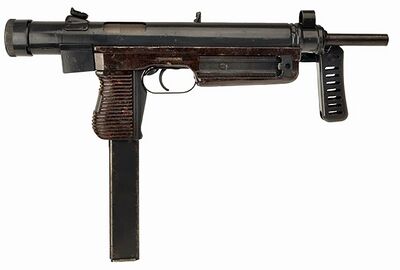
| + | A [[Sa 25]] can be seen used by Ichiro Yamoto (uncredited). | ||
| + | [[File:Sa 25.jpg|thumb|none|400px|Sa 25 - 9x19mm. Note the slide on the handguard, which is a speedloader for magazines. The stock folds to the left, and can be used as a foregrip when folded.]] | ||
| + | [[Image:Tokyo Vampire Hotel E06 guns 3 33.jpg|thumb|none|600px|Ichiro Yamoto holds his SMG (pointed by the red arrow). (Ep.6).]] | ||
| + | [[Image:Tokyo Vampire Hotel E06 guns 3 33.jpg|thumb|none|600px|Ichiro Yamoto about to fire his SMG. (Ep.6).]] | ||
==Steyr TMP== | ==Steyr TMP== | ||
| Line 301: | Line 337: | ||
[[Image:Stevens12GaugeShotgun.jpg|thumb|none|400px|J. Stevens and Company Side by Side Shotgun (Circa 1878) exposed hammers and designed to fire Black Powder shotgun shells - 12 gauge]] | [[Image:Stevens12GaugeShotgun.jpg|thumb|none|400px|J. Stevens and Company Side by Side Shotgun (Circa 1878) exposed hammers and designed to fire Black Powder shotgun shells - 12 gauge]] | ||
[[Image:Tokyo Vampire Hotel E03 guns 3 8.jpg|thumb|none|600px|The DBS is seen on the wall (under Yamada's hand). (Ep.3).]] | [[Image:Tokyo Vampire Hotel E03 guns 3 8.jpg|thumb|none|600px|The DBS is seen on the wall (under Yamada's hand). (Ep.3).]] | ||
| + | [[Image:Tokyo Vampire Hotel E06 guns 3 26.jpg|thumb|none|600px|The DBS is seen on the wall. (Ep.6).]] | ||
==Percussion Shotgun== | ==Percussion Shotgun== | ||
| Line 307: | Line 344: | ||
[[Image:Tokyo Vampire Hotel E03 guns 3 7.jpg|thumb|none|600px|The shotgun is seen on the wall (aleft from Yamada's head). (Ep.3).]] | [[Image:Tokyo Vampire Hotel E03 guns 3 7.jpg|thumb|none|600px|The shotgun is seen on the wall (aleft from Yamada's head). (Ep.3).]] | ||
[[Image:Tokyo Vampire Hotel E03 guns 3 7.jpg|thumb|none|600px|The shotgun is seen on the wall (aleft from Yamada's head). (Ep.3).]] | [[Image:Tokyo Vampire Hotel E03 guns 3 7.jpg|thumb|none|600px|The shotgun is seen on the wall (aleft from Yamada's head). (Ep.3).]] | ||
| + | [[Image:Tokyo Vampire Hotel E06 guns 3 24.jpg|thumb|none|600px|The distant view of the same shotgun. (Ep.6).]] | ||
==Ithaca 37== | ==Ithaca 37== | ||
| Line 318: | Line 356: | ||
A [[Mossberg 590]] is seen in the hands of survivor at the episode 7 | A [[Mossberg 590]] is seen in the hands of survivor at the episode 7 | ||
[[Image:Moss590A1.jpg|thumb|none|400px|Mossberg 590 with 5-round magazine tube and speedfeed stock - 12 gauge]] | [[Image:Moss590A1.jpg|thumb|none|400px|Mossberg 590 with 5-round magazine tube and speedfeed stock - 12 gauge]] | ||
| + | [[Image:Tokyo Vampire Hotel E05 guns 3 22.jpg|thumb|none|600px|The shotgun's buttstock is partly seen. (Ep.5).]] | ||
| + | [[Image:Tokyo Vampire Hotel E06 guns 3 25.jpg|thumb|none|600px|The shotgun is seen at the left wall. (Ep.6).]] | ||
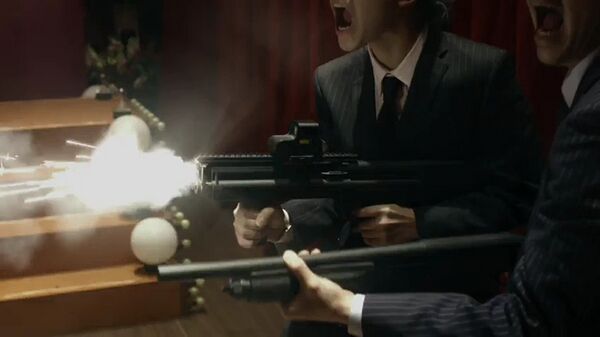
| + | [[Image:Tokyo Vampire Hotel E07 shotguns 2 1.jpg|thumb|none|600px|Two survivors raises their shotguns.]] | ||
| + | [[Image:Tokyo Vampire Hotel E07 shotguns 2 2.jpg|thumb|none|600px|Another view of the same scene.]] | ||
[[Image:Tokyo Vampire Hotel E07 pistol 5 9.jpg|thumb|none|600px|The survivors are gunned down by Yamada.]] | [[Image:Tokyo Vampire Hotel E07 pistol 5 9.jpg|thumb|none|600px|The survivors are gunned down by Yamada.]] | ||
| Line 329: | Line 371: | ||
[[Image:Tokyo Vampire Hotel E03 guns 3 2.jpg|thumb|none|600px|The shotgun is seen on the wall. (Ep.3).]] | [[Image:Tokyo Vampire Hotel E03 guns 3 2.jpg|thumb|none|600px|The shotgun is seen on the wall. (Ep.3).]] | ||
[[Image:Tokyo Vampire Hotel E04 guns 3 15.jpg|thumb|none|600px|The shotgun is seen on the wall. (Ep.4).]] | [[Image:Tokyo Vampire Hotel E04 guns 3 15.jpg|thumb|none|600px|The shotgun is seen on the wall. (Ep.4).]] | ||
| + | [[Image:Tokyo Vampire Hotel E07 shotguns 2 1.jpg|thumb|none|600px|Two survivors raises their shotguns.]] | ||
| + | [[Image:Tokyo Vampire Hotel E07 shotguns 2 2.jpg|thumb|none|600px|Another view of the same scene.]] | ||
| + | [[Image:Tokyo Vampire Hotel E07 shotguns 2 3.jpg|thumb|none|600px|Survivor fires. (Ep.7).]] | ||
[[Image:Tokyo Vampire Hotel E07 pistol 5 9.jpg|thumb|none|600px|The survivors are gunned down by Yamada. (Ep.7).]] | [[Image:Tokyo Vampire Hotel E07 pistol 5 9.jpg|thumb|none|600px|The survivors are gunned down by Yamada. (Ep.7).]] | ||
| Line 337: | Line 382: | ||
[[Image:Tokyo Vampire Hotel E03 guns 3 3.jpg|thumb|none|600px|The AK is seen hanged on the wall. (Ep.3).]] | [[Image:Tokyo Vampire Hotel E03 guns 3 3.jpg|thumb|none|600px|The AK is seen hanged on the wall. (Ep.3).]] | ||
[[Image:Tokyo Vampire Hotel E03 guns 3 4.jpg|thumb|none|600px|A better view of the AK. (Ep.3).]] | [[Image:Tokyo Vampire Hotel E03 guns 3 4.jpg|thumb|none|600px|A better view of the AK. (Ep.3).]] | ||
| − | + | [[Image:Tokyo Vampire Hotel E06 guns 3 27.jpg|thumb|none|600px|The AK is seen on the wall. (Ep.6).]] | |
| − | + | [[Image:Tokyo Vampire Hotel E06 guns 3 32.jpg|thumb|none|600px|Survivor holds the AK. (Ep.6).]] | |
| + | [[Image:Tokyo Vampire Hotel E06 guns 3 33.jpg|thumb|none|600px|Survivor (at the left) aims the AK. (Ep.6).]] | ||
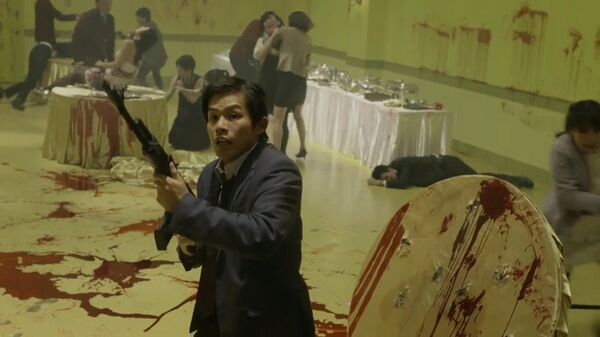
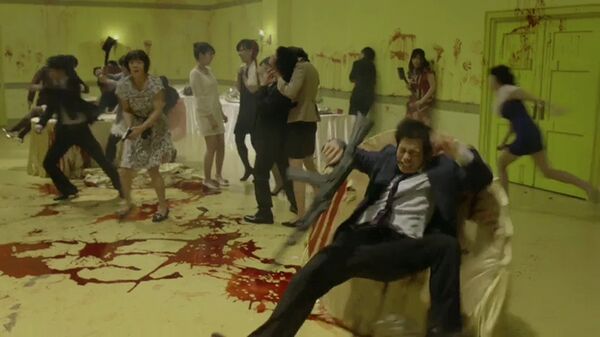
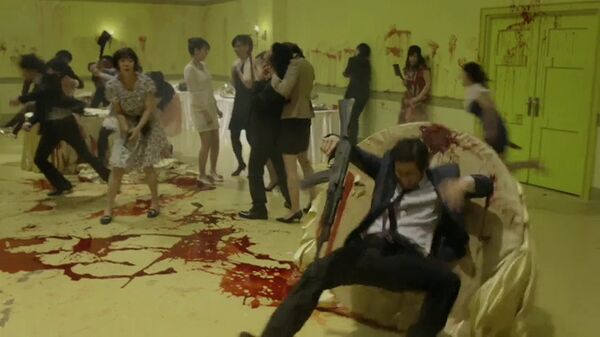
| + | [[Image:Tokyo Vampire Hotel E07 rifle 5 1.jpg|thumb|none|600px|Survivor raises his AK. (Ep.7).]] | ||
| + | [[Image:Tokyo Vampire Hotel E07 rifle 5 2.jpg|thumb|none|600px|The same survivor is gunned down...]] | ||
| + | [[Image:Tokyo Vampire Hotel E07 rifle 5 3.jpg|thumb|none|600px|...and drops his AK. (Ep.7).]] | ||
==Winchester Model 70== | ==Winchester Model 70== | ||
A [[Winchester Model 70]] is seen hanged on the wall. | A [[Winchester Model 70]] is seen hanged on the wall. | ||
| Line 348: | Line 397: | ||
Numerous characters use [[M4 Carbine]]s. | Numerous characters use [[M4 Carbine]]s. | ||
[[File:ColtM4 FirstVersion.jpg|thumb|none|400px|Colt M4 Carbine with 4 position collapsible stock - 5.56x45mm]] | [[File:ColtM4 FirstVersion.jpg|thumb|none|400px|Colt M4 Carbine with 4 position collapsible stock - 5.56x45mm]] | ||
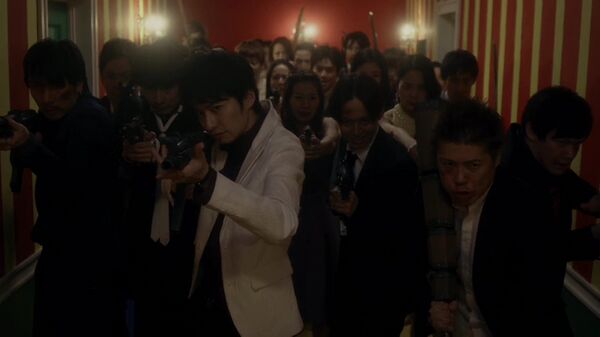
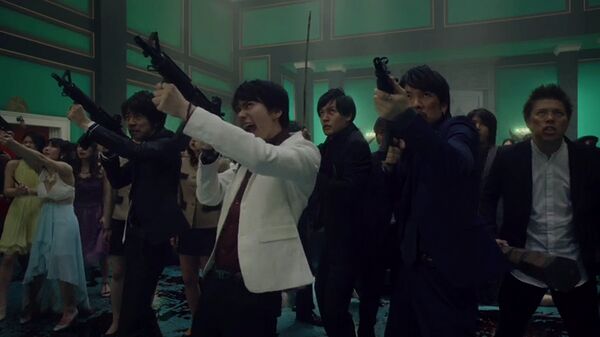
| + | [[Image:Tokyo Vampire Hotel E07 guns 3 35.jpg|thumb|none|600px|Numerous survivors fire the M4 carbines. (Ep.7).]] | ||
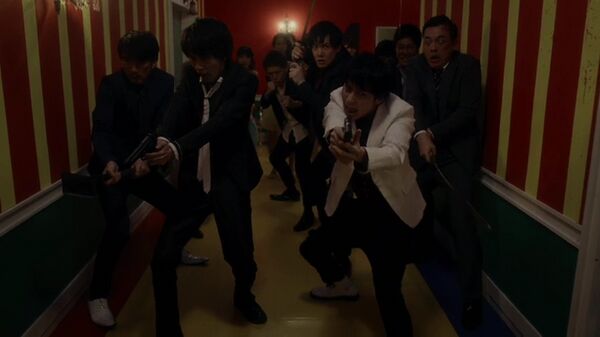
| + | [[Image:Tokyo Vampire Hotel E07 guns 3 35.jpg|thumb|none|600px|A ditto. Survivor at the center fires MP5A3, survivor at the far right fires Beretta 92FS, survivor at the background, right fires Glock 17. (Ep.7).]] | ||
| + | [[Image:Tokyo Vampire Hotel E07 rifle 4 1.jpg|thumb|none|600px|Survivor raises his M4 at Yamada. (Ep.7).]] | ||
| + | [[Image:Tokyo Vampire Hotel E07 rifle 4 2.jpg|thumb|none|600px|Another view of the same scene. (Ep.7).]] | ||
[[Image:Tokyo Vampire Hotel E07 rifle 4 3.jpg|thumb|none|600px|Yamada raises the rifle, captured from survivor. (Ep.7).]] | [[Image:Tokyo Vampire Hotel E07 rifle 4 3.jpg|thumb|none|600px|Yamada raises the rifle, captured from survivor. (Ep.7).]] | ||
[[Image:Tokyo Vampire Hotel E07 rifle 4 4.jpg|thumb|none|600px|A slightly other view of Yamada's rifle. (Ep.7).]] | [[Image:Tokyo Vampire Hotel E07 rifle 4 4.jpg|thumb|none|600px|A slightly other view of Yamada's rifle. (Ep.7).]] | ||
[[Image:Tokyo Vampire Hotel E07 rifle 4 5.jpg|thumb|none|600px|Yamada fires his rifle. (Ep.7).]] | [[Image:Tokyo Vampire Hotel E07 rifle 4 5.jpg|thumb|none|600px|Yamada fires his rifle. (Ep.7).]] | ||
[[Image:Tokyo Vampire Hotel E07 rifle 4 6.jpg|thumb|none|600px|Yamada's rifle is seen on the floor. (Ep.7).]] | [[Image:Tokyo Vampire Hotel E07 rifle 4 6.jpg|thumb|none|600px|Yamada's rifle is seen on the floor. (Ep.7).]] | ||
| + | [[Image:Tokyo Vampire Hotel E07 rifle 4 7.jpg|thumb|none|600px|Female survivor holds the M4 carbine. (Ep.7).]] | ||
=Trivia= | =Trivia= | ||
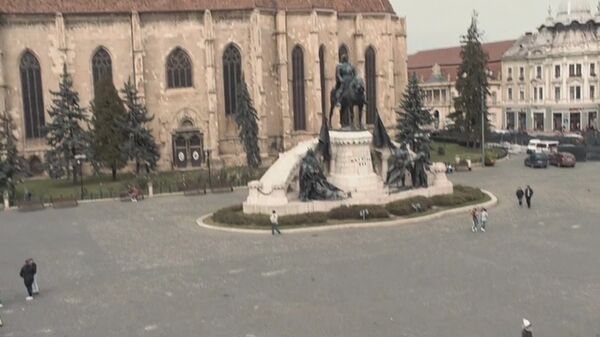
The statue at Bucharest, Romania depicts some gun wielding soldiers at the episode 2 | The statue at Bucharest, Romania depicts some gun wielding soldiers at the episode 2 | ||
[[Image:Tokyo Vampire Hotel E02 statue.jpg|thumb|none|600px|Numerous soldiers is seen aleft and aright from horseman.]] | [[Image:Tokyo Vampire Hotel E02 statue.jpg|thumb|none|600px|Numerous soldiers is seen aleft and aright from horseman.]] | ||
Revision as of 15:16, 21 November 2022
The following weapons were used in the television series Pyramid Silent/Sandbox 2:
Pistols
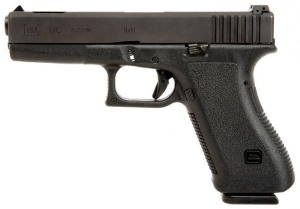
Glock 17
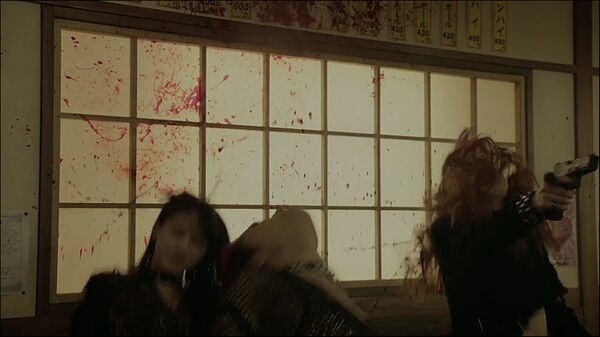
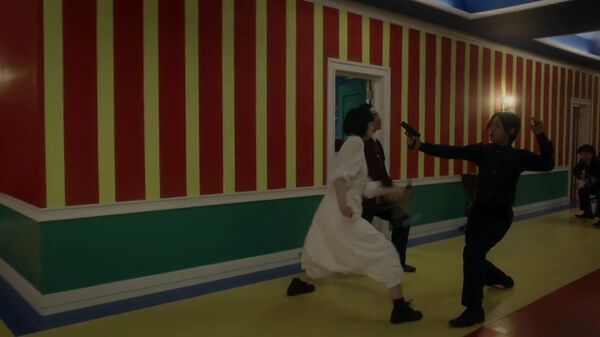
Nemerous characters uses Glock 17 pistols.
Glock 17 OD
Giga (Shôko Nakagawa) usses Glock 17 OD at the episode 1.
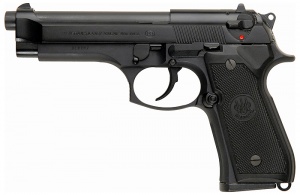
Beretta 92FS
A Beretta 92FS is the very popular sidearm.
Beretta 92FS Inox
A Beretta 92FS Inox is seen at the several points.
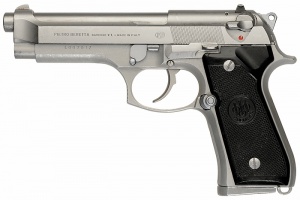
Beretta 93R
At least one survivor uses a Beretta 93R.
Taurus PT92AF
A Taurus PT92AF is used by K at the episode 7.
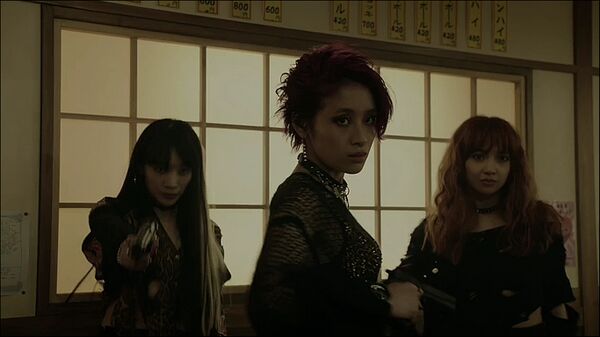
Walther PP
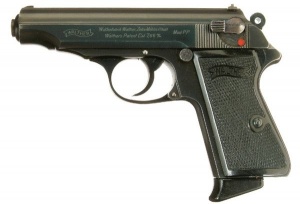
A Walther PP appeared in the hands of several characters.
Walther P38
The Walther P38 is seen hanged on the wall.
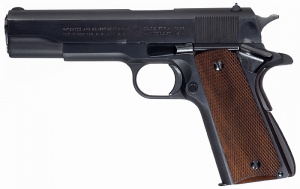
M1911A1
Numerous character use M1911A1s.
Desert Eagle Mark I
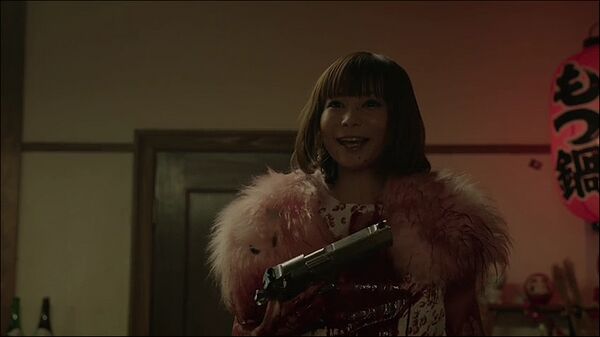
A Desert Eagle Mark Is is used by numerous characters.
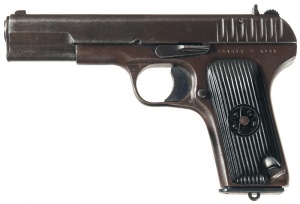
TT-33
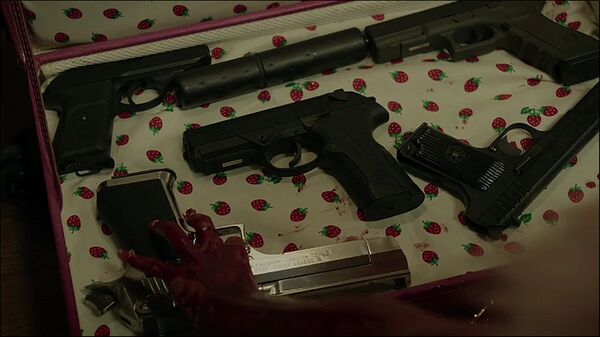
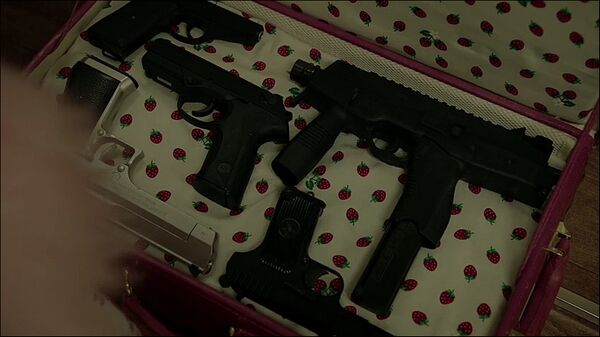
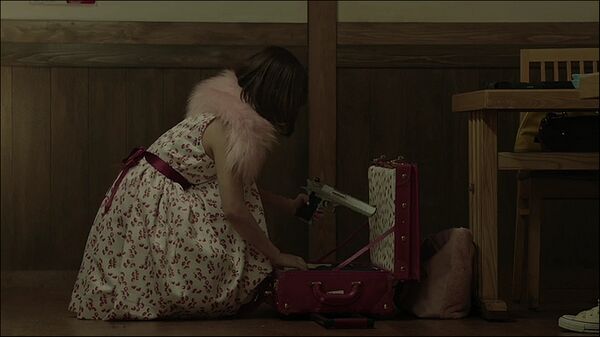
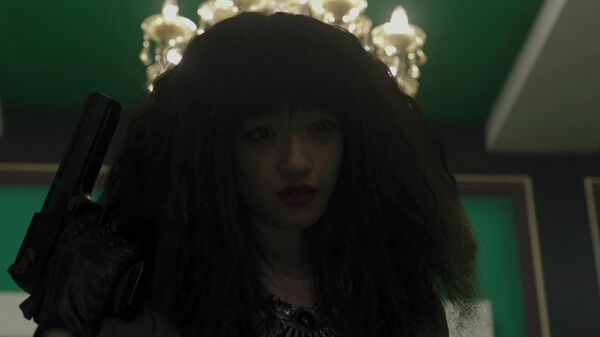
A TT-33 is seen in Giga's bag.
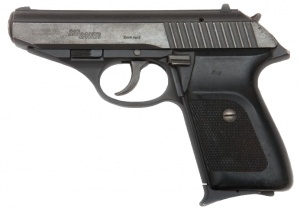
SIG-Sauer P230
A SIG-Sauer P230 is the one of Giga's firearms.
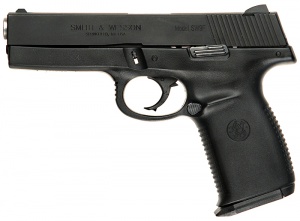
Smith & Wesson Sigma SW9F
A Smith & Wesson Sigma SW9F is seen in Giga's bag at the episode 1. Several characters uses the similar pistol (most likely, the same movie prop).
Kimber Eclipse Custom II
Numerous characters use a Kimber Eclipse Custom II throughout the TV-series.
Pistol-Axe
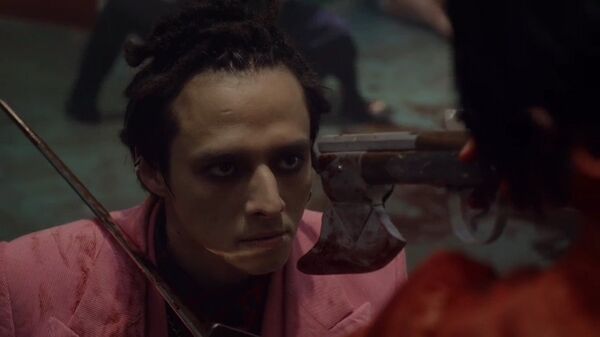
What appeared to be pistol-axe can be seen used by Yamda, until K toke it from him at the episode 7.
Various pistols
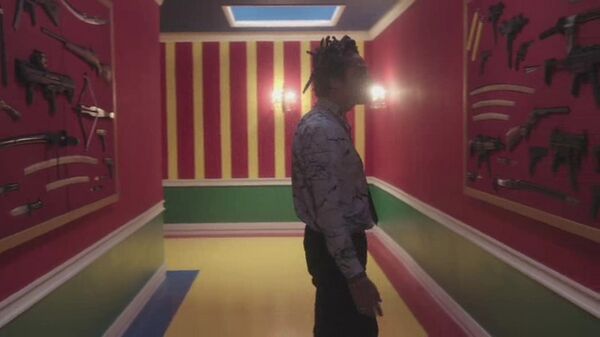
Numerous pistols can be seen at the several points.
Revolvers
Nambu Model 60
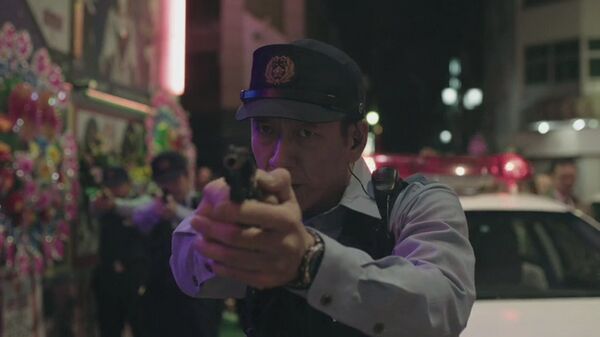
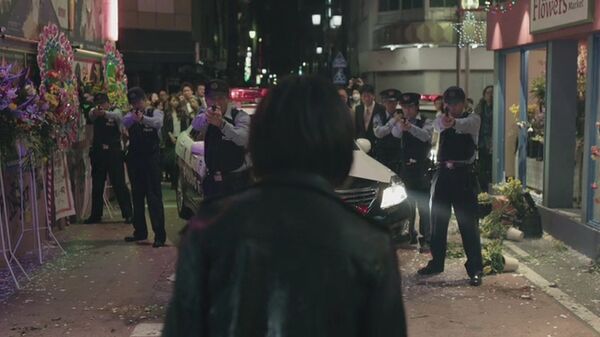
A Nambu Model 60 revolvers is the standard police sidearm.
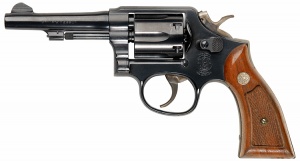
Smith & Wesson Model 10
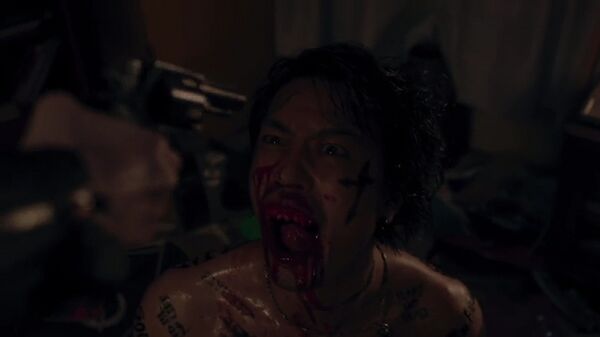
Numerous characters can be seen using a Smith & Wesson Model 10s
Smith & Wesson Model 37
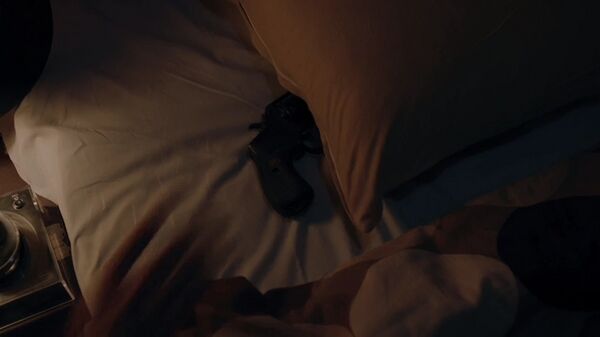
Two detectives owns Smith & Wesson Model 37 revolvers, which is toked from them by vampires at the episode 9.
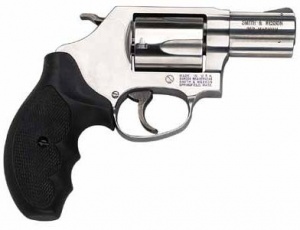
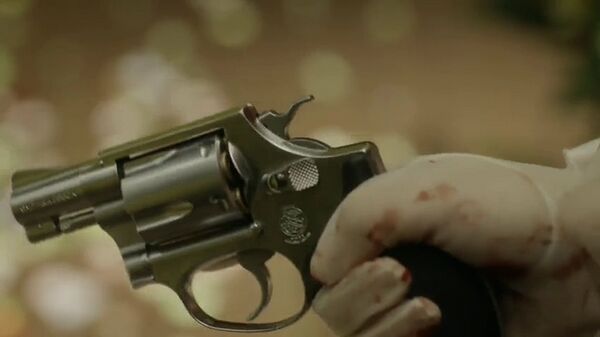
Smith & Wesson Model 60
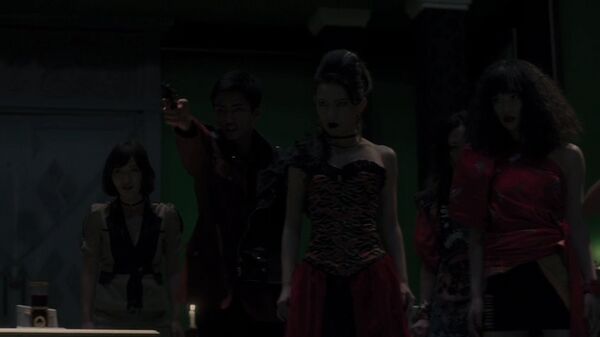
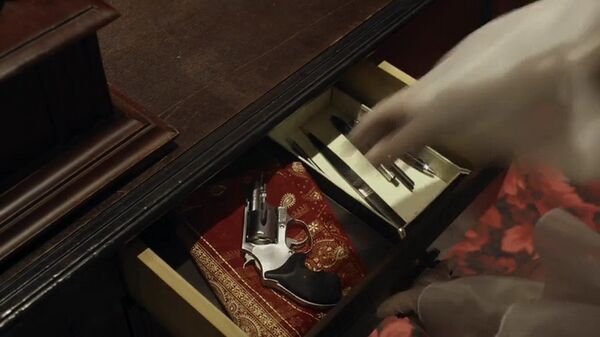
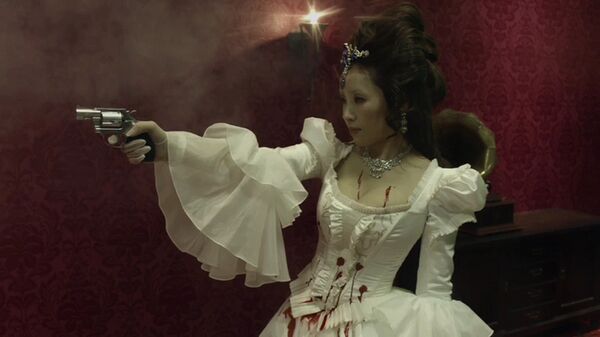
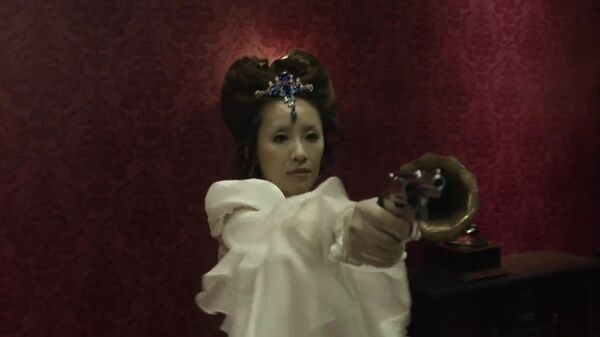
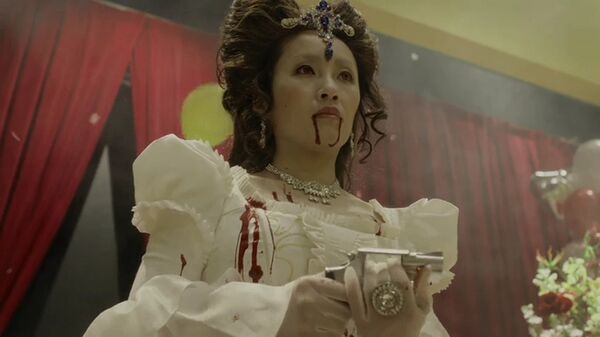
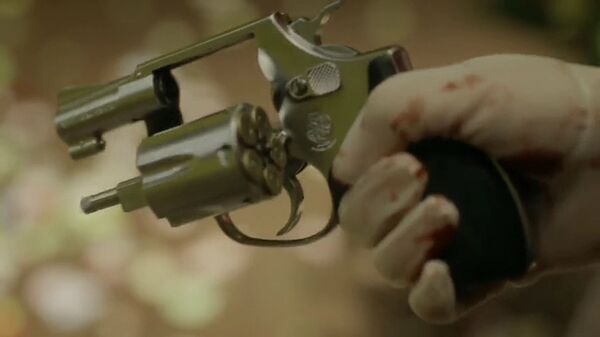
Elisabeth Bathory (Megumi Kagurazaka) uses a Smith & Wesson Model 60 at the episode 07.
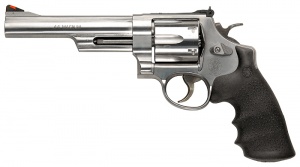
Smith & Wesson Model 629
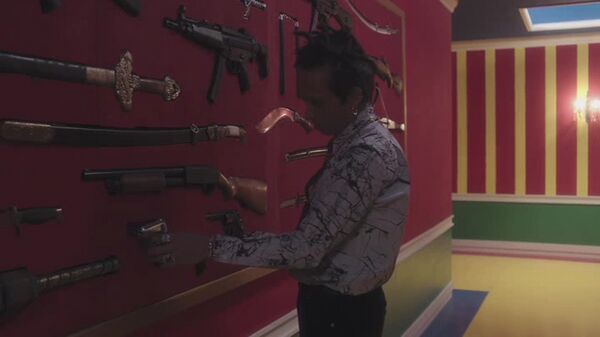
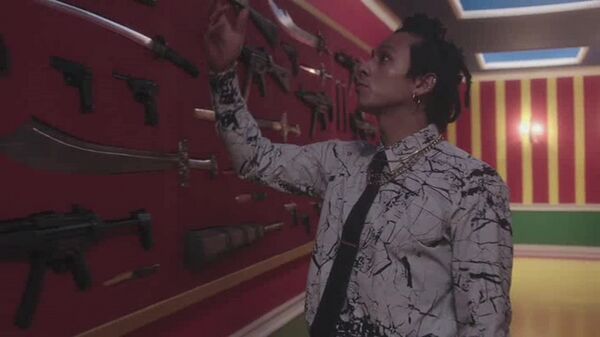
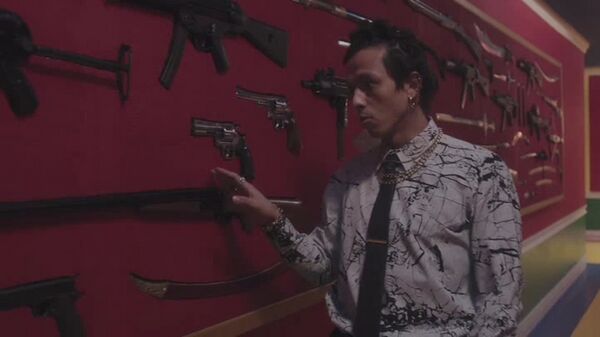
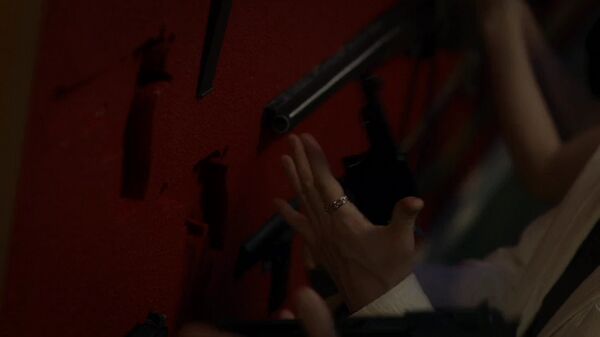
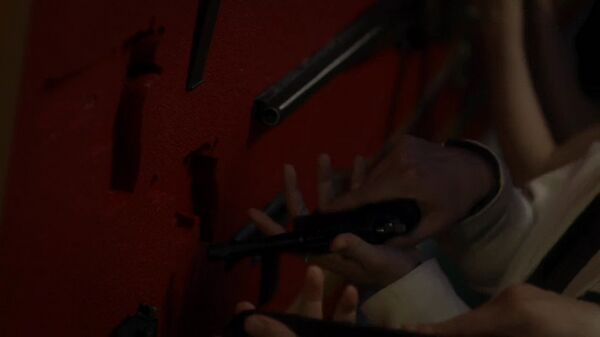
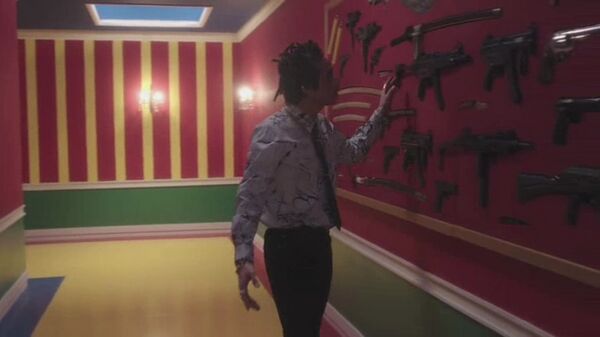
A Smith & Wesson Model 629 is seen hanged on the wall.
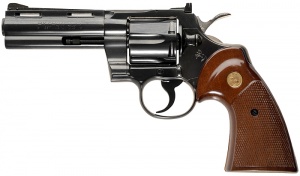
Colt Python
A Colt Python is seen hanged on the wall.
Various revolvers
Numerous revolvers can be seen at the several points.
Submachine Guns
MP40
IMI Uzi
An IMI Uzis is seen hanged on the wall.
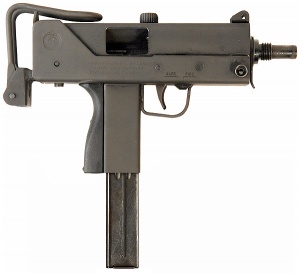
Ingram MAC-10
An Ingram MAC-10s is seen hanged on the wall.
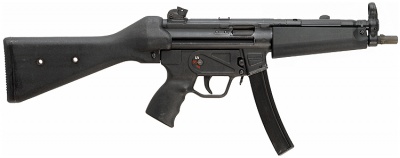
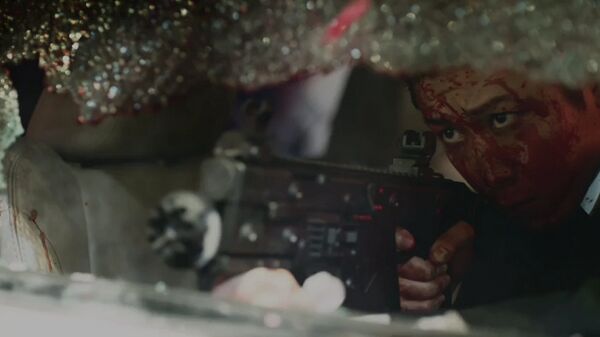
Heckler & Koch MP5A2
An Heckler & Koch MP5A2 is used by the numerous characters.
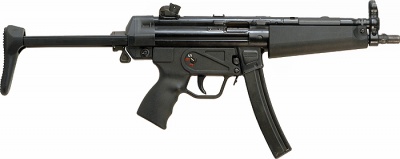
Heckler & Koch MP5A3
An Heckler & Koch MP5A3 can be seen at the several points.
Heckler & Koch MP5SD
Heckler & Koch MP5K
A Heckler & Koch MP5Ks is seen hanged on the wall.
Sa 25
A Sa 25 can be seen used by Ichiro Yamoto (uncredited).
Steyr TMP
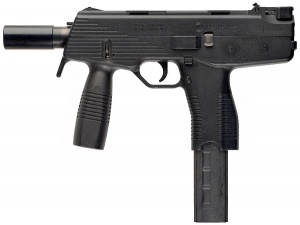
Giga uses Steyr TMP at the episode 1.
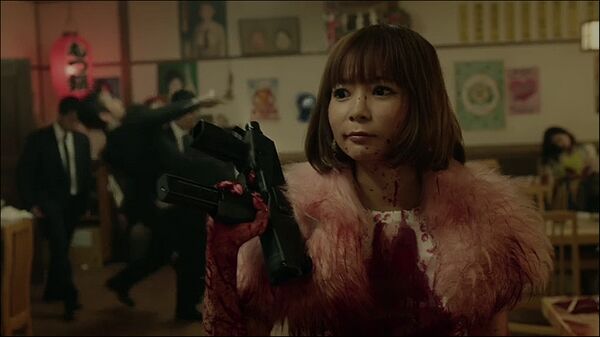
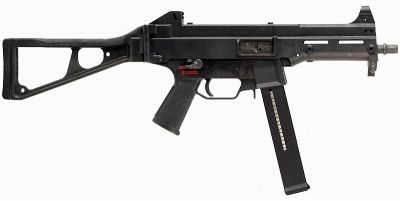
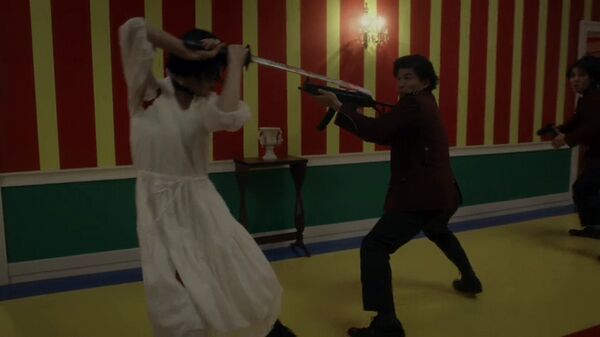
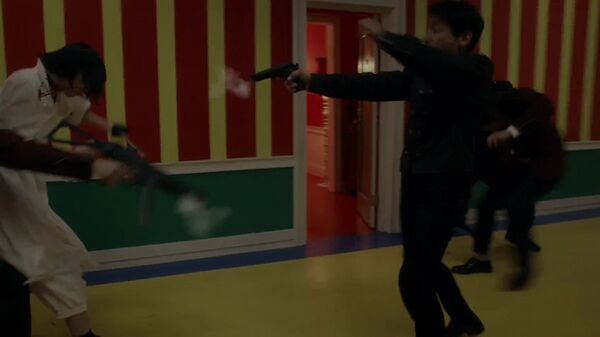
Heckler & Koch UMP
At lest one vampire uses Heckler & Koch UMP at the episode 7.
Shotguns
12 Gauge Double Barreled Shotgun
A 12 Gauge Double Barreled Shotgun is seen hanged on the wall.
Percussion Shotgun
A Percussion Shotgun is seen hanged on the wall.
Ithaca 37
An Ithaca 37s is seen hunged on the wall.
Mossberg 590
A Mossberg 590 is seen in the hands of survivor at the episode 7
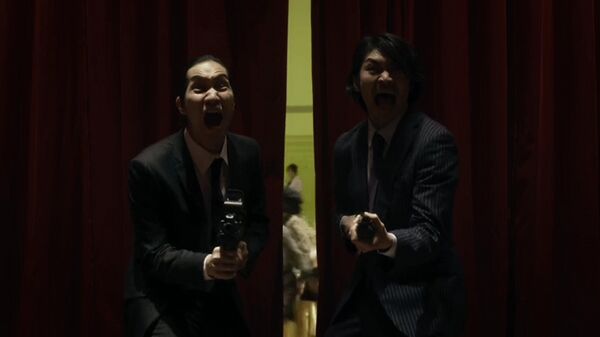
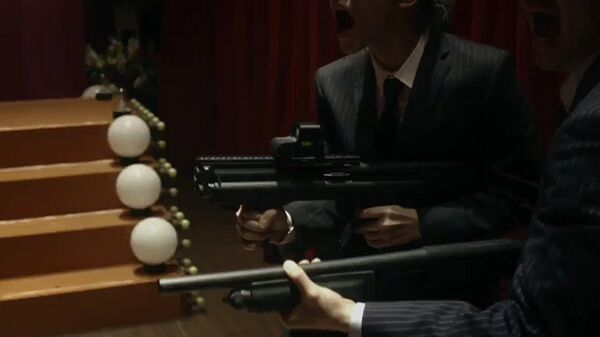
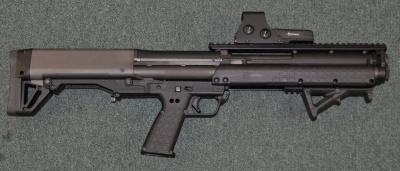
Kel-Tec KSG
Numerous characters, include Yamada (Shinnosuke Mitsushima), his driver (uncredited) and henchwoman (Asami) use the Kel-Tec KSG throughout the TV-series.
Rifles
AK-74M
Several characters use AK-74M rifles.
Winchester Model 70
A Winchester Model 70 is seen hanged on the wall.
M4 Carbine
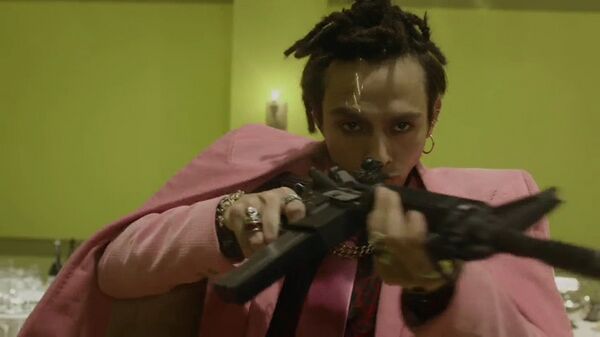
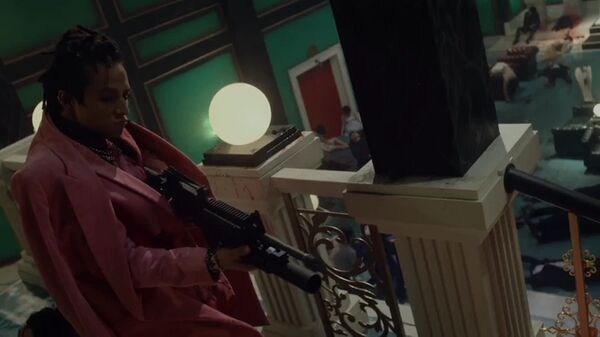
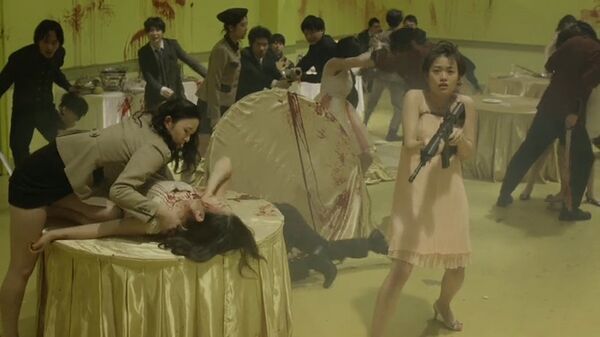
Numerous characters use M4 Carbines.
Trivia
The statue at Bucharest, Romania depicts some gun wielding soldiers at the episode 2
