| If you have been locked out of your account you can request a password reset here. |
Talk:Medal of Honor: Frontline
Vehicles
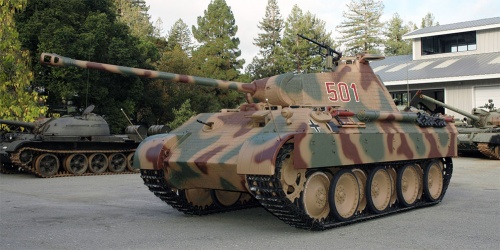
Panther Tank
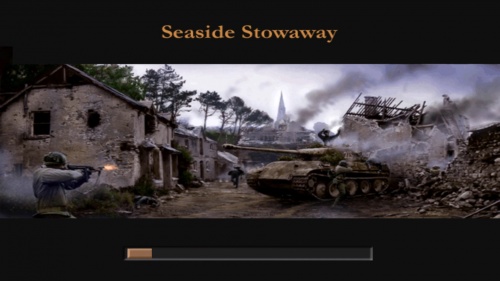
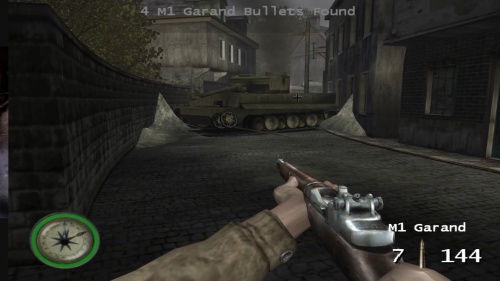
The loading screen for Level 1 of A Storm in the Port (Mission 2) features a Panther Tank in a village battle at St. Mathieu.
Panzer IV
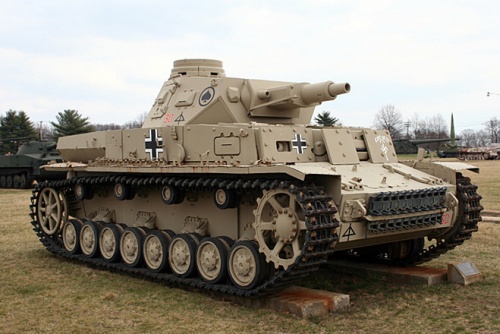
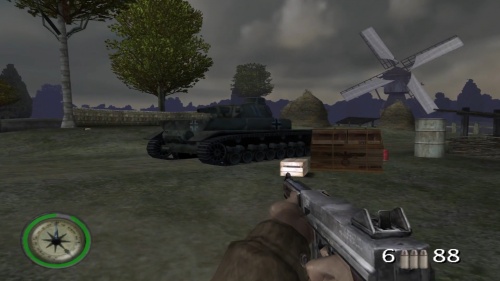
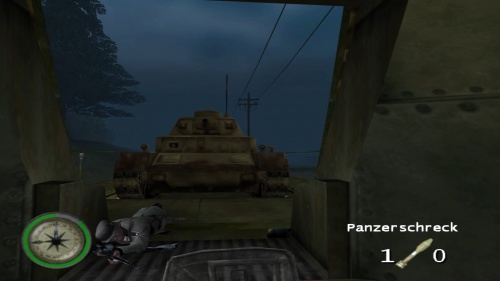
Panzer IV tanks are featured prominently in the game; sometimes as enemies and sometimes as props. Going with Medal of Honor tradition, they are relatively slow and can be destroyed by a mounted MG42; in reality this would just ruin the paint job. Several Panzer IV's are targeted for Corporal Barnes to destroy in Level 1 of Needle in the Haystack (Mission 3) where they act more as gun emplacements rather than vehicles, not moving at all. Unmanned Panzer IV's show up in later levels, most notably aboard Von Sturmgeist's Panzerzug. Also in Medal of Honor tradition, the Panzer IV's appear a bit smaller than their real-life counterpart.
Behind the Scenes
Tiger I
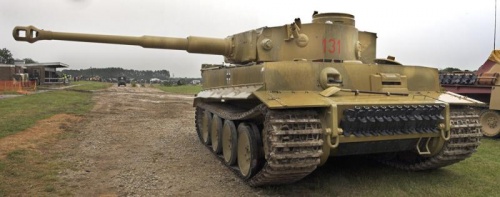
Like the Panzer IV, the Tiger I is seen briefly in the game. It is never encountered as an enemy obstacle, but a hostile Panzerspähzug seems to use a Tiger I turret in Level 2 of Rolling Thunder (Mission 5).
Behelfmassischer Panzerzug 42
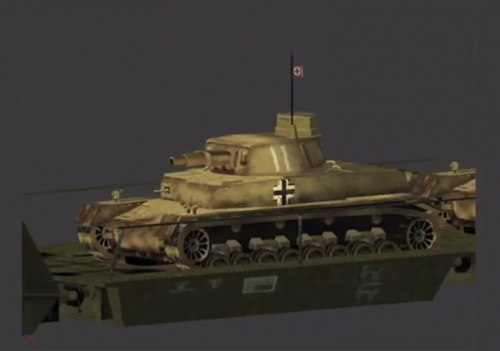
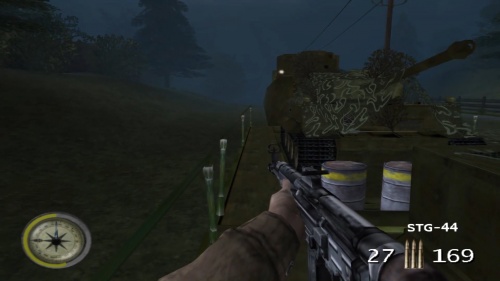
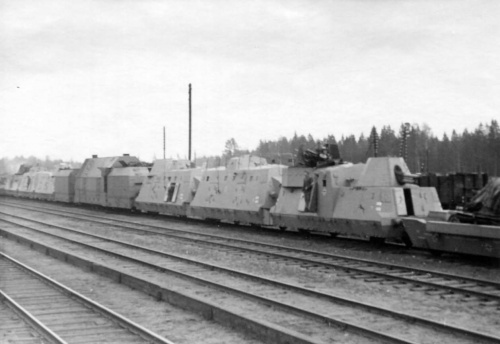
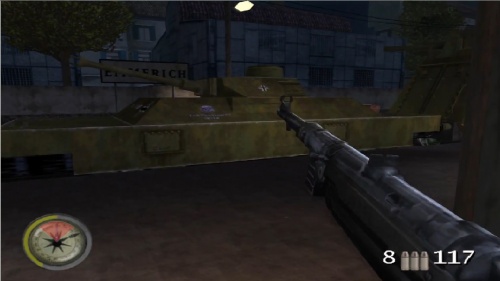
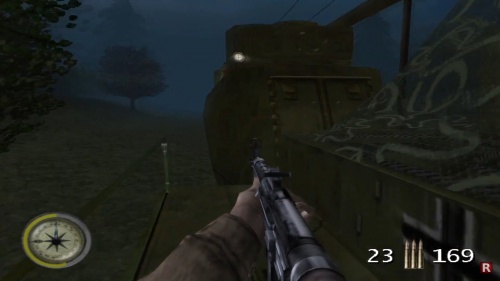
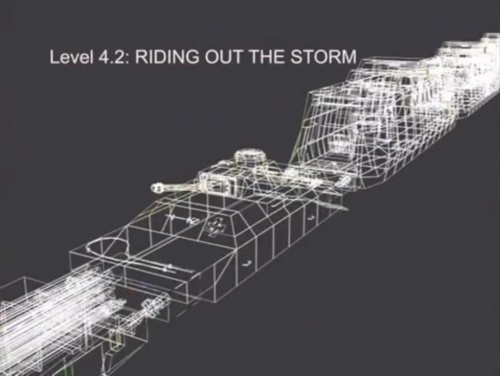
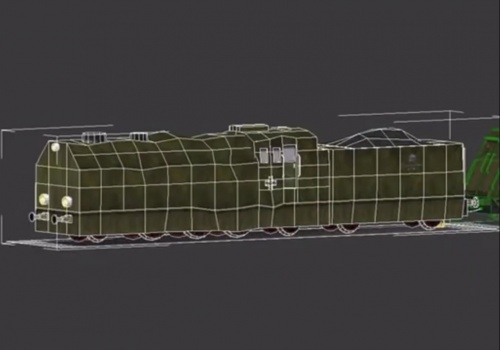
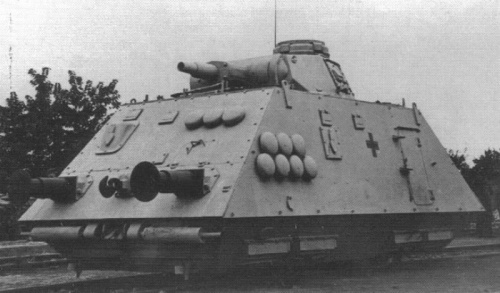
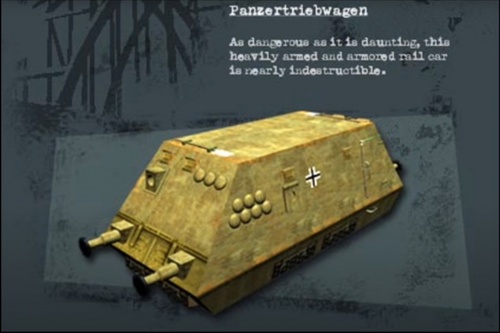
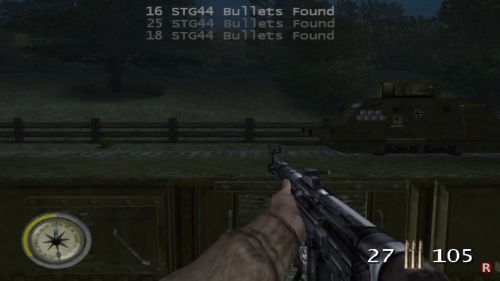
Described as having "Enough firepower to hold off a platoon of Sherman tanks", Von Sturmgeist uses a Behelfmassischer Panzerzug 42 as his personal train, which becomes the setting for Level 2 in Rolling Thunder (Mission 5). The BP42 (or just 'Panzerzug') has several gun compartments (G-Wagen) housing 10.5 cm leFH 18's in armored turrets, which can be manned and fired upon other hostile armored engines. Towards the end of the level one G-Wagen seems to use Tiger I tank turrets, which again can be manned, but no enemy engines appear in this section. A few of the train's armaments are unusable, such as a G-Wagen armed with a Panzer IV tank turret and an A-Wagen housing a Flakvierling 38. Using an armed Panzerzug as personal transportation within German borders is highly ludicrous, as the small number of these trains were used mainly on the frontlines against partisans (particularly the Eastern Front).
Behind the Scenes
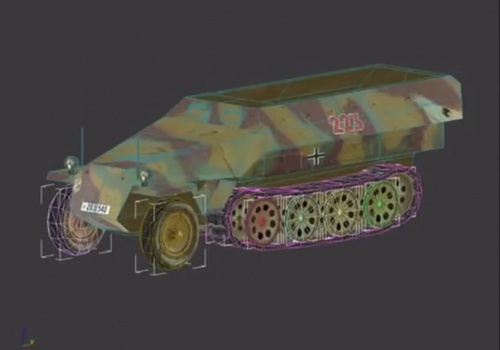
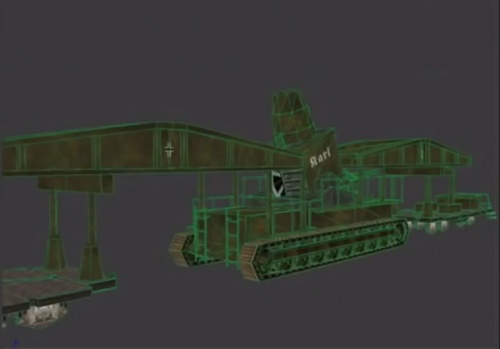
In the Behind the Scenes featurette for Rolling Thunder, a couple wireframe images of the BP42 are shown.
Panzerspähzug
Two enemy Panzerspähzug (Armored Reconnaissance) scout trains are encountered in Level 2 of Rolling Thunder (Mission 5), running on the neighboring track. The first car uses a machine gun, but the second one uses a Tiger I turret in addition to a machine gun. They can be taken out rather easily by manning the 10.5 turrets on Von Sturmgeist's Panzerzug.
Sd.Kfz. 251 Halftrack
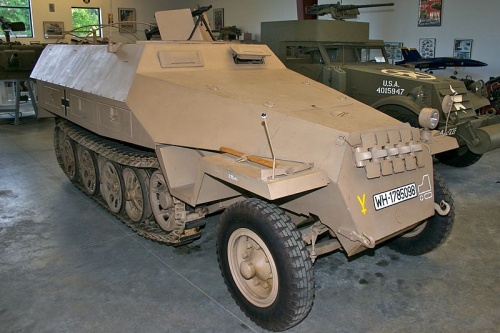
A Sd.Kfz 251 is briefly seen at the end of Level 3 of The Hornets Next (Mission 6). A semi-wireframe version is shown in the Behind the Scenes featurette for Rolling Thunder (Mission 5).
Karl-Gerät 040
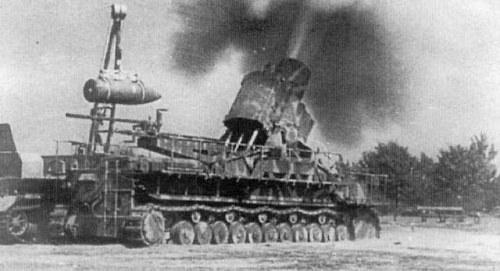
The Behind the Scenes featurette for Rolling Thunder (Mission 5) also features a Karl-Gerät 040 self-propelled siege mortar in semi-wireframe mode. The Karl-Gerät is never seen in the game. It was cut, likely due to size, and it is assumed that it would not have fired.
P-51 Mustang
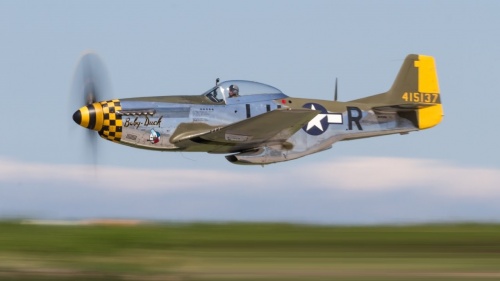
P-51 Mustangs are the main US fighter planes seen throughout the game. Although they speed by and can barely be seen, their shape and color clearly identifies them as P-51's.
Lockheed P-38 Lightning
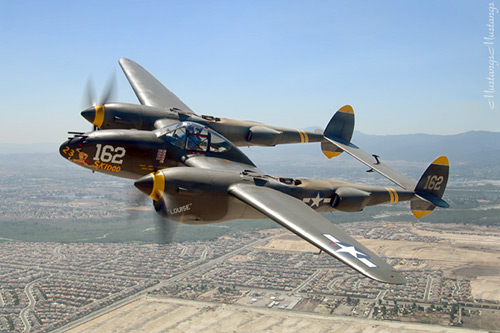
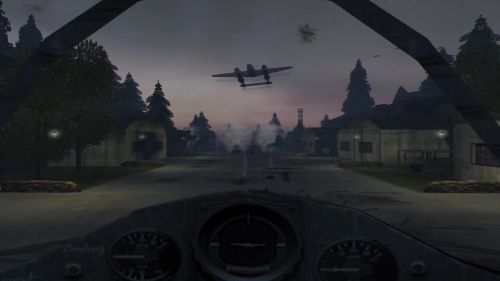
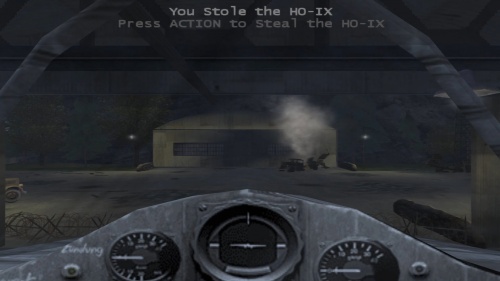
The P-38 fighters make their first appearance in Level 1 of Several Bridges too Far (Mission 4) where a Flakvierling 38 gun shots down one. They also can be seen in Level 3 of The Horten's Nest (Mission 6). In the game's climactic finale, squadrons of Lockheed P-38 fighters bomb the Gotha facility as Patterson escapes in the stolen HO-IX.
Junkers Ju 87 with lack of detail
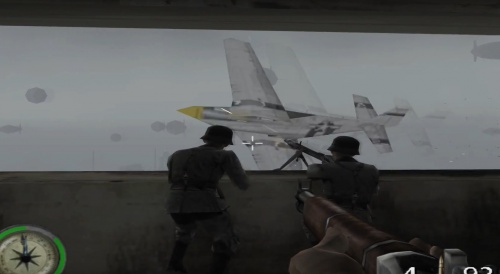
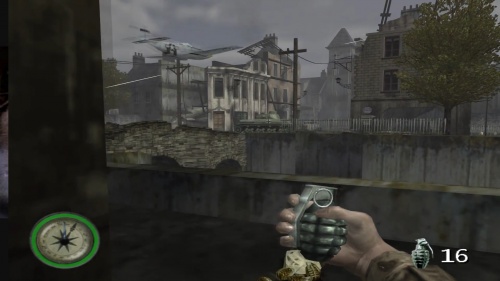
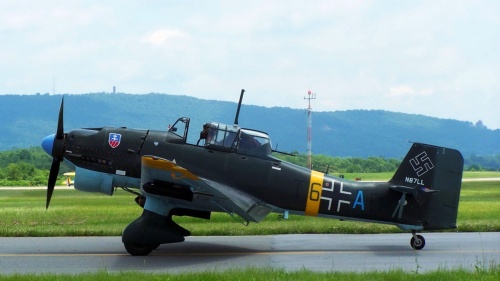
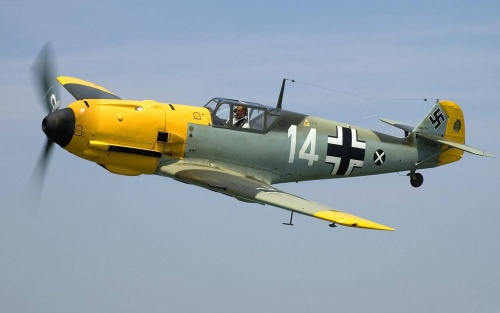
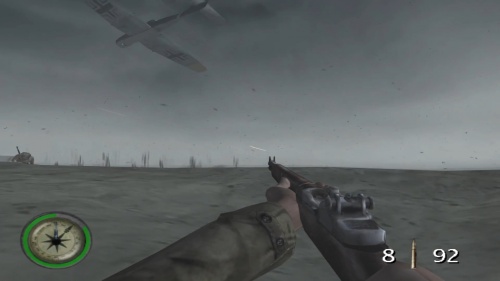
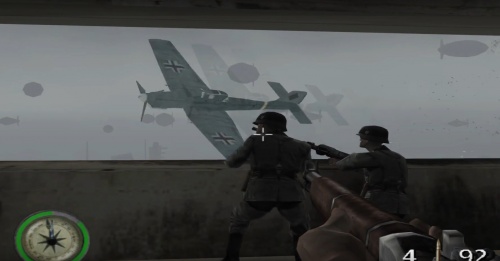
A German fighter plane is encountered early in the game, seen strafing Omaha Beach in D-Day (Mission 1) and then dropping a bomb on a US jeep in Level 1 of A Storm in the Port (Mission 2). It seems to be a Junkers Ju 87 dive bomber but with a lack of detail. It has the cone-shaped body, raised cockpit, and square-shaped tail fins of a Junkers, but the flat squared-off wings similar to the Messerschmitt's ones. It also performs as a Messerschmitt, performing strafing runs and engaging in dog fights with US P-51's. Since the plane is barely seen in the game, and speeding across the sky, it is assumed that the developers did not pay close attention to detail with this plane and merely designed something that looked German.
Junkers Ju 87 Sea Plane
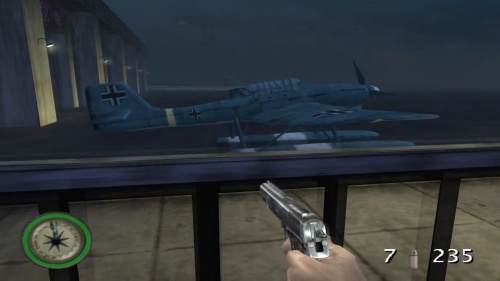
A legitimate Junker Ju 87 sea plane variant is seen in Level 4 of A Storm in the Port (Mission 2).
Messerschmitt Me 262
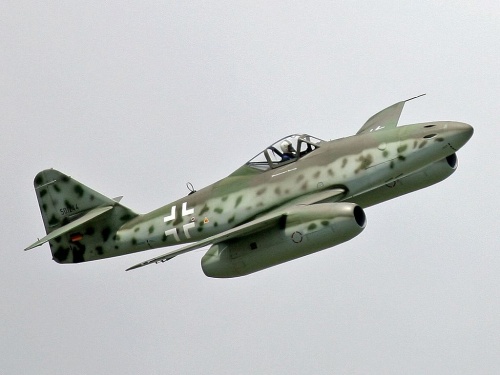
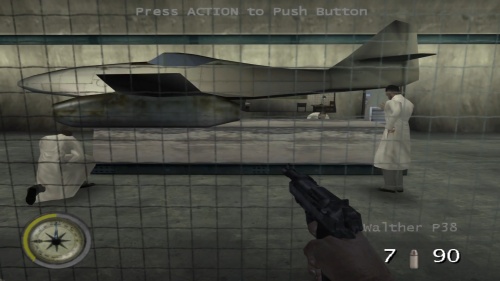
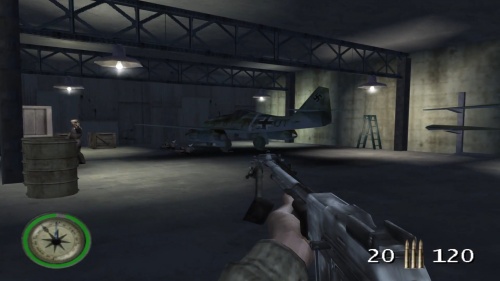
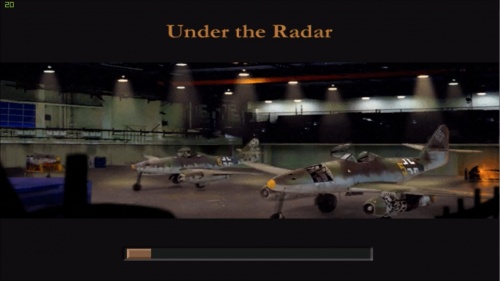
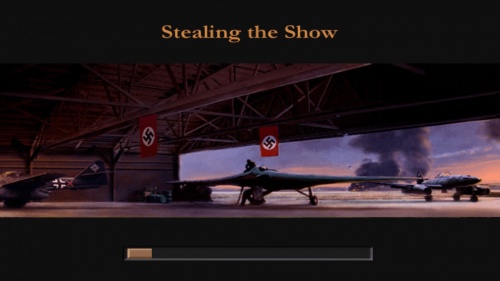
Several Messerschmitt Me 262 parts are seen in the aircraft facility of Gotha in Level 1 of The Hornets Nest (Mission 6). In a memorable scenario, Patterson kills a few enemy Scientists along with destroying a Me 262 by activating a wind tunnel. Only one combat-ready Me 262 is seen in the game, but a couple Mission Art images feature it.
Horten Ho 229
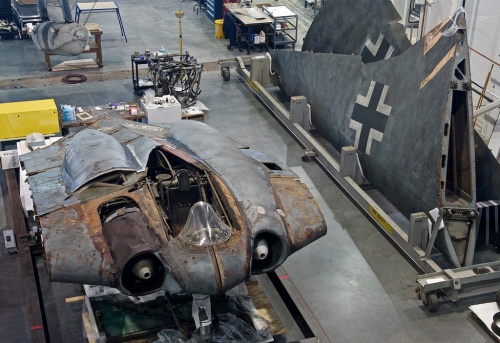
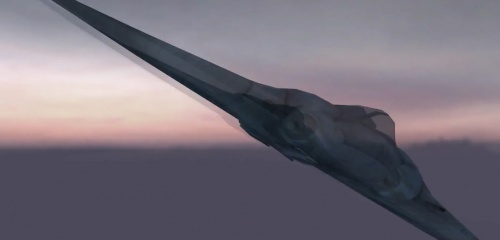
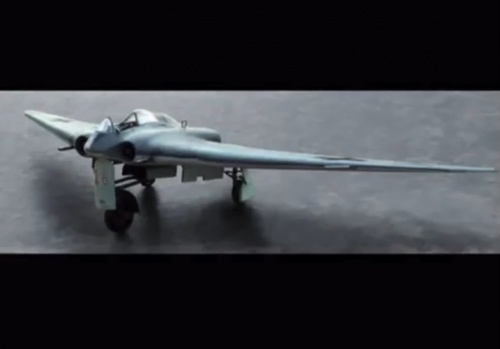
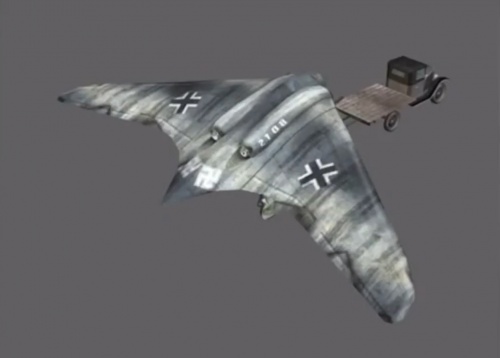
The innovative Horten Ho 229 prototype jet fighter becomes Patterson's main objective in the game, capturing it to avoid its introduction into the war. According to the game, Von Sturmgeist is head of the HO-IX project, despite being a member of the SS instead of the Luftwaffe and having no affiliation with Gothaer Waggonfabrik. The actual designers of the jet, Reimar & Walter Horten, are only shown once in the cutscene 'A New Plan' with the statement "The Germans turned to two brothers with an astonishing new design."
The missions involving the Horten Ho 229 take place between August and September of 1944. Although prototypes were in production in the latter half of 1944, the HO-IX model was not complete until February of 1945. And, although Patterson was apparently a pilot prior to joining the OSS, it is unlikely he would know how to fly a foreign aircraft prototype that uses jet propulsion.
Behind the Scenes
Type VIIC U-Boat
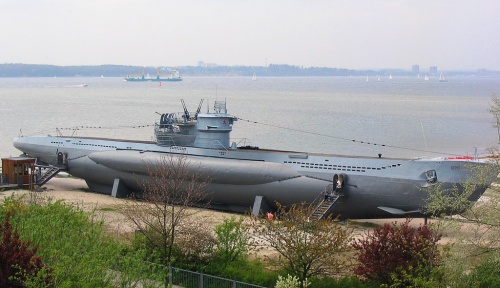
In A Storm in the Port (Mission 2), all German U-Boats appear to be Type VIIC's. Patterson has been chosen to infiltrate and sabotage U-4902, due to his success in sabotaging U-4901 in the first game. Once aboard, an entire level takes place within U-4902. Patterson is then assigned to plant explosives within the Submarine, and U-4902 can be seen erupting in the next level. Once infiltrating the Lorient port, several other Type VIIC's can be seen (some in parts on assembly lines).
As stated on the page for Medal of Honor, U-4901 and U-4902 are too high in the U-Boat classification system. The highest number of a built submarine was U-4712.
Type XXVII Seehund
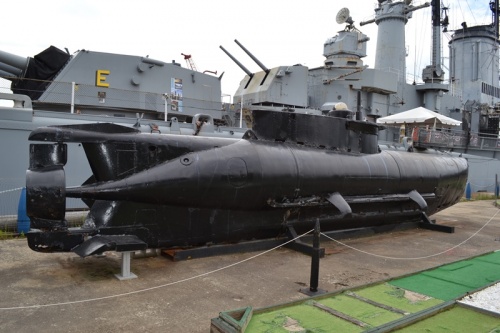
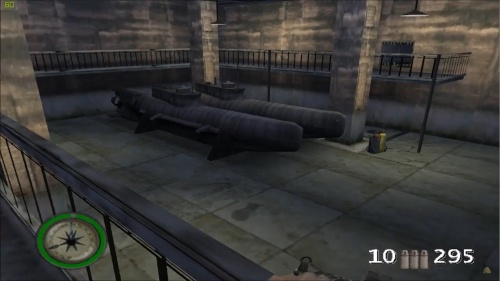
Two Type XXVII Seehund midget submarines rest in the Lorient facility when Von Sturmgeist is introduced.
Omaha Beach
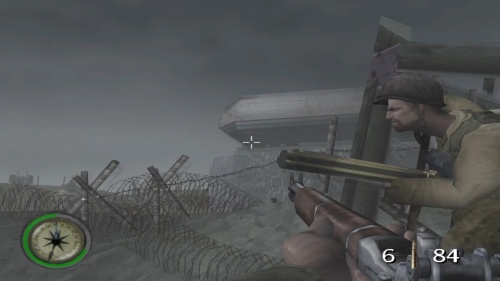
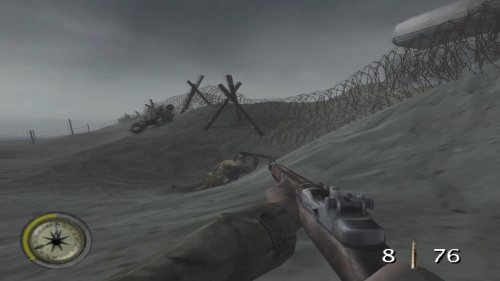
Both Frontline and Medal of Honor: Allied Assault have Omaha Beach missions that play blatant homage to Steven Spielberg's Saving Private Ryan (Due to Spielberg's direction of the games). The layout of the beach is nearly a direct copy of the film's depiction. To the layman, these inaccuracies go unnoticed. To actual historians, these details stick out like a sore thumb. However, a couple details are correct.
Scharnhorst-class Battleship
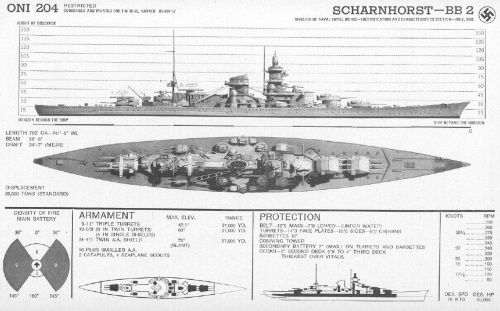
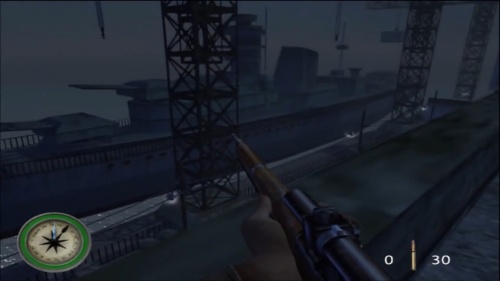
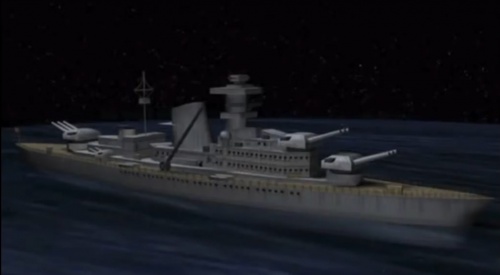
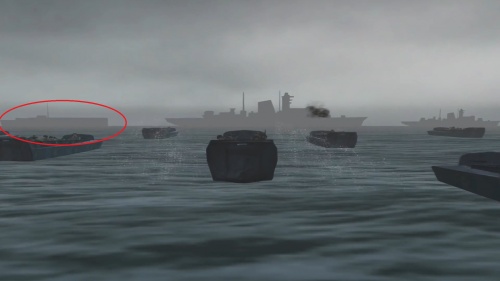
The Scharnhorst-class was a class of German battleships (or battlecruisers) built immediately prior to World War II. These Battleships appear in Level 3 of A Storm in the Port (Mission 2) The same model is used in Mission 1 as the USS Thomas Jefferson in Omaha Beach. Obviously, the programmers took the model from Mission 2 and stuck duplicates in the background to resemble US Battleships. The correct US class of ships present on D-Day would be Nevada-class (USS Nevada), Gleaves-class (USS McCook), and New York-class (USS Texas) ships, along with several British ships.
Behind the Scenes
Schnellboot Typ S-38
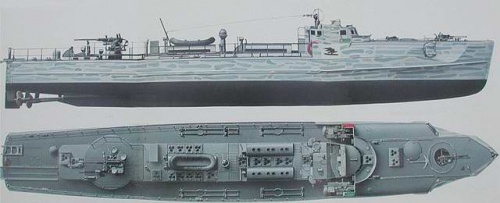
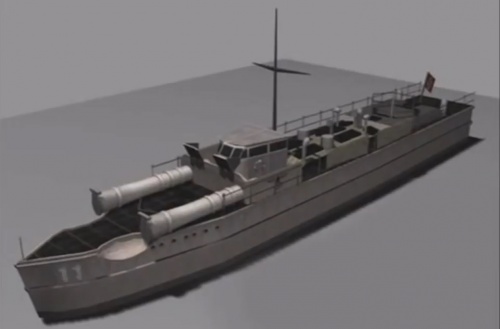
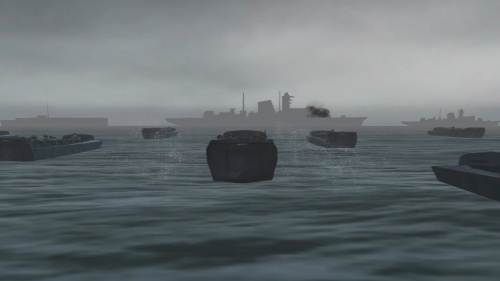
Along with the Scharnhorst, a number of oversized German Schnellboot Typ S-38's stand in for American transports; so the American fleet on D-Day is comprised of German vessels. Their silhouette makes them just look like blocks on the horizon (almost unidentifiable), but a clear rendered image of one in the Behind the Scenes featurette for D-Day shows that it is the same shape. One can be seen for a couple seconds in Level 1 of Several Bridges Too Far (Mission 4), sailing under Nijmegen Bridge.
Behind the Scenes
LCVP "Higgins Boat"
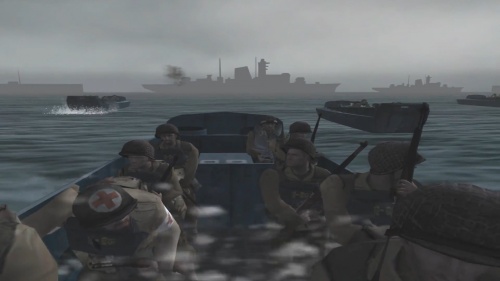
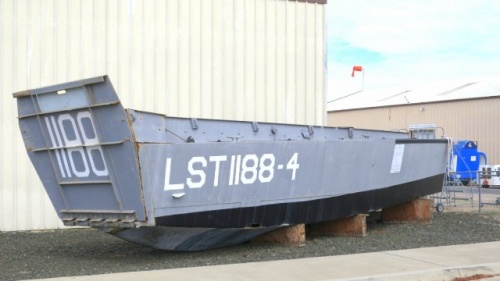
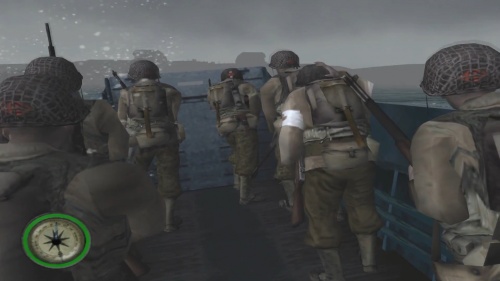
Several Landing Craft, Vehicle, Personnel (LCVP) or "Higgins Boats" are seen ferrying US Soldiers to Omaha Beach. Like Saving Private Ryan, these seem to be the only landing craft present; LCI's, LCT's, LCTR's, LCA's, and DUKW's are nowhere to be seen. LCVP's were quite prevalent on D-Day. However, the in-game soldiers within the boat sport the orange rhomboid marked "2" on the back of their helmets, identifying them as 2nd Rangers. The 2nd Rangers who landed on Omaha Beach were ferried ashore in Landing Craft Assault (LCA) vessels, the smaller British counterpart to the LCVP. While the LCVP's on D-Day held at least 30 soldiers per boat team, Patterson's boat in the game only holds 8. They all lack identification markings, except for one washed up in the surf. Strangely, the Coxswain piloting Patterson's boat has "USS" (abbreviation for 'United States Ship') stenciled on his helmet when it should be "USCG" (United States Coast Guard).
Tellermine 35 (Mine Post)
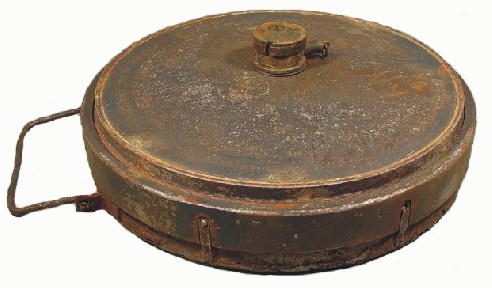
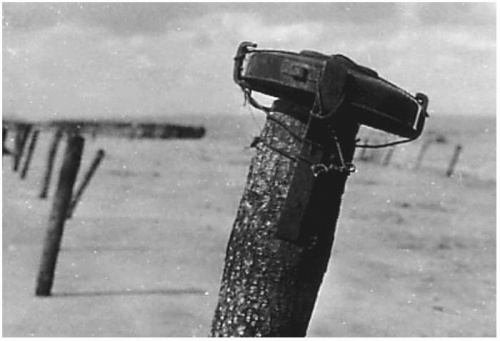
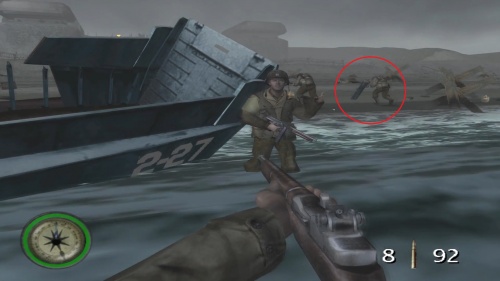
Upon landing on the beach and finding the "Captain", a Soldier can be seen running (almost deliberately) into a Mine Post (a wooden log with a Tellermine 35 attached). Besides this scripted scenario there are no other Mine Posts along the beach. These devices, nicknamed "Rommel's Asparagus", were among several placed along the shore of Normandy. At high tide they would be completely submerged, designed to impale the hull of any landing craft it came in contact with.
VF Schnabelstand
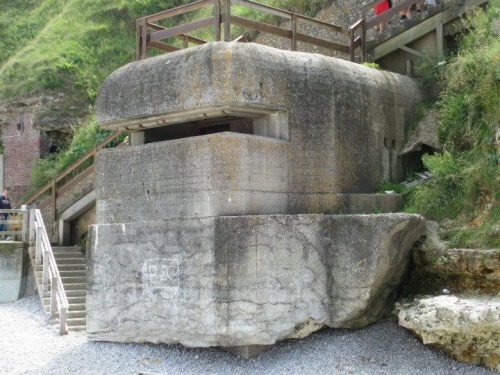
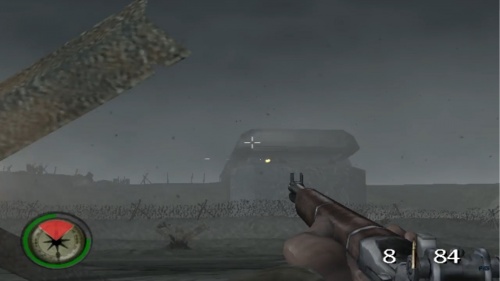
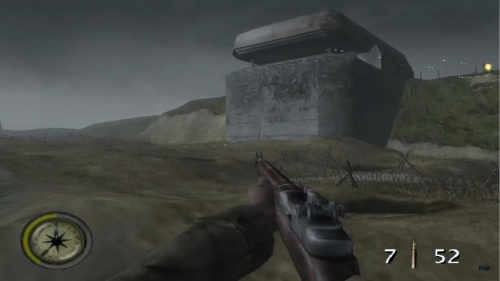
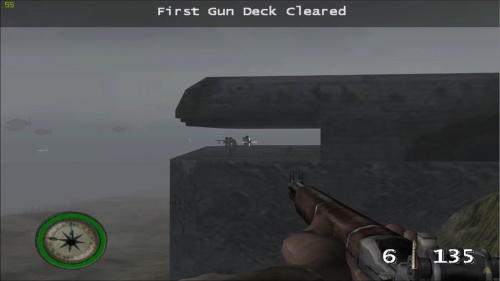
Just like Saving Private Ryan, massive machine gun bunkers are built into the escarpment along Omaha Beach. The bunkers resemble the VF Schnabelstand ("Beak Nest"), a bunker designed for observation which could also be used as a machinegun emplacement if needed. But, there were no Schnabelstand bunkers along the five miles of the real Omaha Beach. The in-game models have also been drastically oversized from the real-life version, likely to make them more imposing. Level 2 of D-Day (Mission 1) takes place entirely inside one of these gigantic Schnabelstand bunkers, which is depicted as a concrete fortress of communication rooms and living quarters; actual Schnabelstand bunkers were just a single room with a telephone. The small number of observation bunkers along the real Omaha Beach were very well hidden, and only large enough to hold around 3 men (commander, assistant, and radio operator); most MG emplacements only held 2 (gunner & loader).
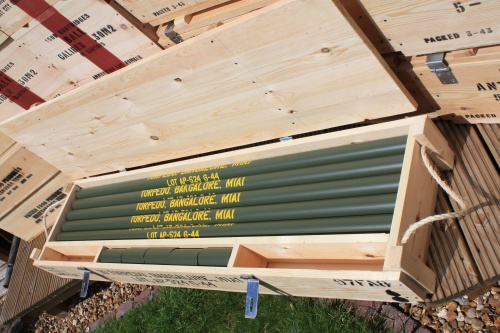
M1A1 Bangalore Torpedo
Once off the shore, the Captain orders you to retrieve Private Jones, who has a bundle of M1A1 Bangalore Torpedoes, in order to clear the "seawall". Due to limited graphics and the fact they are only seen for a few seconds, Private Jones does not even assemble them once reaching the wire. He just sticks all four tubes into the sand and primes them.
P-47 Thunderbolt
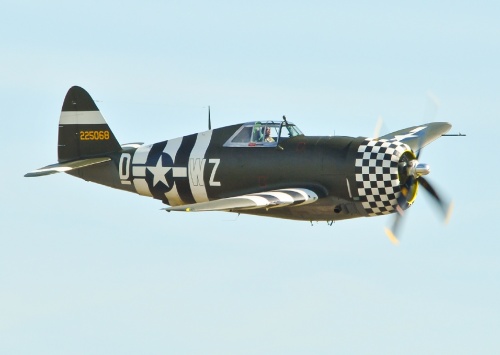
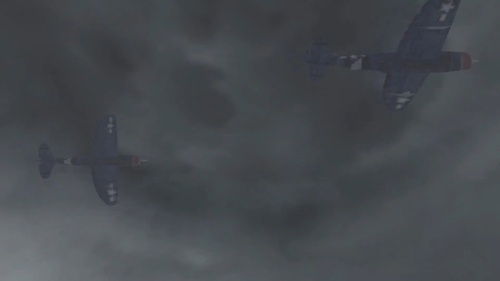
Two blue P-47 Thunderbolt fighters soar overhead towards Omaha Beach in the opening sequence. In reality, Bomber Groups strafed the shore in a pre-landing bombardment. But, fighter planes did not support the seaborne forces. Aside from this shot, these planes are never seen in the game again.
unanswered query
I'd just like to point out that on the PS3 version (dunno if it's the same on X360) that you get with MoH 2010, the silenced pistol is referred to in three ways - the "Silenced Pistol" in-game, the "Welby and Scott" in the trophy description and the "Webly and Smith" in the picture. Is this on purpose or just stupidity?
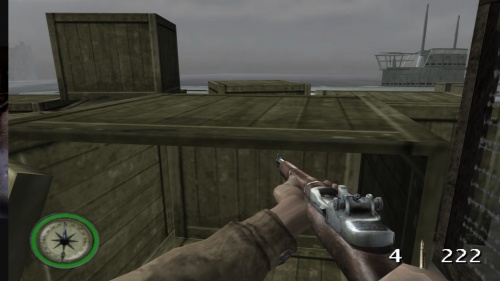
Unknown Swivel Gun
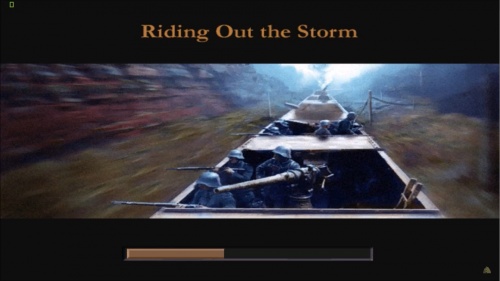
Does anyone know what kind of gun this is on this loading screen? It's some kind of swivel gun mounted on a Panzerzug and I want to add it to Extras.
