|
|
| Line 2: |
Line 2: |
| | | | |
| | {{Anime Film Title}} | | {{Anime Film Title}} |
| − |
| |
| − | {{wip}}
| |
| | | | |
| | __TOC__<br clear=all> | | __TOC__<br clear=all> |
Revision as of 14:16, 29 January 2022
Girls und Panzer das Finale: Part 2 (June 15, 2019).
The following weapons were used in the anime film Girls und Panzer das Finale: Part 2:
Besa Machine Gun
The Besa Machine Gun is seen mounted on World War II British tanks.
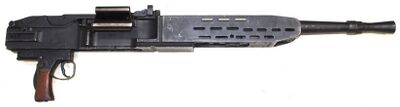
British Besa tank machine gun - 7.92×57mm Mauser
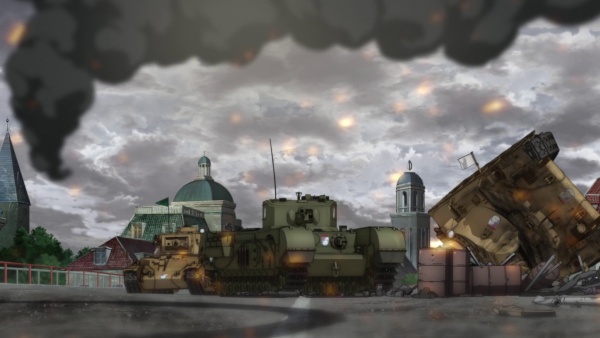
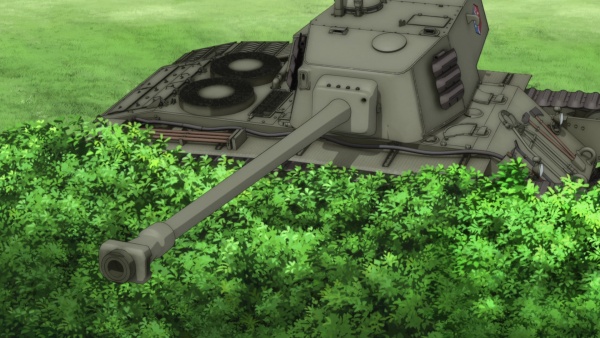
A St. Gloriana Girls' College Churchill Mk III engages Waffle Academy tanks.
Darjeeling's Churchill Mk.VII engages WA's flag tank alongside a Matilda Mk III.
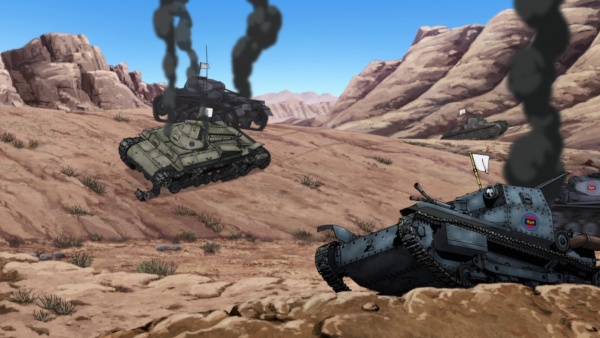
Breda Modello 38
The Breda Modello 38 is seen in the OP sequence, "Grand symphony" with Anzio High School's World War II Italian tanks.

Breda Modello 38 tank mounted machine gun - 8x59mm RB Breda
The Semovente da 75/18 (background), CV-35 (middle) and the P26/40 (Foreground) in the OP sequence, "Grand symphony".
Several AHS CV-35s tankpile on a lone Bonple High School FT-17.

AHS Semoventes engage BHS FT-17s.
Anchovy's P26/40 fires the fatal shot at the BHS FT-17, which was the flag tank.
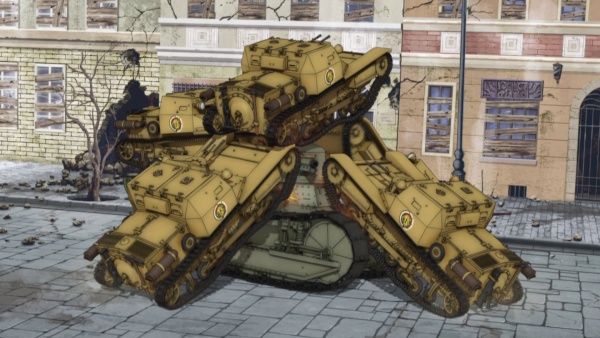
[[File:GUPDFPRT2 39.jpg|thumb|none|600px|A Blue Division High School CV-35 wrecked in a match with
Browning M1919
The Browning M1919 is seen mounted on American-made World War II vehicles.
Browning M1919A4 on an M31C pedestal mount - .30-06 Springfield

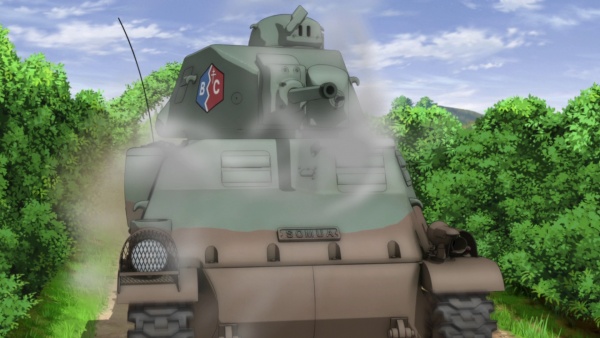
Rabbit Team's M3 Lee engages BC Freedom Academy tanks alongside Leopon Team's Panzerkampfwagen VI Tiger (P).
The VFHS M24 Chaffee (middle) leads the charge on Pravda High.
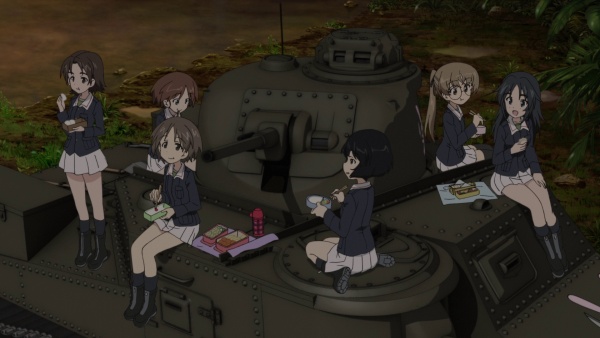
Rabbit Team takes a break on top of their M3 Lee.
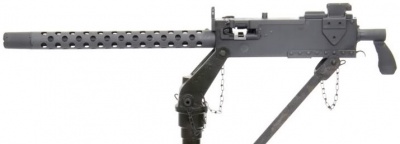
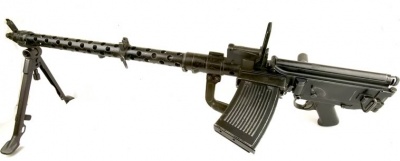
Browning M2HB
The Browning M2HB is seen on American/Australian-made World War II vehicles.
File:GUPDFOP 02.jpg Saunders University High School M4 Shermans charge in the OP sequence, "Grand symphony".
Koala Forest Academy AC1 Sentinels prepare to engage incoming Chihatan Academy tanks.
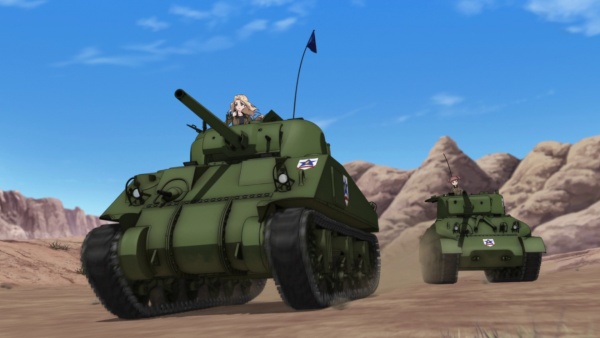
SUH M4 Shermans pursue BDHS tanks.
Naomi's Sherman takes aim at El's Panzer II Ausf.F.

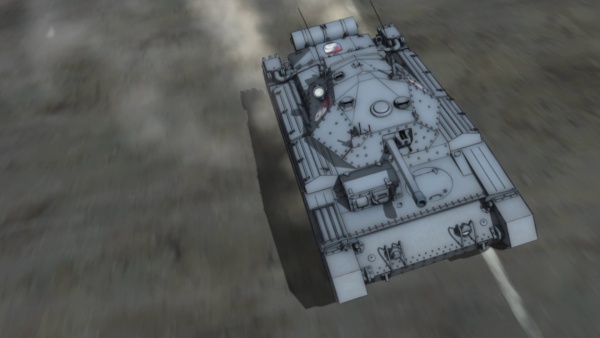
The JGSDF Type 90 parked near the spectator's bench.
Ckm wz.30
The Ckm wz.30 is seen mounted on Polish-made World War II tanks.

Two BHS 7TPdws open fire on AHS Semoventes during a street fight.
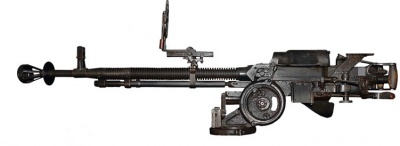
Degtyaryov DT
The Degtyaryov DT is seen with Soviet-made World War II tanks.
DT machine gun - 7.62x54mm R
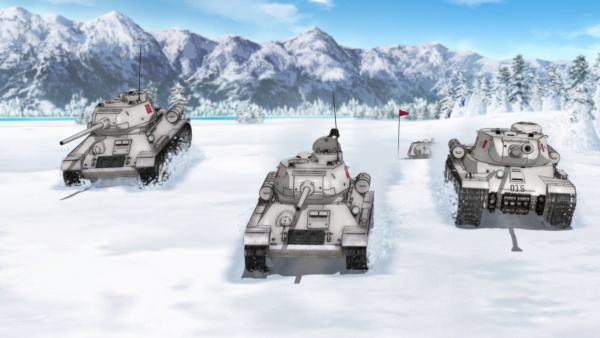
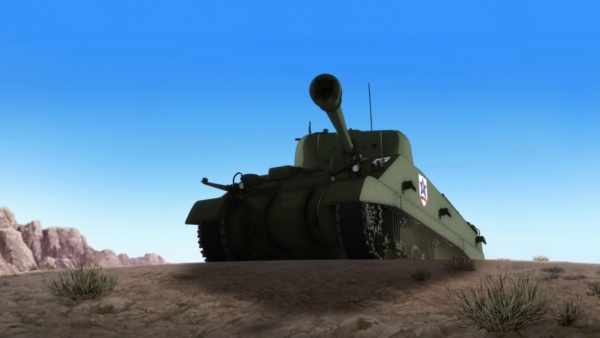
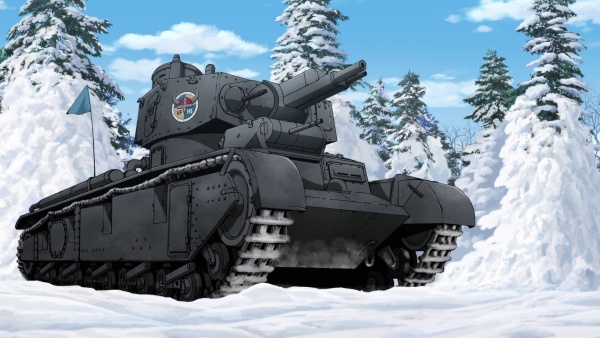
PH T-34-85s and one IS-2 being mobilized.

Katuysha's T-34-85 drifts in the snow after defeating all the Viking Fisheries High School tanks.
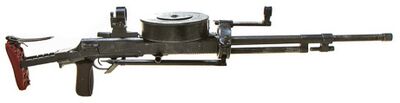
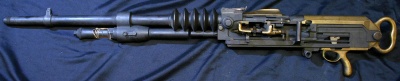
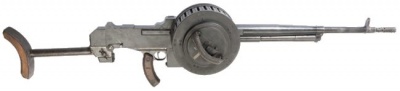
DShK heavy machine gun
The DShK heavy machine gun is mounted on PH's IS-2.
The original DShK - 12.7x108mm.
The IS-2 (right) being mobilized againt VFHS tanks.
Hotchkiss M1914
The Hotchkiss M1914 is seen mounted on BCFA/Maginot Girls' College Renault FT-17s.
Hotchkiss M1914 - 8x50mmR Lebel

The BCFA FT-17 in a V formation in the OP sequence, "Grand symphony".
The MGC FT-17 tries to bail after KGA tanks begin to close in on the Maginot Line base.
Hotchkiss M1929
The Hotchkiss M1929 is seen mounted on Waffle Academy Vickers-Carden-Loyd Mod.1934 T.15s.

Hotchkiss M1929 - 13.2×99mm Hotchkiss.
The yellow T.15 wrecked after engaging SGGC tanks.
Lewis Gun
The Lewis Gun is seen mounted on the Mark IV tank used by Shark Team.
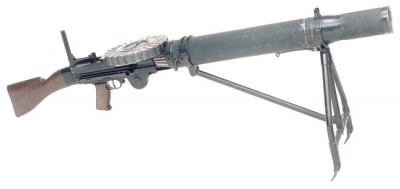
Lewis Gun, produced by Savage Arms Company, on Light Ground Mount support - .30-06
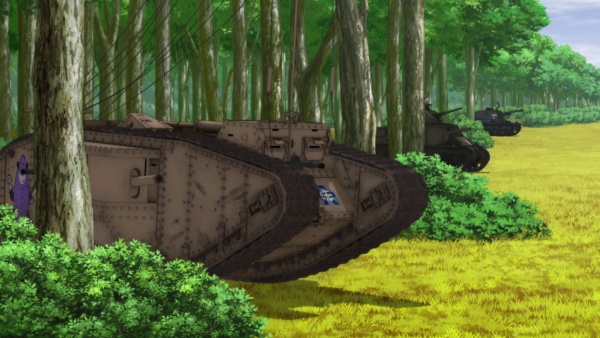
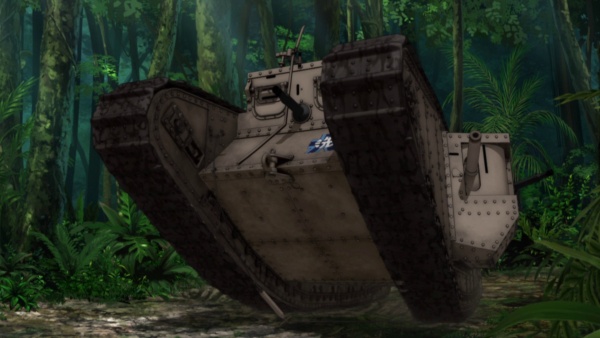
The Mark IV emerges from the forest.
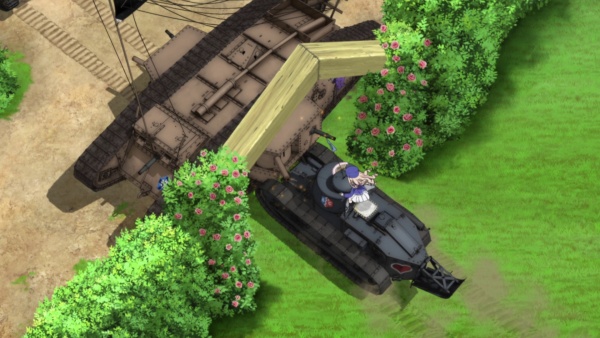
The Mark IV acting as a makeshift roadblock to Marie's FT-17.
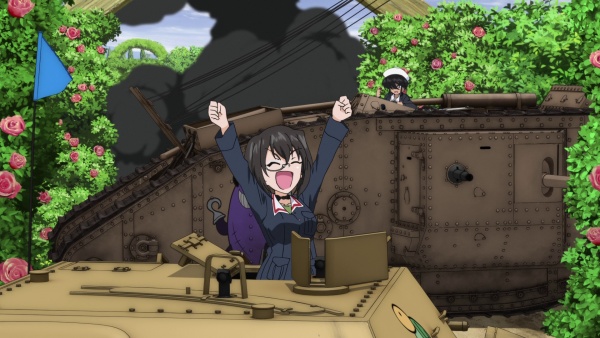
Shark and Turtle Team celebrate after defeating BCFA.
Shark Team rev up its engine to face CHA tanks.
Maxim
The Maxim is seen mounted on an Anzio High School Lancia 1ZM.
Everyone in AHS wakes up, realizing that the match was over.
MG13
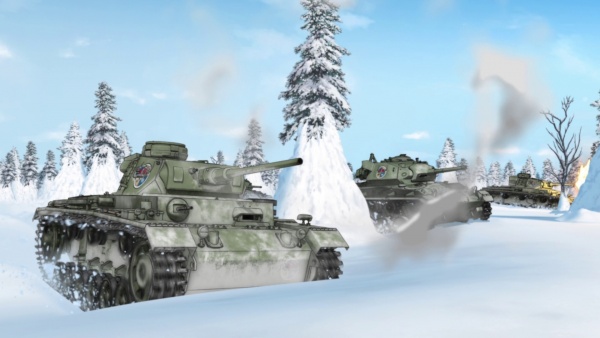
The MG13 is seen mounted on German-made World War II tanks.
MG13 machine gun - 7.92x57 Mauser.
The purplish Panzerkampfwagen I used by BDHS is seen wrecked. Note the dual MG13 turret. Also, the green Verdeja II tank in front of the Panzerkampfwagen I is also equipped with dual MG13s.
MG34
The MG34 is seen mounted on German-made World War II tanks.
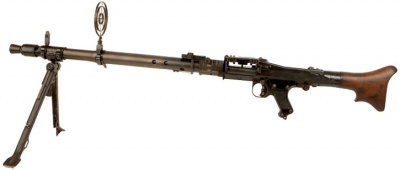
MG34 Panzerlauf with bipod and anti-aircraft sight - 7.92x57mm Mauser
Miho Nishizumi standing in the field near the parked Panzer IV Ausf H in the OP sequence, "Grand symphony".
Anglerfish Team get a debriefing while the Panzer IV Ausf H is on the move.
Leopon Team's Panzerkampfwagen VI Tiger (P) opens fire against BCFA tanks.
Anglerfish Team celebrates firing the shots that took out the last BCFA tank.
A Kuromorimine Girls' Academy's Panzer V Panther Ausf.G in the field.
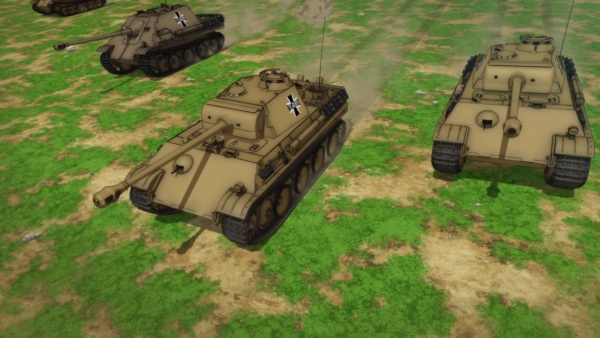
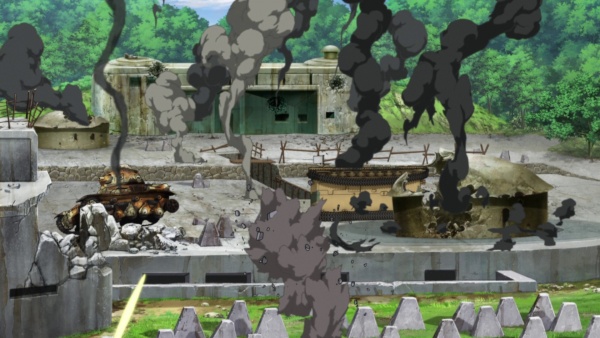
A KGA Jagdpanzer IV and two Panzer V Panther Ausf.G engage Maginot Girls' College tanks.
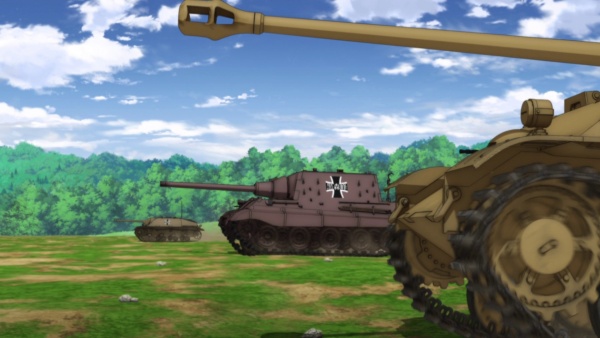
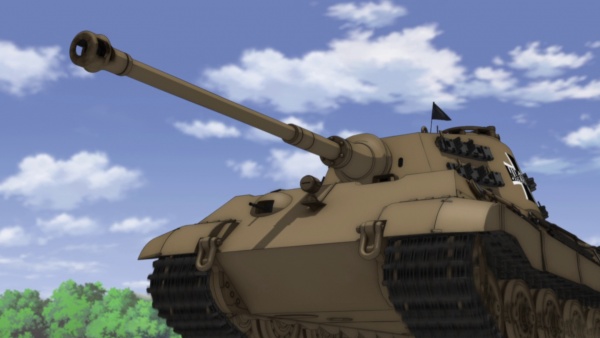
The KGA Jagdtiger used by Erika leading the KGA charge.
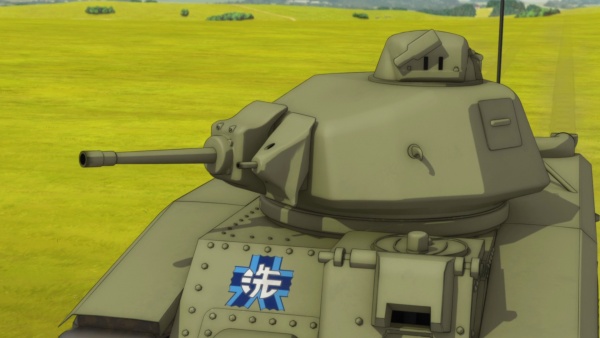
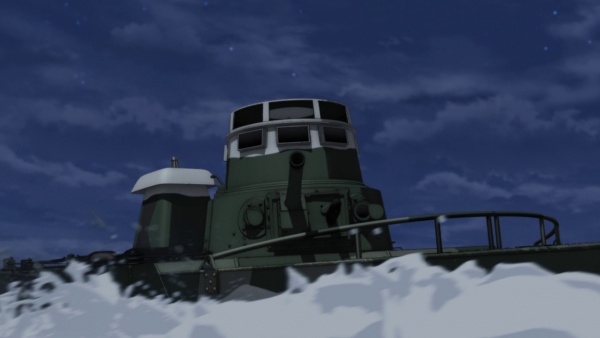
The VFHS Panzerkampfwagen Ausf.J (left) leads the charge on PH.
The VFHS Neubaufahrzeug engages PH tanks in the winter.
The Maus parked near the spectator's bench.
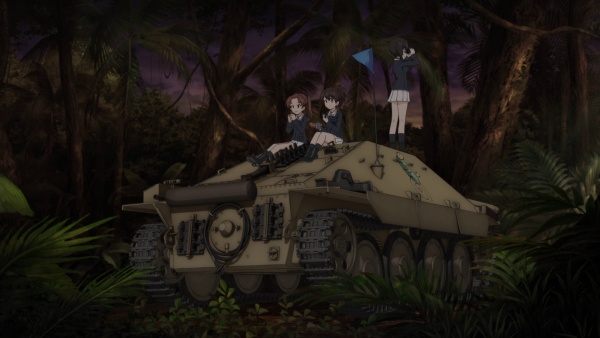
Turtle Team takes a break on top of their Jagdpanzer 38(t) Hetzer.
Reibel machine gun
The Reibel Machine Gun is seen mounted on French-made World War II tanks.
Reibel Mle. 31 in right-feeding configuration with stock - 7.5x54mm French
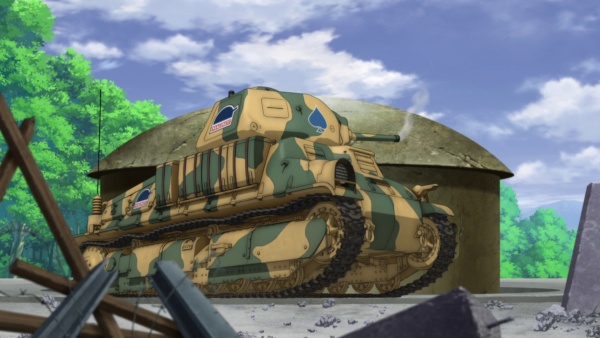
The BCFA ARL 44 and SOMUA S35 in a V formation in the OP sequence, "Grand symphony".
Mallard Team's Char B1 bis has a mockup turret to make it look like a SOMUA S35.
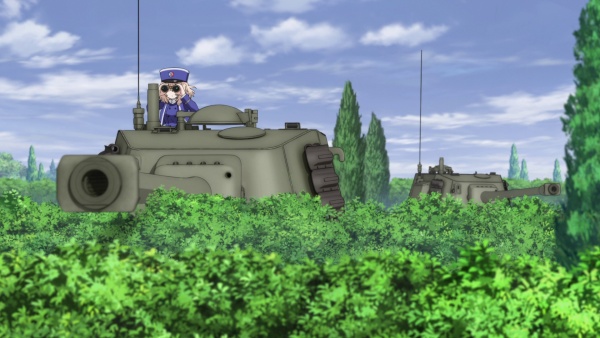
Ruka Oshida on standby in her ARL 44.
Rena Ando checks the horizon while on standby in her SOMUA S35.
A BCFA ARL 44 prepares to engage OH tanks.
In this shot, you can see the SOMUA name on the tank.
A MGC SOMUA S35 engages KGA tanks in a MGC-KGA match.
On the left, a MGC Renault R35 lays in ruins during the KGA siege on the Maginot Line base.
The brown AMC-35 wrecked after engaging SGGC tanks.
The Char B1 bis gets stuck in the mud due to heavy rain.
A shot of the monted Mle. 31 insdie the Char B1 bis.
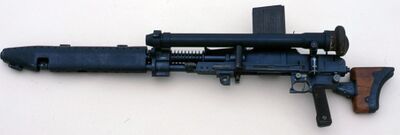
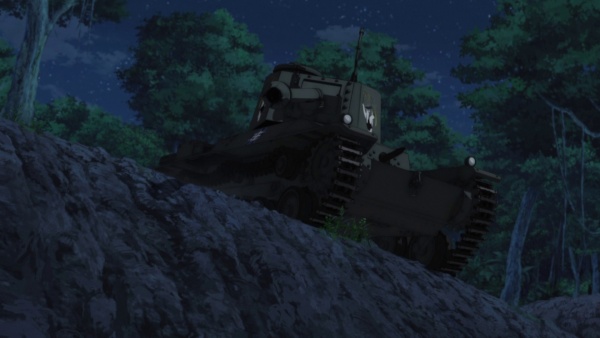
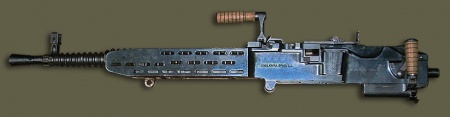
Type 91 light machine gun
The Type 91 Light Machine Gun is seen on Japanese-made World War II tanks.

Type 91 Light Machine Gun with angled pistol grip and stock/bipod removed - 6.5x50mm Arisaka
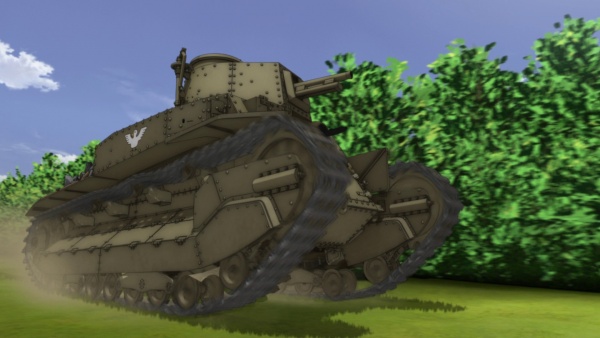
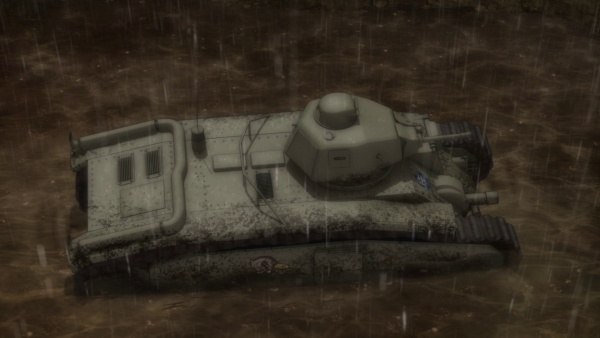
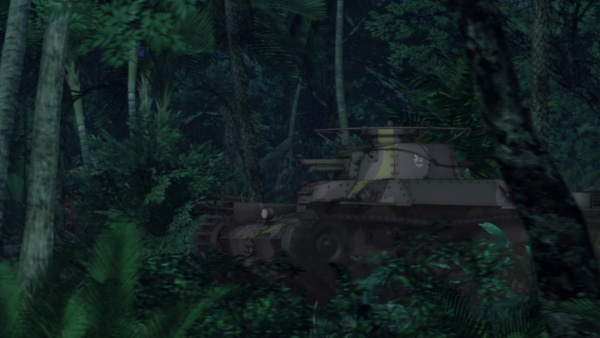
Duck Team's Type 89 I-Go mobilizes to go after BCFA tanks in an ambush.
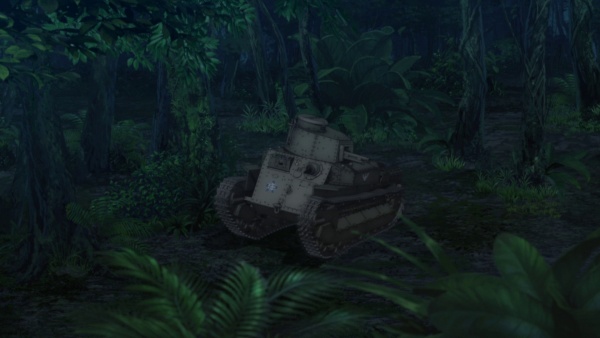
The Type 89 I-Go moves back to the forest after spotting CHA tanks.
Type 97 light machine gun
The Type 97 light machine gun is seen on Japanese-made World War II tanks.
Type 97 light machine gun in tank configuration - 7.7x58mm Arisaka
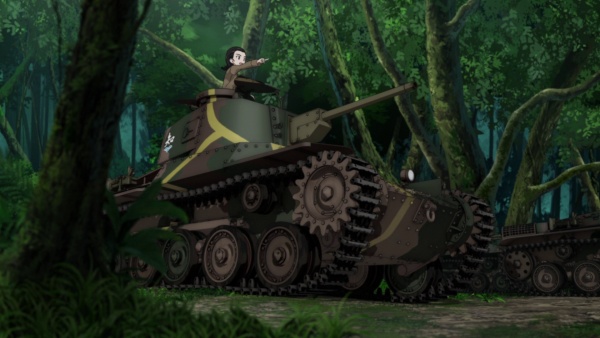
The Type 3 Chi-Nu used by Anteater Team emerges from the forest.
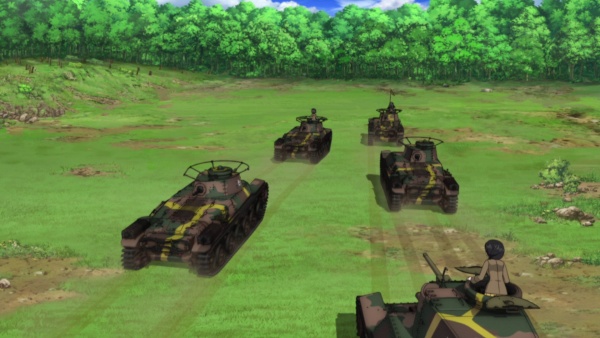
CHA Type 97 Chi-Ha tanks (and the lone Type 97 Shinhoto Chi-Ha at the rear) navigate to the forest after the start of the OA-CHA match.
A CHA Type 97 Shinhoto Chi-Ha opens fire at OH tanks.
A CHA Type 2 Ka-Mi outfitted with floatation armor ambushes OA tanks from the lake.
The CHA Type 97 Chi-Ha navigates through the forest.

The CHA Type 2 Ka-Mis give chase. Note the difference between them in terms of how long it is with and without the floatation armor.
Anteater Team opens fire in front of the Type 2 Ka-Mis.
ZB-53
The ZB-53 is seen with the Panzer 38(t).
ZB 53 / vz. 37 machine gun - 7.92x57mm Mauser

Yogurt Academy Panzer 38(t) engage the lone BT-42.
Girls und Panzer |
|---|
| TV anime | |
|---|
| OVAs | |
|---|
| Films | |
|---|


