| If you have been locked out of your account you can request a password reset here. |
Difference between revisions of "Talk:JoJo's Bizarre Adventure - Season 1"
BitesTheDust (talk | contribs) |
BitesTheDust (talk | contribs) |
||
| Line 31: | Line 31: | ||
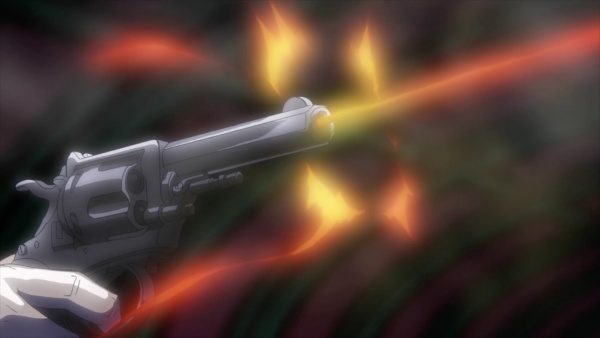
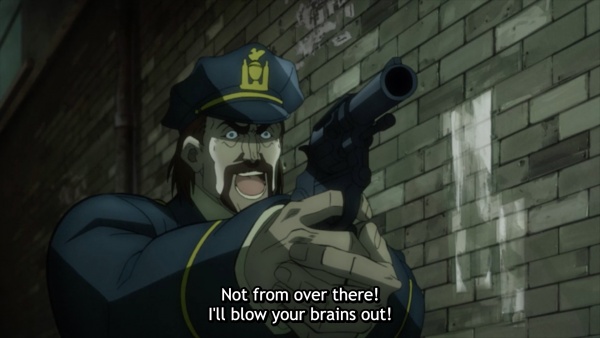
[[File:JJBA S1E10 2.jpeg|thumb|none|600px|Another view of the revolver. The muzzle appears somewhat oversized, though this is likely an issue of perspective.]] | [[File:JJBA S1E10 2.jpeg|thumb|none|600px|Another view of the revolver. The muzzle appears somewhat oversized, though this is likely an issue of perspective.]] | ||
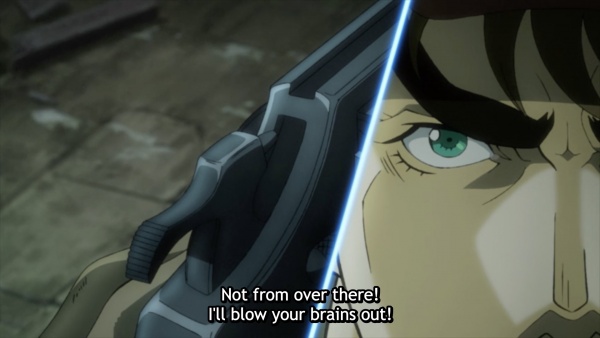
[[File:JJBA S1E10 3.jpeg|thumb|none|600px|A close-up shot of the hammer moving backwards as the policeman pulls the trigger.]] | [[File:JJBA S1E10 3.jpeg|thumb|none|600px|A close-up shot of the hammer moving backwards as the policeman pulls the trigger.]] | ||
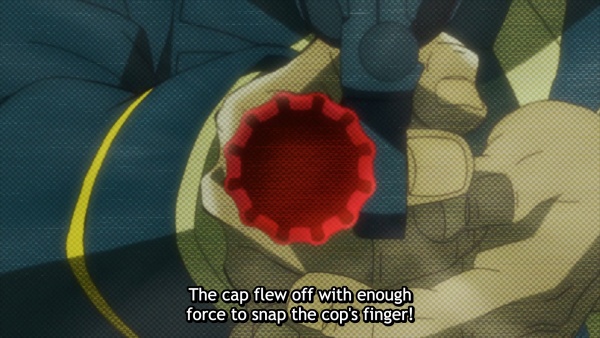
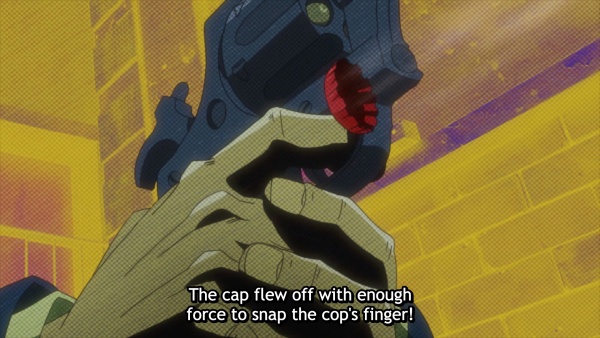
| − | [[File:JJBA S1E10 4.jpeg|thumb|none|600px|A shot of the frame as Joseph | + | [[File:JJBA S1E10 4.jpeg|thumb|none|600px|A shot of the frame as Joseph's bottlecap flies towards the policeman's finger.]] |
[[File:JJBA S1E10 5.jpeg|thumb|none|600px|Another shot, giving a good view of the revolver's frame.]] | [[File:JJBA S1E10 5.jpeg|thumb|none|600px|Another shot, giving a good view of the revolver's frame.]] | ||
| Line 49: | Line 49: | ||
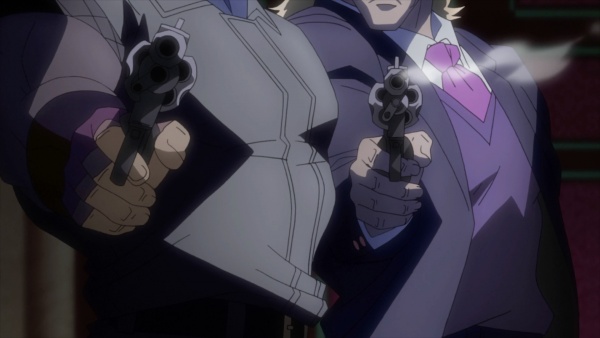
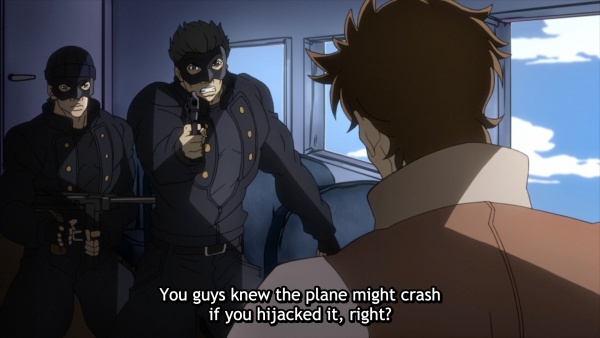
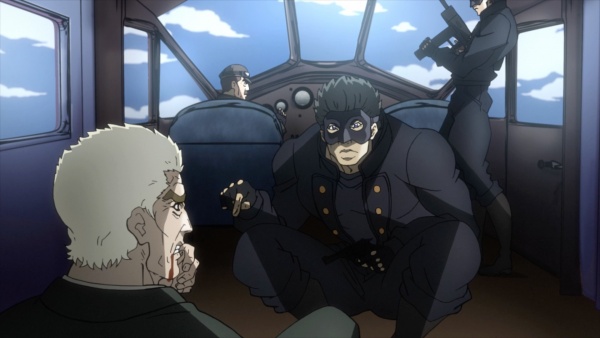
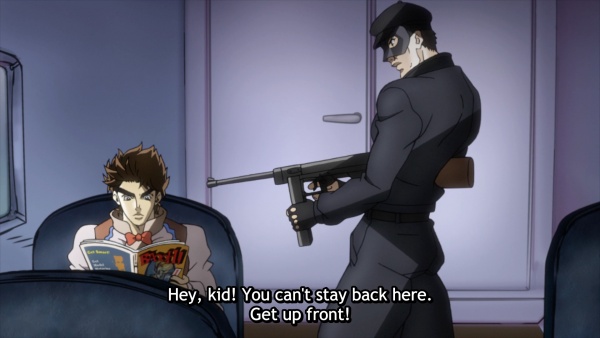
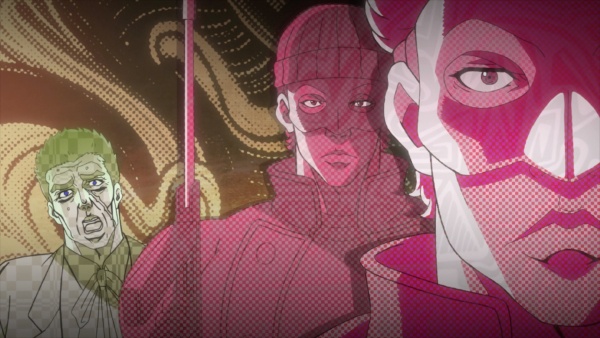
[[File:JJBA S1E10 10.jpeg|thumb|none|600px|The two other hijackers watch, with the one in the middle holding his M1A1 vertical.]] | [[File:JJBA S1E10 10.jpeg|thumb|none|600px|The two other hijackers watch, with the one in the middle holding his M1A1 vertical.]] | ||
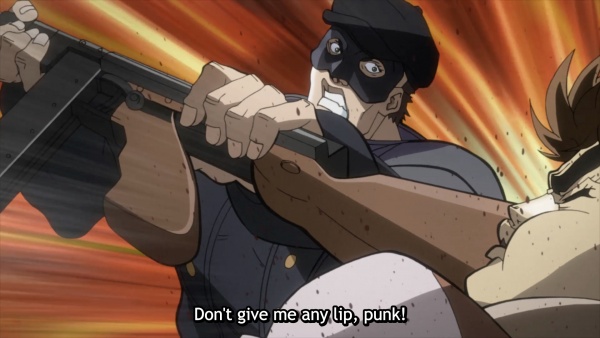
[[File:JJBA S1E10 12.jpeg|thumb|none|600px|The rear hijacker points his Thompson at Joseph.]] | [[File:JJBA S1E10 12.jpeg|thumb|none|600px|The rear hijacker points his Thompson at Joseph.]] | ||
| + | |||
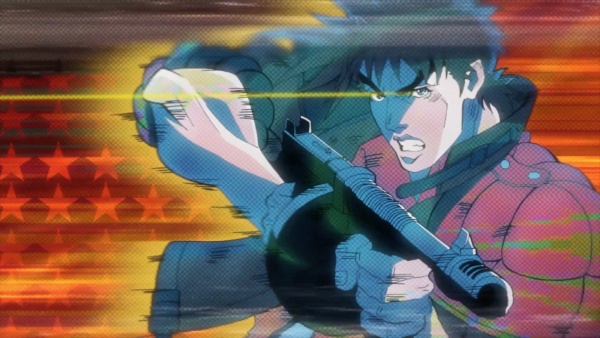
| + | ==M1928 Thompson== | ||
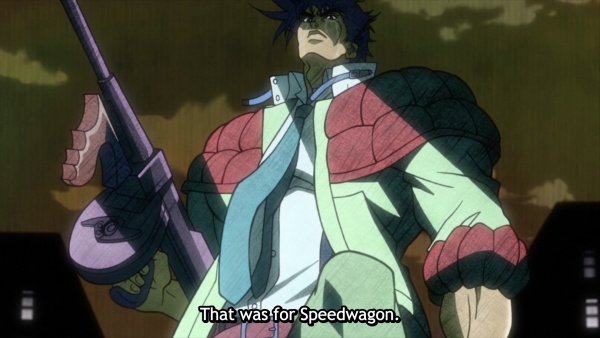
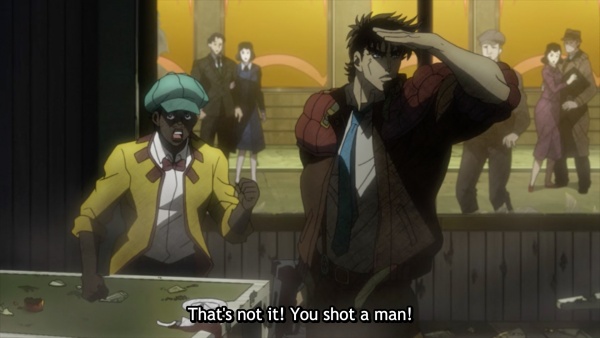
| + | At the end of Episode 10 and the beginning of Episode 11 ("The Game Master"), Joseph Joestar uses an [[M1928 Thompson]] submachine gun with a 50-round drum magazine against Straizo. | ||
| + | [[File:M1928.jpg|thumb|none|450px|M1928 Thompson with 50-round drum magazine - .45 ACP]] | ||
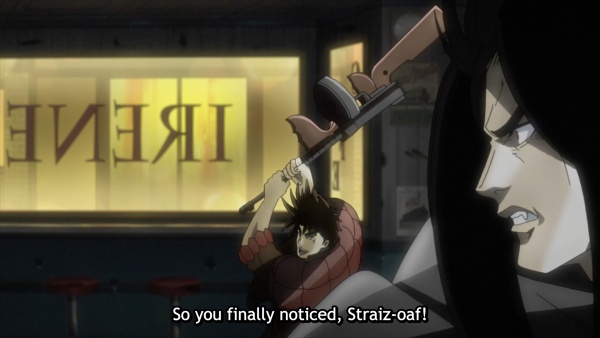
| + | [[File:JJBA S1E11 1.jpeg|thumb|none|600px|Joseph draws his M1928 Thompson. It isn't clear where he was carrying it.]] | ||
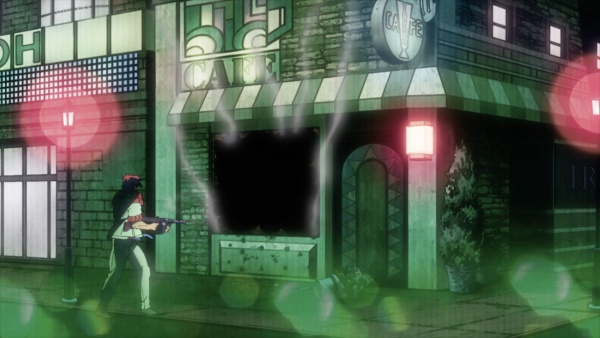
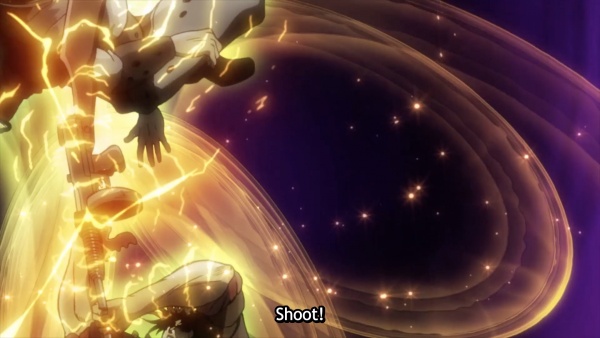
| + | [[File:JJBA S1E11 2.jpeg|thumb|none|600px|Joseph fires the Thompson.]] | ||
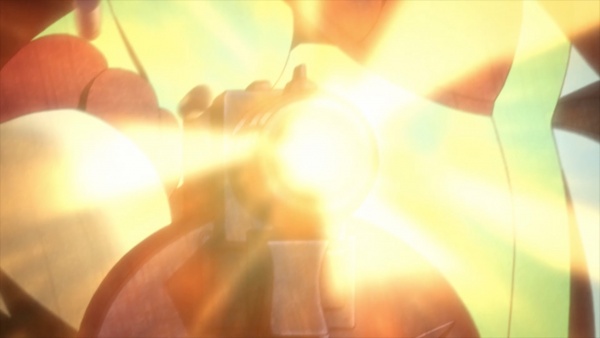
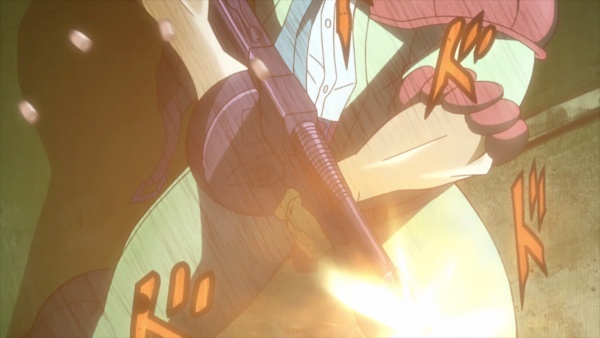
| + | [[File:JJBA S1E11 3.jpeg|thumb|none|600px|Another view. Note the star-shaped muzzle flash, inconsistent with the M1928's Cutts compensator.]] | ||
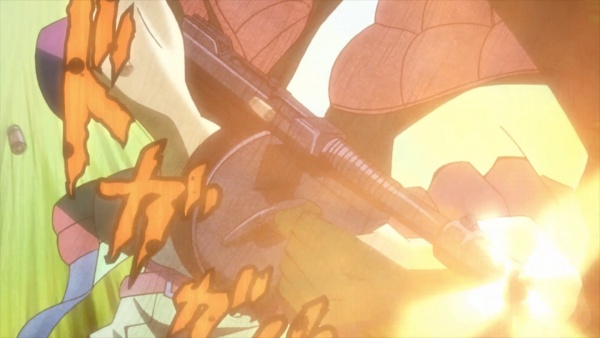
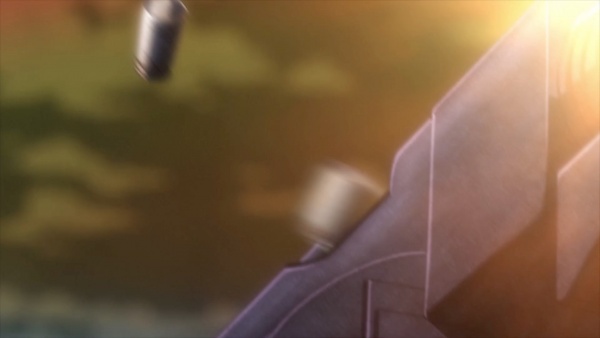
| + | [[File:JJBA S1E11 4.jpeg|thumb|none|600px|A close-up shot of the submachine gun's ejection port.]] | ||
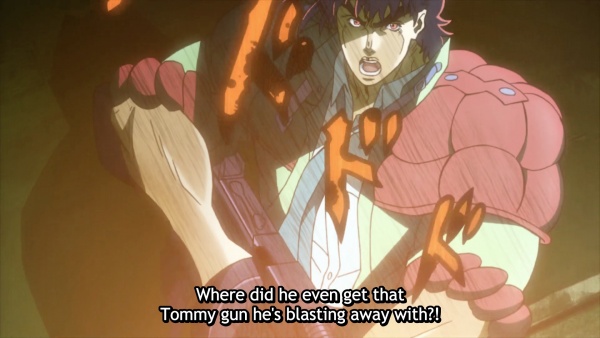
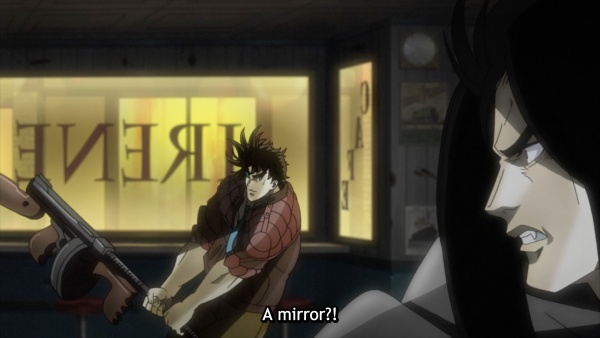
| + | [[File:JJBA S1E11 5.jpeg|thumb|none|600px|Joseph firing the submachine gun, while Smokey Brown asks a rhetorical question.]] | ||
| + | [[File:JJBA S1E11 6.jpeg|thumb|none|600px|Another frame from the stitched shot above.]] | ||
| + | [[File:JJBA S1E11 7.jpeg|thumb|none|600px|Joseph ceases firing. Note how there are bullet impacts at the base of the window; it isn't clear how or why Joseph would shoot there.]] | ||
| + | [[File:JJBA S1E11 8.jpeg|thumb|none|600px|Joseph holding his Thompson upright while standing at the window.]] | ||
| + | [[File:JJBA S1E11 9.jpeg|thumb|none|600px|Joseph kicks a table while holding his Thompson.]] | ||
| + | [[File:JJBA S1E11 10.jpeg|thumb|none|600px|Joseph holds the weapon towards the ground while ignoring Smokey next to him.]] | ||
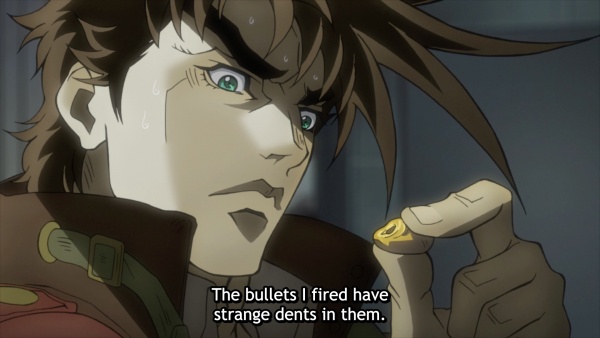
| + | [[File:JJBA S1E11 11.jpeg|thumb|none|600px|Joseph inspects a fired .45 ACP bullet.]] | ||
| + | [[File:JJBA S1E11 12.jpeg|thumb|none|600px|Smokey and Joseph react to Straizo standing up.]] | ||
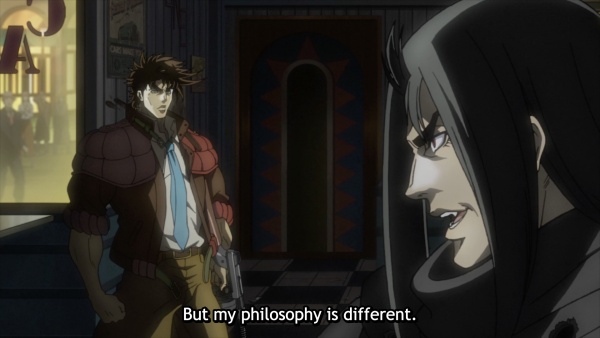
| + | [[File:JJBA S1E11 13.jpeg|thumb|none|600px|Joseph with his Thompson listening to Straizo. Note how the stock is colored black in this frame.]] | ||
| + | [[File:JJBA S1E11 14.jpeg|thumb|none|600px|A dramatic shot of Joseph with his M1928.]] | ||
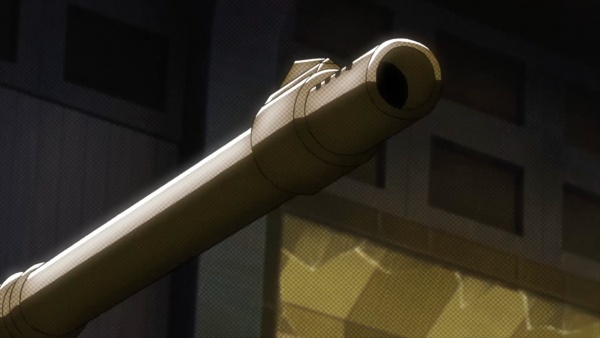
| + | [[File:JJBA S1E11 15.jpeg|thumb|none|600px|A close-up of the muzzle.]] | ||
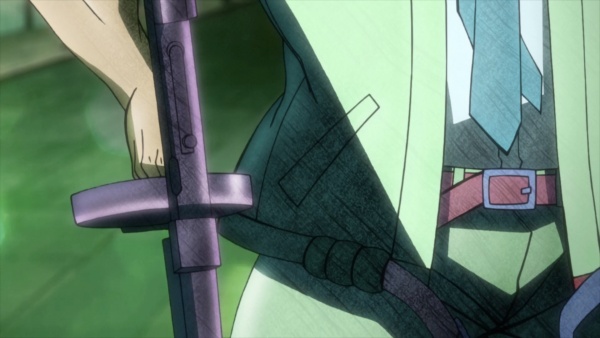
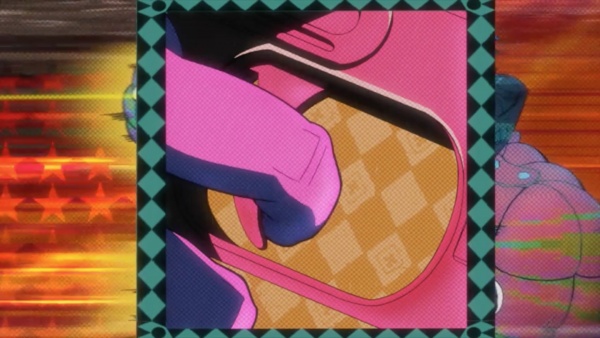
| + | [[File:JJBA S1E11 16.jpeg|thumb|none|600px|Another close-up shot, showing the trigger; the weapon clicks empty as Joseph attempts to fire it.]] | ||
| + | [[File:JJBA S1E11 17.jpeg|thumb|none|600px|Joseph grabs his Thompson by the barrel.]] | ||
| + | [[File:JJBA S1E11 18.jpeg|thumb|none|600px|He lifts the weapon over his head.]] | ||
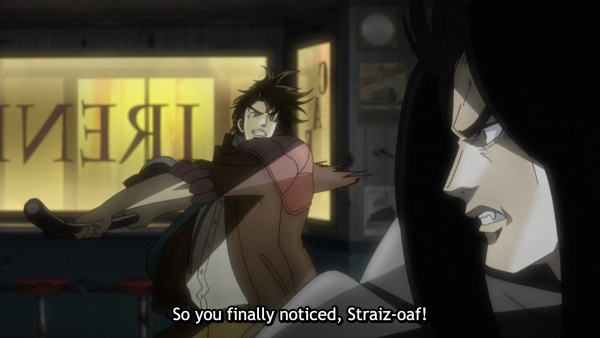
| + | [[File:JJBA S1E11 19.jpeg|thumb|none|600px|He then swings it. Due to this being an intermediary frame, the stock is blurry, and the barrel is bent.]] | ||
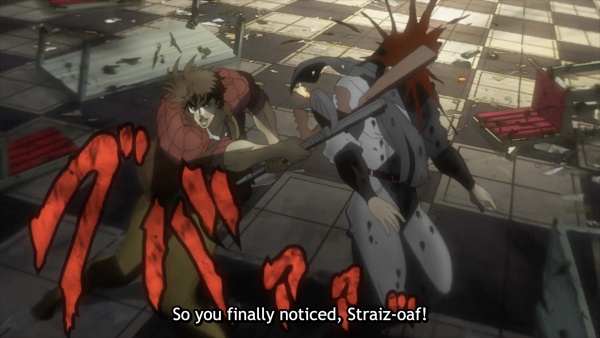
| + | [[File:JJBA S1E11 20.jpeg|thumb|none|600px|Joseph's strike hitting Straizo.]] | ||
| + | [[File:JJBA S1E11 21.jpeg|thumb|none|600px|Straizo getting sent through a window by Joseph's stock-bash.]] | ||
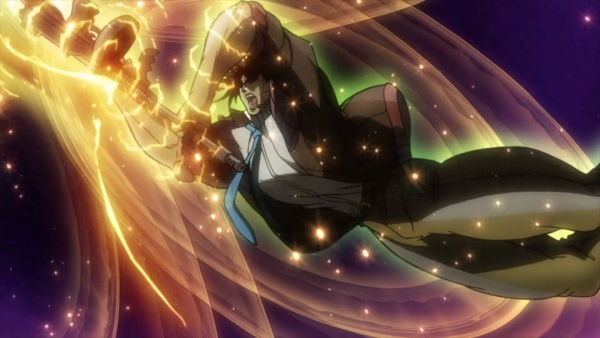
| + | [[File:JJBA S1E11 22.jpeg|thumb|none|600px|Joseph attempting to finish Straizo by channeling Hamon through his Thompson.]] | ||
| + | [[File:JJBA S1E11 23.jpeg|thumb|none|600px|Another frame from the above scene.]] | ||
| + | |||
| + | ==Mk 2 hand grenade== | ||
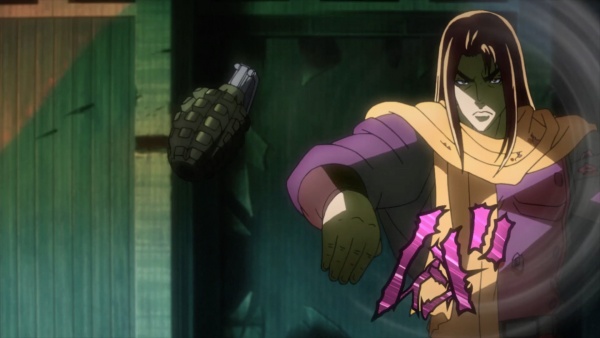
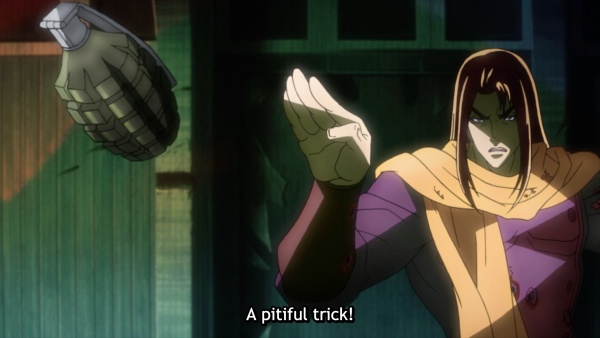
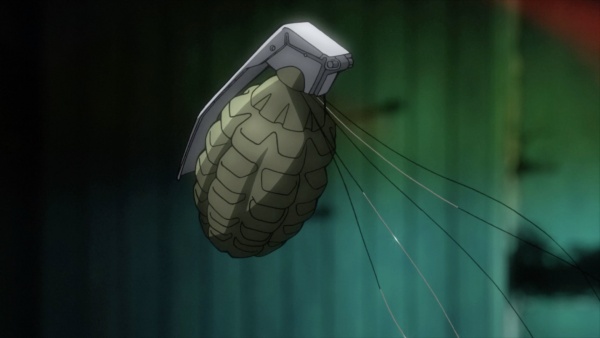
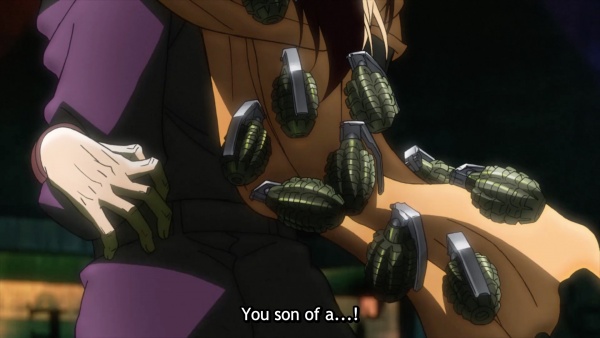
| + | After failing to kill Straizo with his Thompson, Joseph uses several [[Mk 2 hand grenade]]s against Straizo. | ||
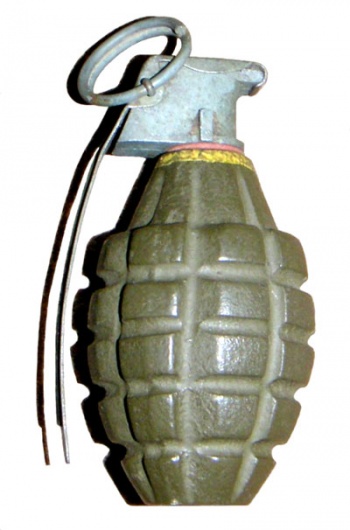
| + | [[File:MK2 grenade DoD.jpg|thumb|none|350px|Mk 2 hand grenade]] | ||
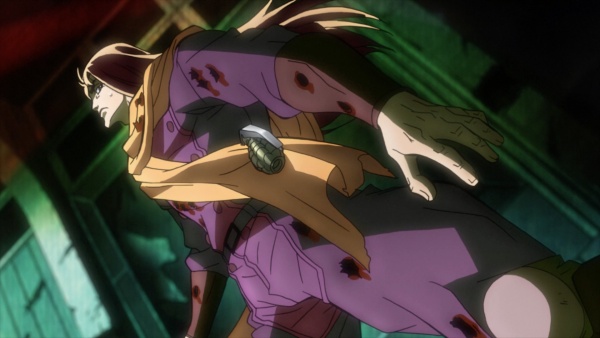
| + | [[File:JJBA S1E11 24.jpeg|thumb|none|600px|Joseph reveals the Mk 2 hand grenade hidden in Straizo's scarf.]] | ||
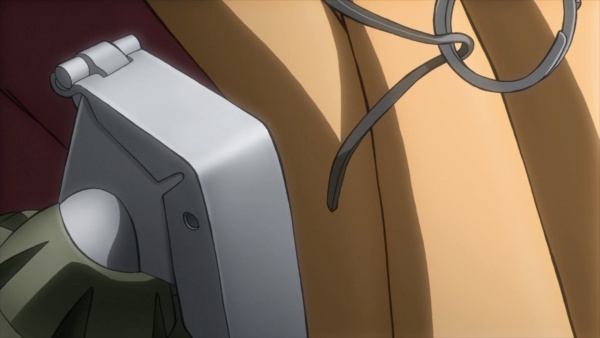
| + | [[File:JJBA S1E11 25.jpeg|thumb|none|600px|A close-up shot of the pin being removed from the grenade.]] | ||
| + | [[File:JJBA S1E11 26.jpeg|thumb|none|600px|Straizo removes the grenade from his scarf.]] | ||
| + | [[File:JJBA S1E11 27.jpeg|thumb|none|600px|He then hits it away.]] | ||
| + | [[File:JJBA S1E11 28.jpeg|thumb|none|600px|A close-up shot of the grenade, revealing several wires tucked under the fuse assembly.]] | ||
| + | [[File:JJBA S1E11 29.jpeg|thumb|none|600px|A later frame, showing how these wires are connected to several pins.]] | ||
| + | [[File:JJBA S1E11 30.jpeg|thumb|none|600px|These pins were attached to the eight additional grenades hidden in Straizo's scarf. As with the Thompson, it isn't clear where Joseph was hiding these.]] | ||
Revision as of 22:13, 1 October 2019
WORK IN PROGRESS
The following weapons were used in the anime series JoJo's Bizarre Adventure:
Part 1: Phantom Blood
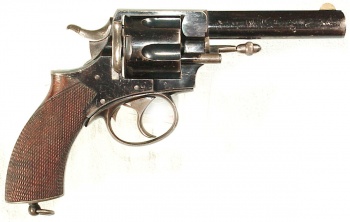
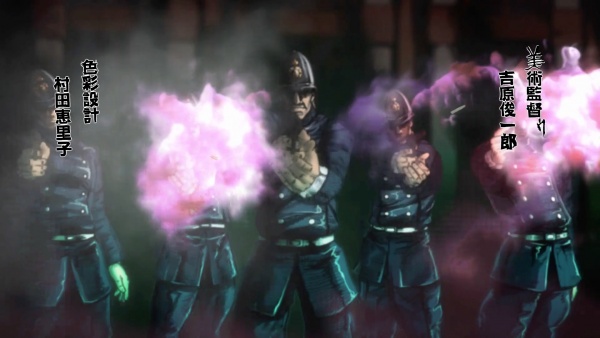
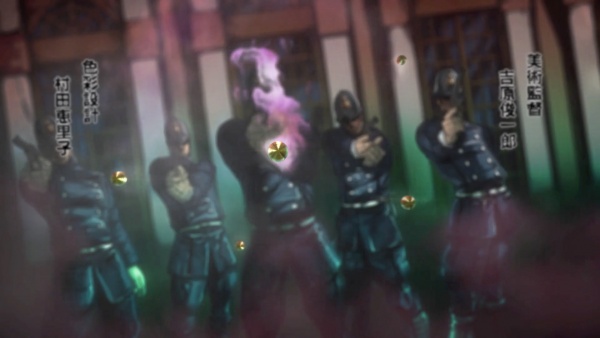
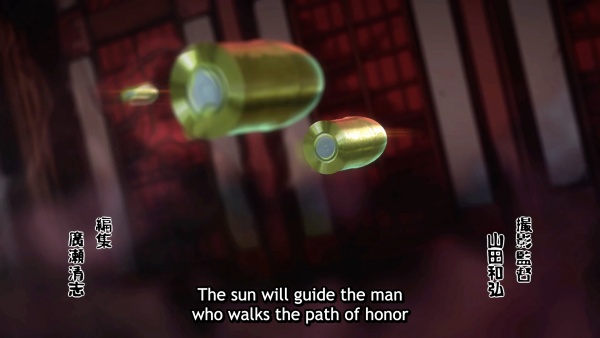
Webley RIC
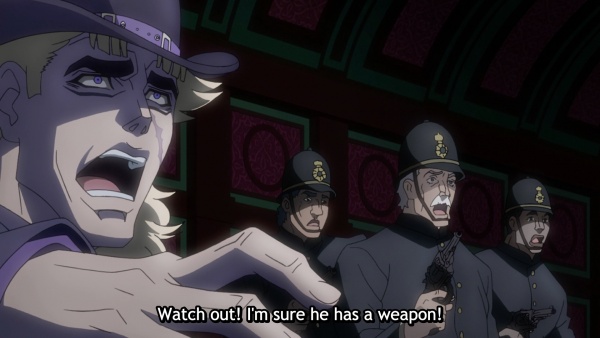
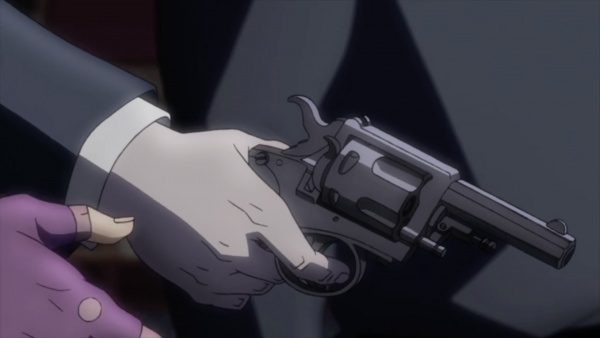
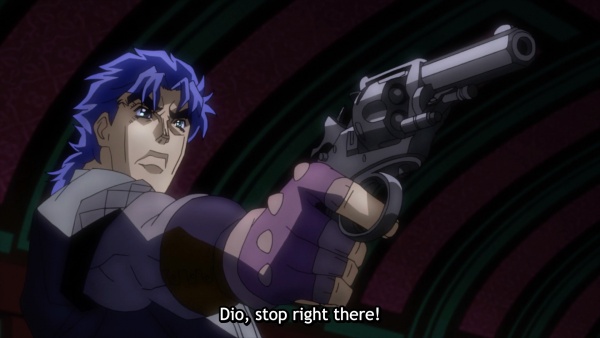
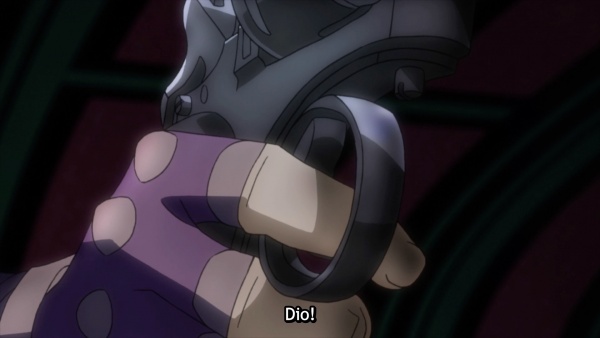
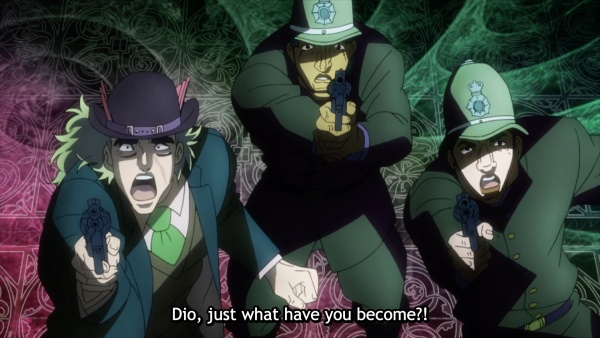
British police officers in the intro sequence and in Episode 3 ("Youth With Dio") use late-model Webley RIC revolvers. Jonathan Joestar and Robert Speedwagon also commandeer these revolvers.
Part 2: Battle Tendency
Colt Official Police
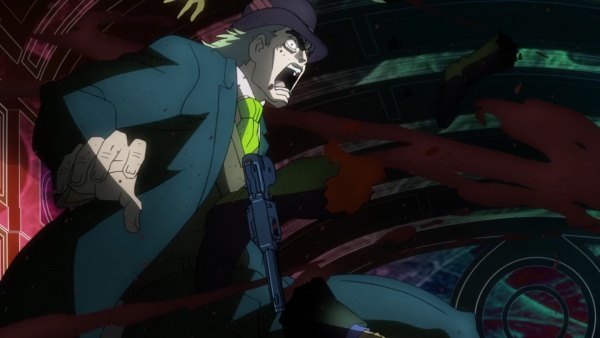
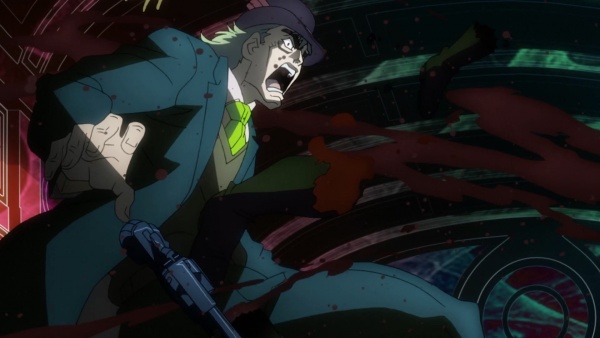
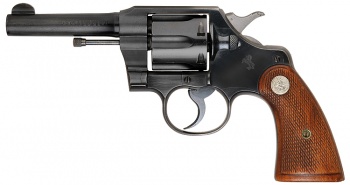
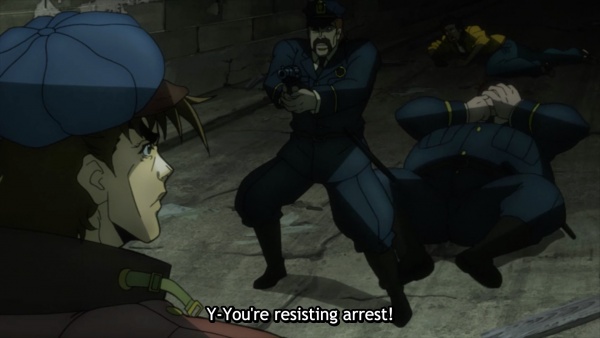
In Episode 10 ("New York's JoJo"), one of the two New York City police officers wields what appears to be a Colt Official Police revolver.
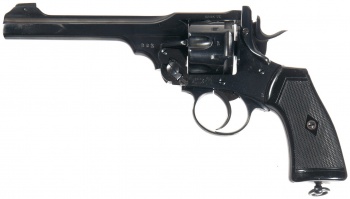
Webley Mk VI
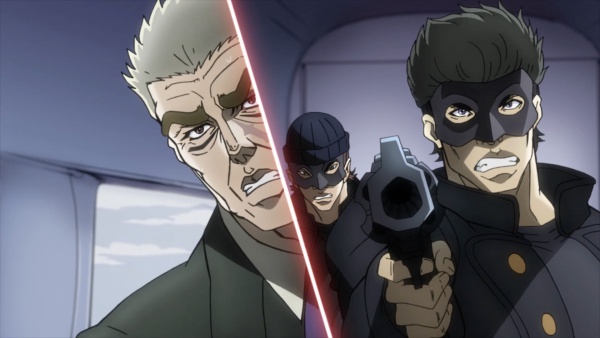
In Robert Speedwagon's flashback in Episode 10, one of the hijackers onboard Speedwagon's airplane wields a revolver, seemingly a Webley Mk VI.
M1A1 Thompson
The other two hijackers use M1A1 Thompson submachine guns without handguards. Seeing as this scene takes place in 1933, the M1A1 is anachronistic.
M1928 Thompson
At the end of Episode 10 and the beginning of Episode 11 ("The Game Master"), Joseph Joestar uses an M1928 Thompson submachine gun with a 50-round drum magazine against Straizo.
Mk 2 hand grenade
After failing to kill Straizo with his Thompson, Joseph uses several Mk 2 hand grenades against Straizo.
