| If you have been locked out of your account you can request a password reset here. |
Medal of Honor (1999)
Medal of Honor is the 1999 FPS videogame that marked the beginning of the Medal of Honor series of games. Originally released for the Playstation, the game follows the exploits of Jimmy Patterson, an Army lieutenant recruited into the OSS. The videogame received input from Saving Private Ryan director Steven Spielberg as well as from noted military technical advisor Dale Dye. Medal of Honor: Underground a prequel to the events of this game, was released in 2000. The semi-remake Medal of Honor: Frontline was released for the PlayStation 2 and Xbox in 2002.
NOTE: for the 2010 game of the same name, see Medal of Honor (2010).
The following weapons appear in the video game Medal of Honor (1999):
Pistols
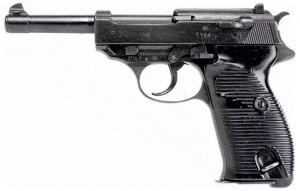
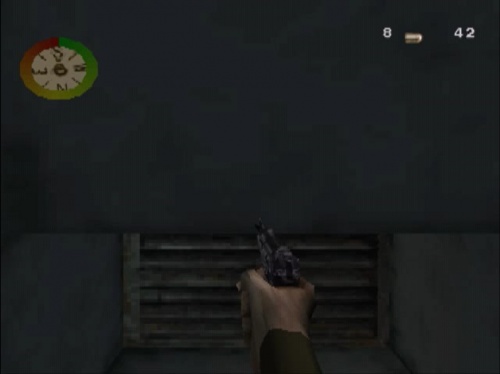
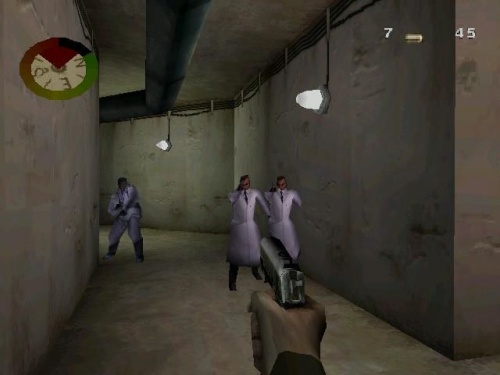
Walther P38
A Walther P38 is used by enemy officers and scientists. It can only be obtained in Mission 3, Scuttle Das Boot U-4901, and cannot be used in multiplayer. It has short recoil and is a very accurate gun overall, and makes gradually less noise than the M1911. It holds 8 rounds and uses Pistol ammunition.
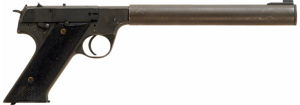
High Standard HDM
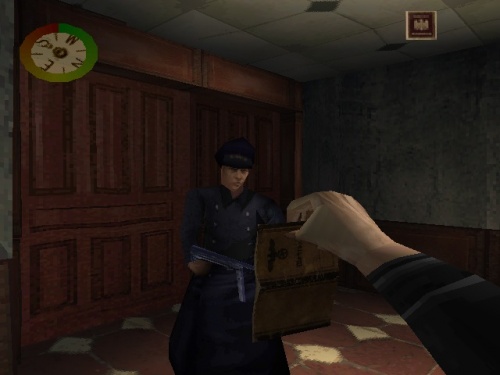
A suppressed High Standard HDM pistol is used in the two undercover missions in game; Destroy the Mighty Railgun Greta (Mission 2) and Scuttle Das Boot U-4901 (Mission 3). The suppressor's radius on the in-game HDM is much larger than the actual model. This was likely done to emphasize that the pistol unmistakably has a suppressor and is a silent weapon. Although silent, enemies will most likely hear its bullet impacts. It holds 7 rounds, is very powerful, and uses Pistol ammunition.
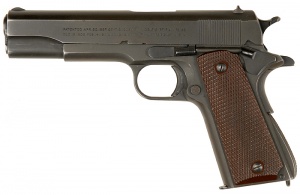
M1911A1
The M1911A1 is used by Patterson in Mission 5: Sabotage the Rjukan Hydro Plant. It is an atrocious weapon to have, dealing usually 2 hit kills to the helmet or 1-shot kills to a bare head at close range, and is a 3-5 hit kill (sometimes even more) if going for the torso. It holds 7 rounds and uses Pistol ammunition.
Rifles
M1 Garand
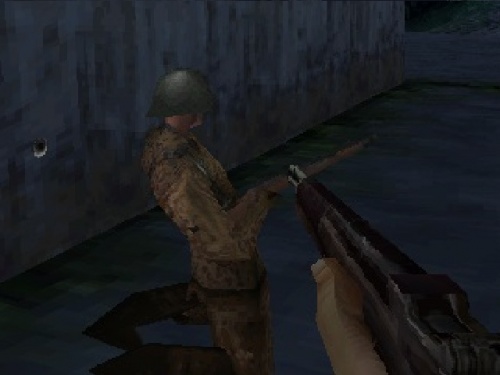
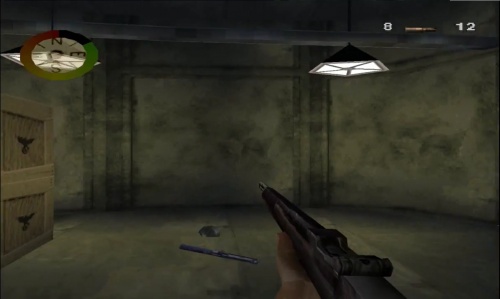
The M1 Garand is the first weapon to be used in the game. It's used in three missions: Rescue the G3 Officer (Mission 1), Attack Impenetrable Fort Schmerzen (Mission 4), and Capture the Secret German Treasure (Mission 6). It has a low fire rate, and causes relatively good damage, able to take out an enemy in 2 hits to the chest or 1 head shot. What's unique about this Garand is that it has something the others in the series don't have, the ability to reload mid-clip, giving it more authenticity. However, the Garand does not PING! upon firing its final round. The skin for the M1 Garand in multiplayer is identical to the skin for the in-game Karabiner 98k. It holds 8 rounds and uses Rifle ammunition, usually obtainable from enemy dropped Karabiner 98k's.
M1903A4 Springfield
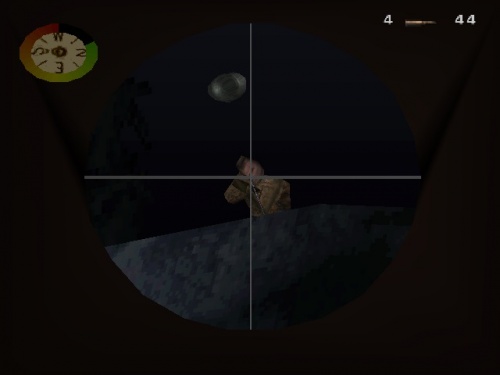
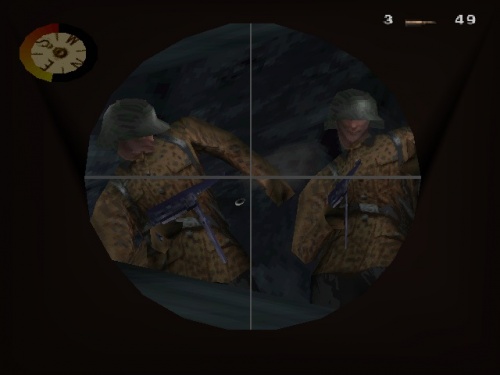
The only sniper rifle in the game, the M1903A4 Sniper Rifle can be obtained through hidden "gift packages". It is used in Destroy the Mighty Railgun Greta (Mission 2) and Scuttle Das Boot U-4901 (Mission 3). It holds 5 rounds, uses Rifle ammunition, and is the most powerful weapon in the game. Like the M1 Garand, its ammo can be obtained from dropped Karabiner 98k's.
Karabiner 98k
The Karabiner 98k is the standard weapon used by enemies, which is unusable for the player. Enemies seem to load them once spotting Patterson. Enemies will use their 98k's as melee weapons if close enough. They have a very low rate of fire and hold 5 rounds. They begin to diminish in favor of the MP40 later in the game.
Submachine Guns
M1A1 Thompson
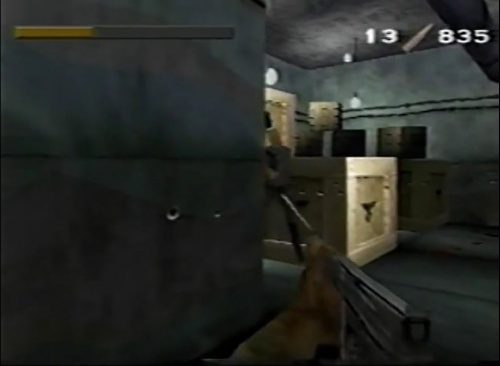
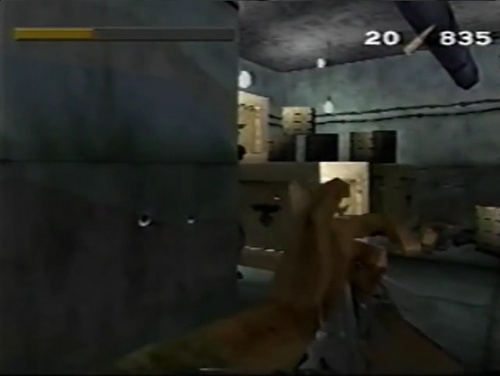
The M1A1 Thompson appears in Attack Impenetrable Fort Schmerzen (Mission 4) and Capture the Secret German Treasure (Mission 6). It's tragically underpowered, taking about six shots to kill an enemy. Enemies quickly recover after being hit in torso with it. It uses a 20 round magazine and has a great rate of fire, almost double that of the MP40. It has a tendency to burn through ammo, so each shot must count. In the beta version, the Thompson appears to be an M1928A1. However, the reload animation is for the M1A1. In the final version of the game, the Thompson has the M1928A1's reload animation for some reason, despite being the M1A1. It uses SMG ammunition, often obtained off dropped MP40's.
MP40
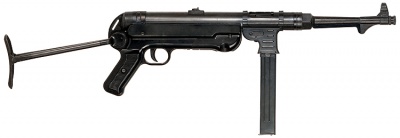
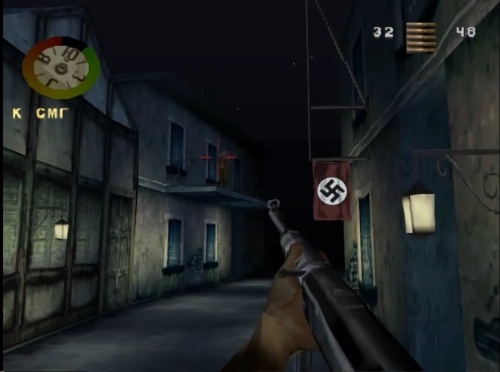
The MP40 is extensively used by enemies through out the game. It is first obtained off an enemy Gestapo Officer in Level 2 of Rescue the G-3 Officer (Mission 1). It can be picked up again in Level 2 of Destroy the Mighty Railgun Greta (Mission 2), and Scuttle Das Boot U-4901 (Mission 3). The MP40 can be a somewhat devastating weapon when facing it straight on. Enemies will not hesitate to riddle you with it. It has high recoil which results in bad accuracy, has average damage and a low fire rate. It holds 32 rounds, 12 more than the Thompson at the cost of lower damage, being able to kill in 4 hits to the chest, and 2 hits to the head, more often 1 hits if enemies are bare-headed or have soft headwear. It uses SMG ammunition.
Shotguns
Winchester Model 1897
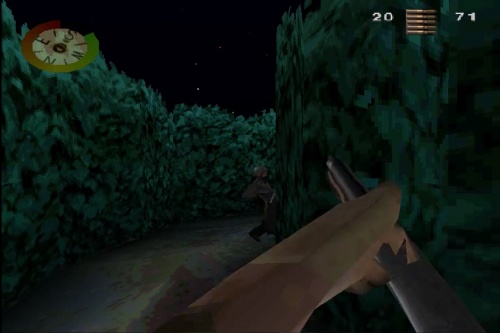
The Winchester Model 1897 shotgun appears in the final level of Rescue the G3 Officer (Mission 1), Attack Impenetrable Fort Schmerzen (Mission 4), Sabotage the Rjukan Hydro Plant (Mission 5), and Escape the V-2 Rocket Plant (Mission 7). The in-game model lacks the heatshield and bayonet lug of the militarized Winchester, which would more likely be used. The shots spread outward making it a short range weapon. At close range, it will kill enemies instantly, most likely sending them into full-body back flips. It holds 8 rounds and uses special Shotgun ammunition, which is highly available throughout levels.
Machine Guns
Browning Automatic Rifle
The Browning Automatic Rifle or BAR is used in Sabotage the Rjukan Hydro Plant (Mission 5) and Escape the V-2 Rocket Plant (Mission 7). The bipod remains attached through the whole game, but is unusable. Incorrectly, it uses SMG ammunition, which can also be obtained from dropped Karabiner 98k's. It has a low rate of fire, holds 20 rounds, and is very powerful. The BAR seems to be the weapon associated the most with Patterson, despite only being used in two missions. Mostly all concept art and images of Patterson feature him armed with the BAR.
Browning M2
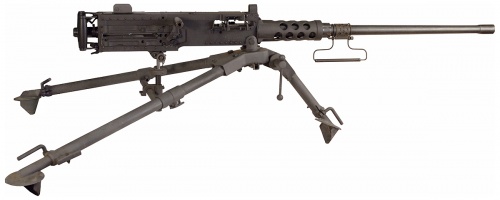
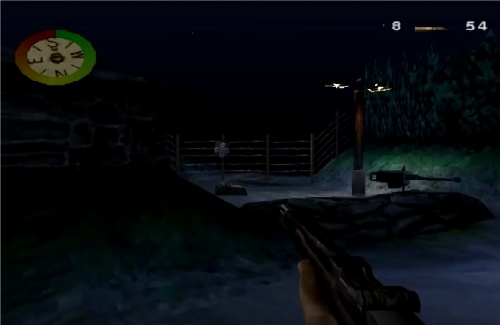
Throughout the game, there are numerous MG emplacements in which enemy troops and the player can use. They are simplistically designed, but bear a resemblance to the American Browning M2 machine guns despite being supposed German machine guns. They have a high damage rate, equal to the M1 Garand, and an unlimited ammo supply. Manning one will likely spawn a swarm of enemies to shoot.
Rocket Launchers
M9A1 Bazooka
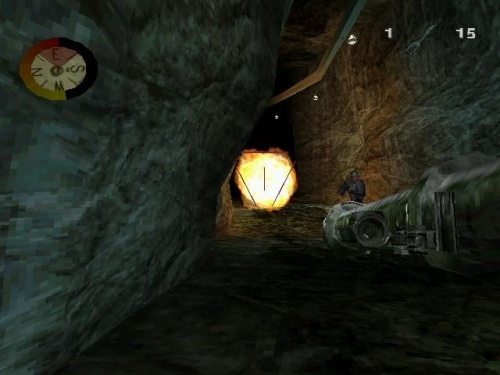
An M9A1 "Bazooka" with optical sights can be used in Capture the Secret German Treasure (Mission 6) and Escape the V-2 Rocket Plant (Mission 7). Its damage is very high but its Rocket ammo is scarce. It is highly effective against swarms of enemies.
Panzershreck
Enemies start using Panzerschreck rocket launchers in the last three missions of the game. Enemies wielding a Panzerschreck take a long time to engage with it. They tend to run around finding the right spot to fire from. It is an unusable weapon, but its Rocket Shell ammunition is compatible with the Bazooka. Like the Karabiner 98k, enemy troops will use it as a melee weapon if close enough.
Grenades
Mk 2 hand grenade
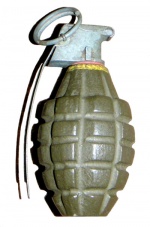
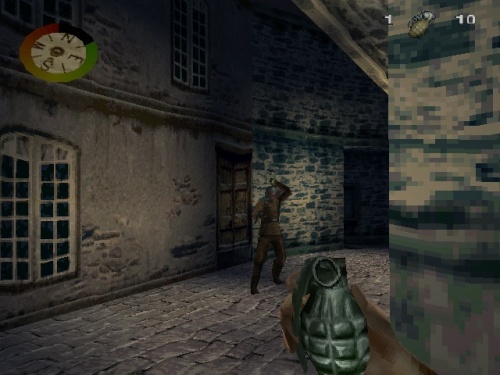
Mk 2 hand grenades can be used extensively through the game. They appear in Rescue the G-3 Officer (Mission 1), Attack Impenetrable Fort Schmerzen (Mission 4), and Escape the V-2 Rocket Plant (Mission 7). Oddly, the grenades explode on impact when hitting enemy troops. If a grenade does not strike an enemy, they are likely to either throw it back or run away. Grenade bundles are frequently encountered through out levels.
Model 24 Stielhandgranate
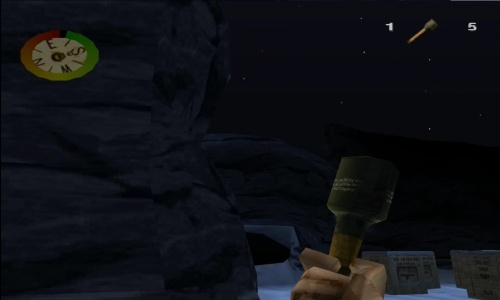
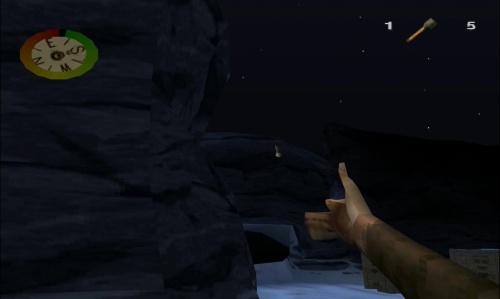
The German Model 24 Stielhandgranate grenades can also be used, and are used by enemies in later missions. They appear in Destroy the Mighty Railgun Greta (Mission 2), Scuttle Das Boot U-4901 (Mission 3), and Capture the Secret German Treasure (Mission 6). They share all characteristics with the Mk 2 grenades, including exploding on impact with enemies.
Extras
Demolition Charges
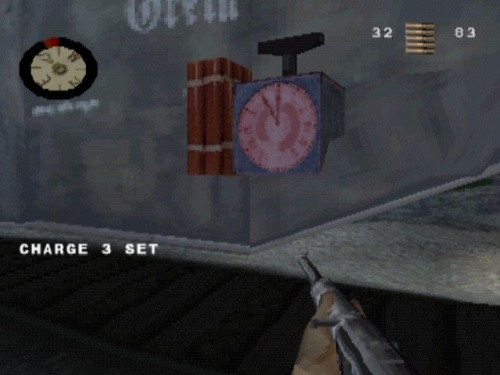
Throughout the game, it is required to obtain and use demolition charges to sabotage specific items and targets. Targets marked for demolition are identified by pulsating red boxes. Some charges are hidden in "gift packages" such as in Level 2 of Destroy the Mighty Railgun Greta (Mission 2). They have a roughly 5 second timer before detonation. The charge itself does not resemble any real demolition system used during WWII; it is merely cartoony red dynamite sticks attached to a giant clock which looks more like a set of mechanical weighing scales.
Tiger I
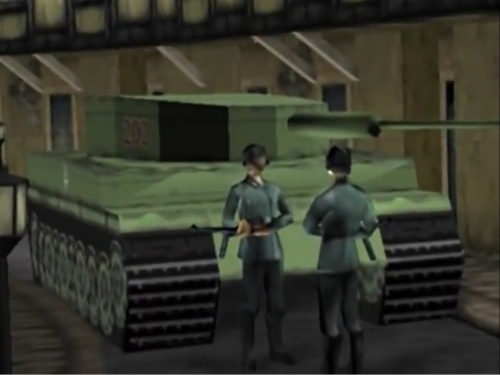
A parked Tiger I Ausf H is seen at the end of Level 2 of Rescue the G3 Officer (Mission 1). The Tiger tank lacks many details, and is much smaller than the actual Tiger (appearing only to the size of a Panzer I next to enemies). The Tiger is merely part of the level design, and cannot be used by enemies or Patterson. During the beta trailer on the main menu, a brief image shows the Tiger rotate its turret. It is possible the Tiger was meant to be an enemy obstacle in the game but was scrapped for an unknown reason.
Junkers Ju 87
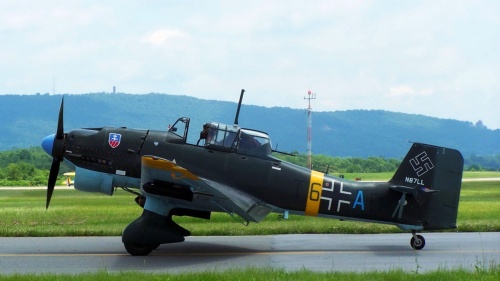
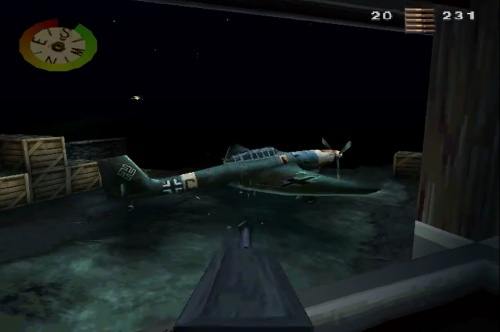
A Junkers Ju 87 "Stuka" Dive Bomber is required to be destroyed in Level 1 of Attack Impenetrable Fort Schmerzen (Mission 4). It is found parked in a supply depot, and can easily be destroyed with a nearby machinegun in a watchtower.
Krupp K5
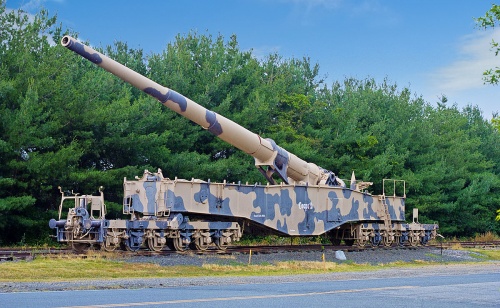
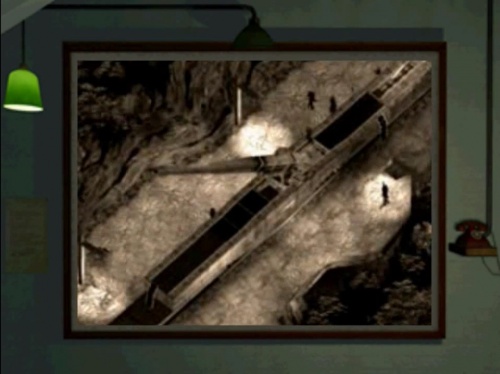
A Krupp K5 11-inch railroad gun, named "Greta", is the main objective of sabotage in Destroy the Mighty Railgun Greta (Mission 2). "Greta" is a fictional K5, its presence in the game based on the 'Robert' and 'Leopold' guns used in Italy. It is said in the mission briefing that Greta is capable of firing a much more powerful shell than the far larger 'Schwerer Gustav' and 'Dora' guns, which is impossible barring the use of atomic projectiles. The Gustav and Dora guns were twice the length of the Krupp K5, over six times heavier and fired a 31-inch rocket-assisted shell weighing up to 7 tons compared to a K5's 11-inch quarter-ton projectile.
Armoured DRG Class 05
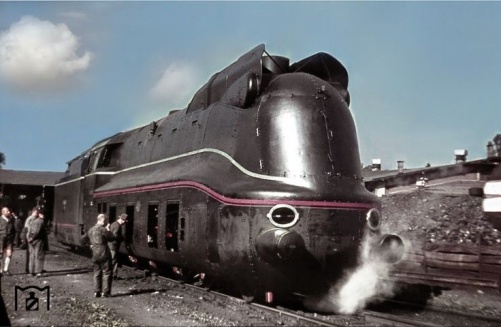
In Level 2 of Destroy the Mighty Railgun Greta (Mission 2), a parked locomotive which appears to be an armoured DRG Class 05 streamliner is targeted for sabotage. In the mission briefing, it is said to be "Greta's" reserve engine, and is described as "a specially armored beast". Like most vehicles in the game, it is vastly undersized from its real-life counterpart. It is easily destroyed by placing demolition charges on the front of the train.
3.7cm FlaK M42U
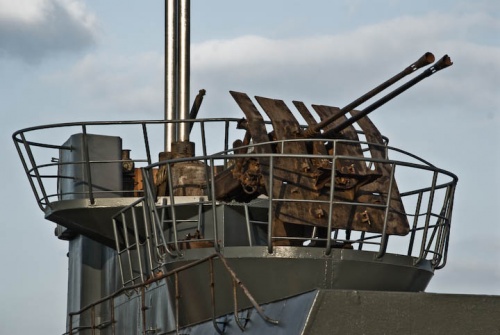
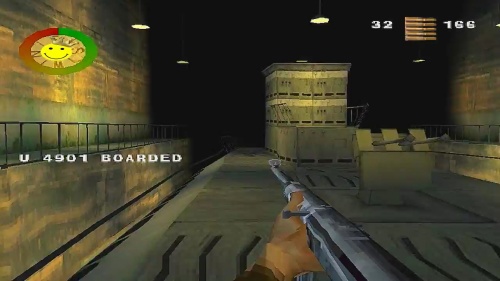
At the end of Level 3 of Scuttle Das Boot U-4910 (Mission 3), what appears to be a twin 3.7cm FlaK M42U, the navalised version of the 3.7cm FlaK 37, is seen mounted on the U-Boat. Much like other non usable background weapons, it lacks detail and is much smaller than the actual weapon.
"U-4910" is too high for a real U-Boat; the classification system only ever reached 4870, for a Type XXIII U-Boat that was never laid down, and the highest number of a completed boat was another Type XXIII, U-4712, which was completed in April 1945 and scuttled a month later.
LeFH 18/40
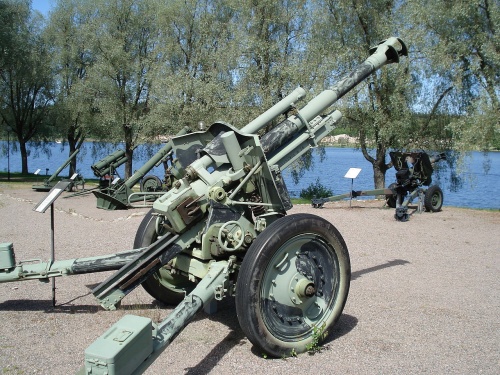
In Level 2 of Attack Impenetrable Fort Schmerzen (Mission 4), what appears to be an LeFH 18/40 105mm field gun is encountered in a casemate built into Fort Schmerzen's defense system. It is difficult to identify, due to the serious lack of detail, but the gun somewhat takes the shape of an LeFH on a split-trail mount. The gun is unusable and only serves as part of the level design.
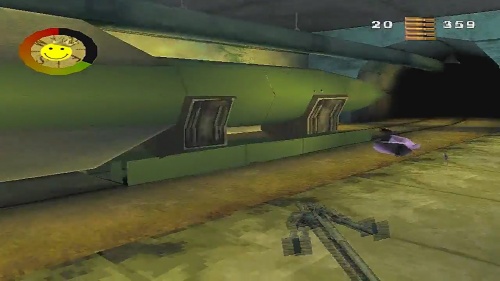
V1 Missile
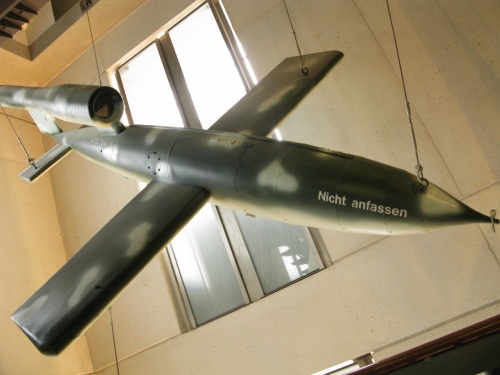
The final mission, Escape the V2 Rocket Plant, Patterson must infiltrate the Nordhausen Mittlewerk to sabotage the V2 Rocket assembly. Level 1 consists of infiltrating Nordhausen's V1 "Buzzbomb" Missile assembly area. Several half-built V1 Missiles can be seen throughout the level, including a folded up one near the launch pad.
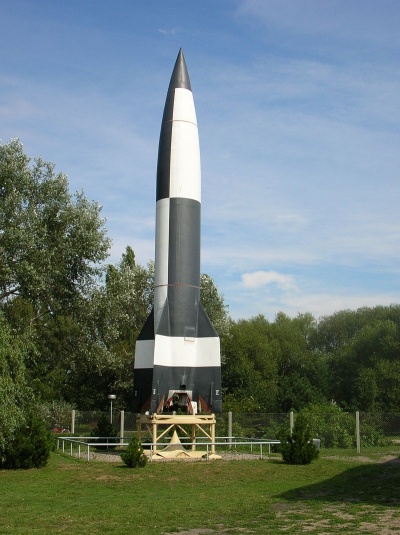
V2 Rocket
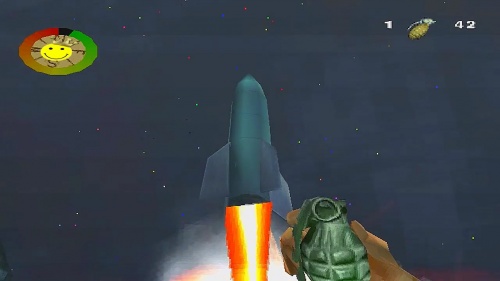
The final mission, Escape the V2 Rocket Plant, Patterson must infiltrate the Nordhausen Mittlewerk to sabotage the V-2 Rocket assembly. In Level 2, numerous V-2 Rockets are seen under construction and on assembly lines. In the final level, Patterson sabotages the gyro guidance system to drop the next V-2 rocket on the facility. Once exiting the facility, Patterson makes his way to the launch site and launches the V-2 rocket on top of the facility destroying it and killing all the enemies inside.
Beta Version
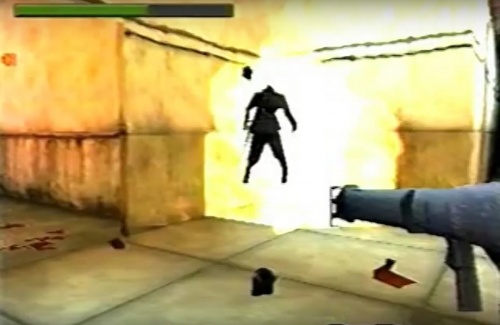
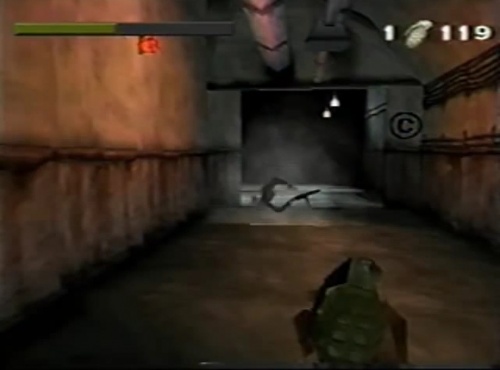
The Beta trailer for Medal of Honor, featured on EA's Small Soldiers for PlayStation, had considerable differences to the final game. The most prominent feature was the blood and gore, able to gib enemies with rockets and grenades. The weapons are also different and the quality of the video makes them hard to see in detail. The only weapons shown in use are the Thompson M1928A1, M1 Bazooka, and Mk 2 hand grenade. The enemies seem to be armed with the MP40. A couple of images from the Beta version were used as screenshots on the back cover of the game.
MP40
Low detailed enemies are armed with MP40s.
Thompson M1928A1
What seems to be a Thompson M1928A1 appears in a low rendered skin. However, the reload animation seems to be for a Thompson M1A1, cocking the bolt on the side. It has a much lower rate of fire and no muzzle flash when fired. It retains the 20-round magazine.
M1 Bazooka
An M1 Bazooka appears as the Beta version's rocket launcher instead of the M9 Bazooka, identified by the front sight. Although the handle and trigger are visible, there seems to be no hands attached to it (reminiscent of weapons in the Nintendo 64 First Person Shooter game GoldenEye 007). As stated, a rocket will gib enemies upon impact and send blood gushing everywhere.
Mk 2 hand grenade
The Mk 2 hand grenade is featured looking unrendered and unusually light green. Again, it will gib enemies upon impact.
