| If you have been locked out of your account you can request a password reset here. |
Difference between revisions of "Medal of Honor: Frontline"
(→Extras) |
|||
| Line 195: | Line 195: | ||
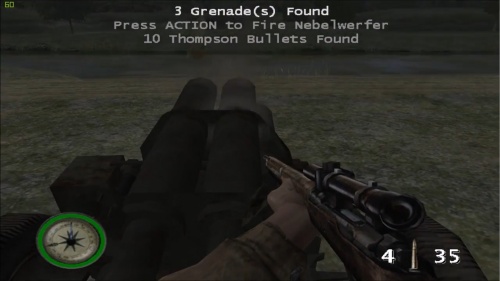
[[Image:MohfM1 Screaming Mimi 2.jpg|thumb|none|500px|Firing the Nebelwerfer.]] | [[Image:MohfM1 Screaming Mimi 2.jpg|thumb|none|500px|Firing the Nebelwerfer.]] | ||
| − | ==MG34== | + | ==MG34 Panzerlauf== |
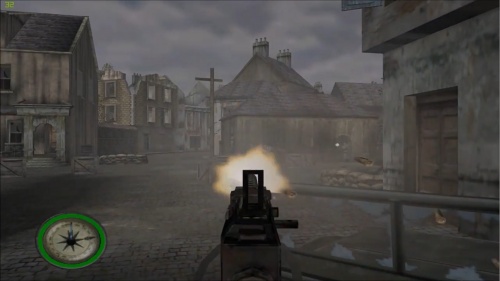
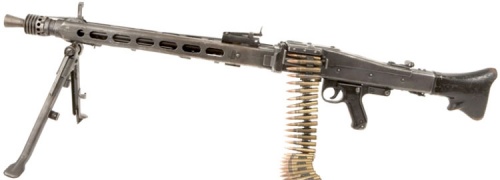
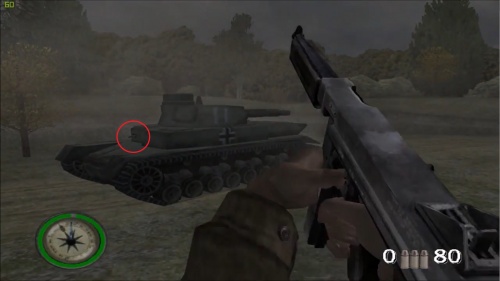
| − | In several levels, the | + | In several levels, particularly Level 1 of Needle in the Haystack (Mission 3), enemy Panzer III tanks use the [[MG34 Panzerlauf]] as their secondary weapon. Their rate of fire is much higher than the actual MG34, and their sound effect appears to be that of the MP40. They can be disabled if shot just right. |
| − | [[Image:Mg34hb.jpg|thumb|none| | + | [[Image:Mg34hb.jpg|thumb|none|500px|MG34 Panzerlauf with stock fitted - 7.92x57mm Mauser]] |
| + | [[Image:Mohf MG34.jpg|thumb|none|500px|The MG34 Panzerlauf (circled in red) of an enemy Panzer III.]] | ||
==MG17== | ==MG17== | ||
Revision as of 20:03, 17 February 2018
Nice, but where's the trigger? This article or section is incomplete. You can help IMFDB by expanding it. |
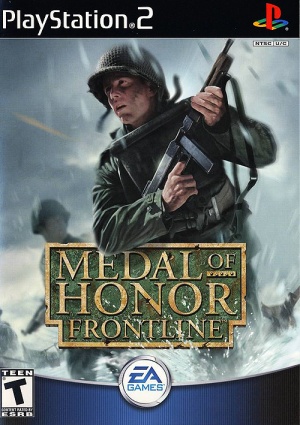
Medal of Honor: Frontline is the fourth installment in the Medal of Honor series, released in North America for the PlayStation 2 on May 29, 2002 and for the Xbox and GameCube consoles on November 7, 2002. In 2010, an HD port of the game was included in the "Limited Edition" PlayStation 3 version of Medal of Honor.
Lt. Jimmy Patterson returns as the game's protagonist. It is a semi remake and reboot of the original 1999 Medal of Honor. Some missions, such as A Storm in the Port (Mission 2) and Rolling Thunder (Mission 5), are homages to Scuttle Das Boot U-4901 (Mission 3) and Destroy the Mighty Railgun Greta (Mission 2) from the first game. The plot takes place during Operation Market Garden, in between Mission 3 and Mission 4 of the first game. All of the weaponry has been brought back from the first game and Medal of Honor: Underground.
The following weapons appear in the video game Medal of Honor: Frontline:
![]() WARNING! THIS PAGE CONTAINS SPOILERS!
WARNING! THIS PAGE CONTAINS SPOILERS!
Pistols
M1911A1
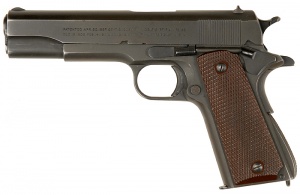
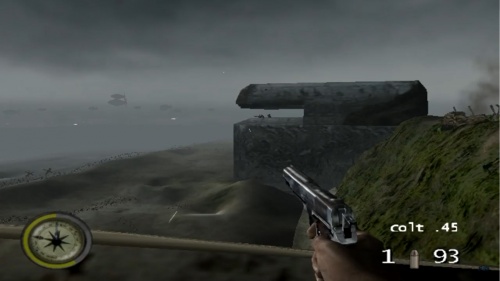
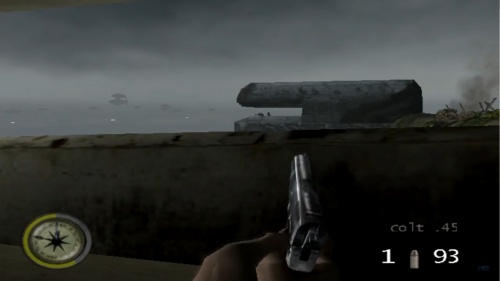
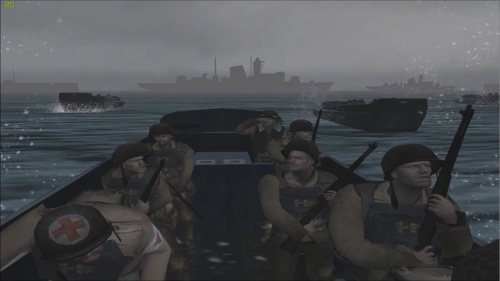
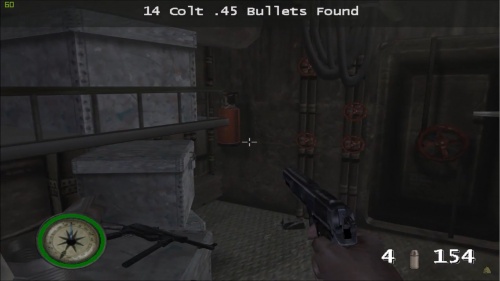
Known as the "Colt .45" in-game, the M1911A1 appears as the standard sidearm in D-Day (Mission 1) and A Storm in the Port (Mission 2). It is also seen on the main menu as the option for 'next mission'. It is the most powerful pistol in the game, and is highly effective firing against MG positions Level 1 of D-Day (Mission 1). It holds 7 rounds.
High Standard HDM
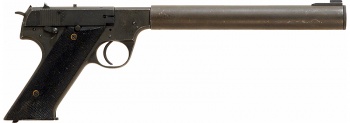
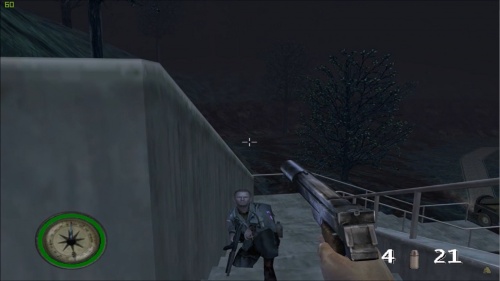
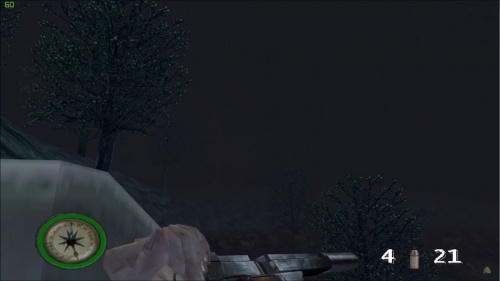
Known as the "Silenced Pistol", a suppressed High Standard HDM is the most used pistol throughout the game. It first appears in Level 2 of Needle in the Haystack (Mission 3), and then returns in Several Bridges Too Far (Mission 4), and Level 1 in Rolling Thunder (Mission 5). It is slightly less powerful than the M1911A1. The in-game HDM's slide seems to be disproportionate to its actual model. It holds 7 rounds.
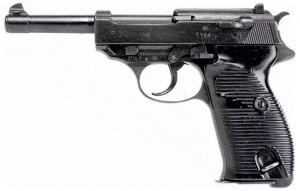
Walther P38
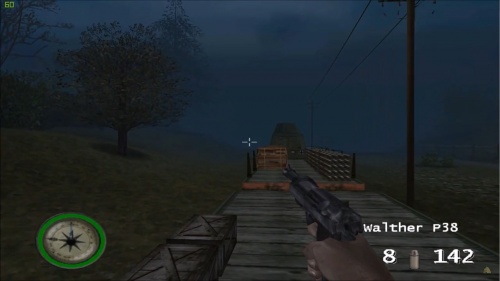
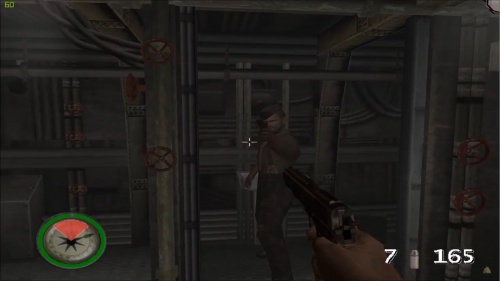
The Walther P38 is mainly used by enemy officers and scientists. It is first obtained in Rolling Thunder (Mission 5) and is used again in The Hornet's Nest (Mission 6). It has short recoil, and is much more accurate than the M1911A1. It holds 8 rounds and uses Pistol ammunition.
Rifles
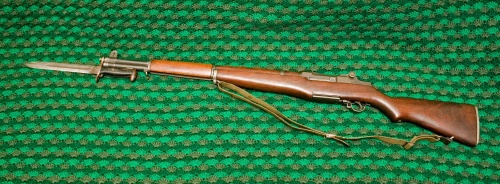
M1 Garand
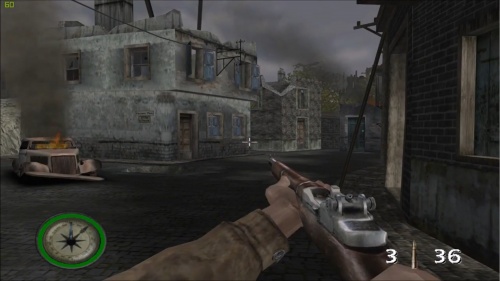
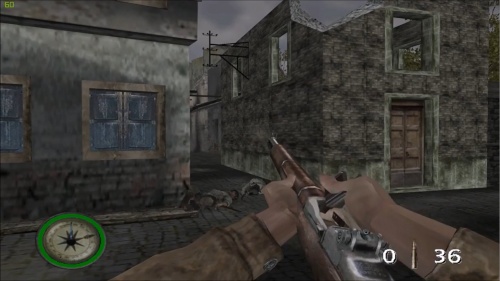
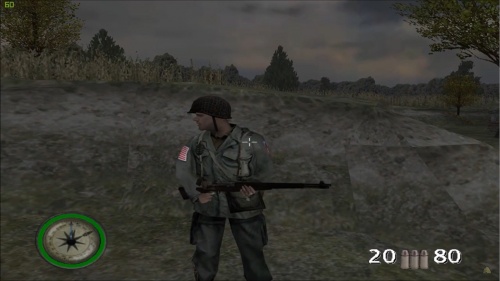
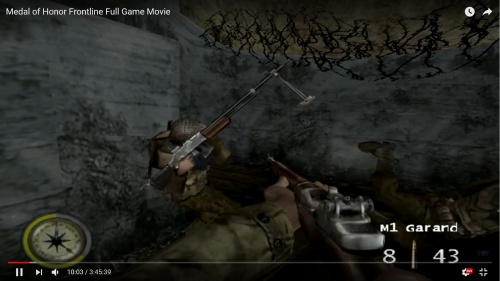
The M1 Garand is the first weapon to be used in the game, and appears as the standard weapon for U.S. Army allies in the game. Unlike the real M1 Garand, the in-game model cannot be reloaded until the entire en-bloc clip is expended. This is because the game's engine only allows one reload animation per weapon - Reloading the Garand mid clip would require a second animation to show the manual ejection of the clip, and then the loading of a new clip. In Level 2 of Needle in the Haystack (Mission 3), an enemy soldier in the pub is carrying a Garand. This could possibly be a capture from an American casualty, or a programming error which is more likely.
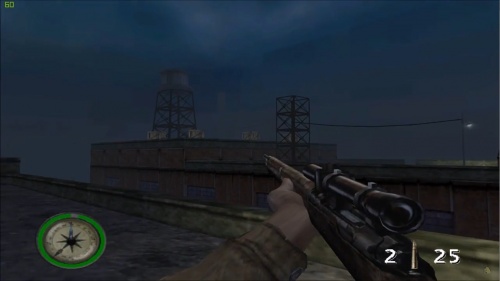
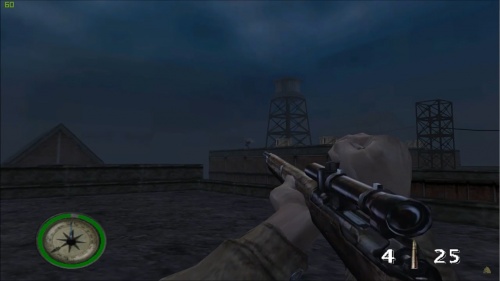
Springfield M1903A4
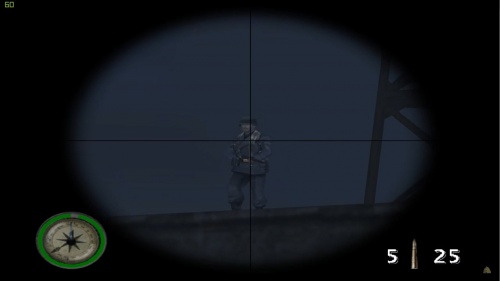
The M1903A4 Springfield appears in Level 2 of A Storm in the Port (Mission 2) and in the first 2 levels of Needle in the Haystack (Mission 3). Like the first MOH game, it is first obtained through a hidden "gift package". It has a somewhat slow rate of fire due to the bolt-action, but it is incredibly accurate, and has great range. It holds 5 rounds.
Gewehr 43
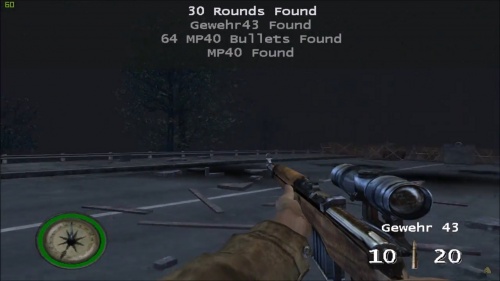
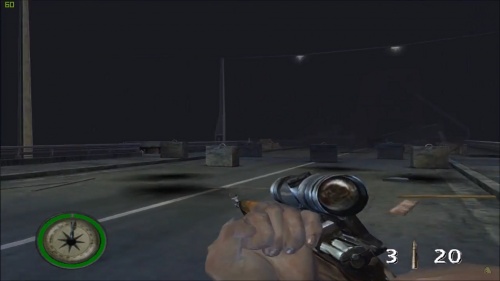
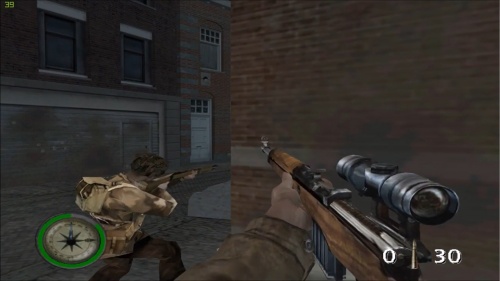
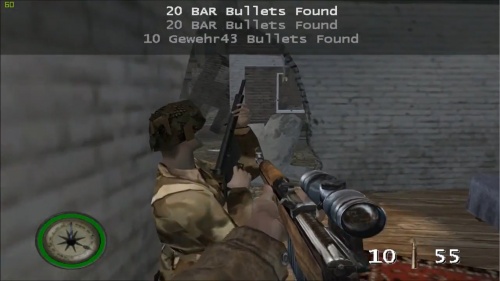
A scoped Gewehr 43 appears as the second "sniping" weapon in the game, and is prominently seen in the hands of enemies in Level 1 of Several Bridges Too Far (Mission 4), where it is first obtained. It comes back in The Hornet's Nest (Mission 6). It's accuracy is slightly less than the M1903. Being a semi automatic weapon, it has a much higher rate of fire and faster reload than the M1903. It holds 10 rounds.
Note: the real Gewehr 43 has significantly less accuracy at range than the 1903 bolt action rifle and isn't nearly as reliable. Even as a basic semi-automatic rifle, its less than desirable, especially when compared to superior rifles like the M1 Garand.
Karabiner 98k
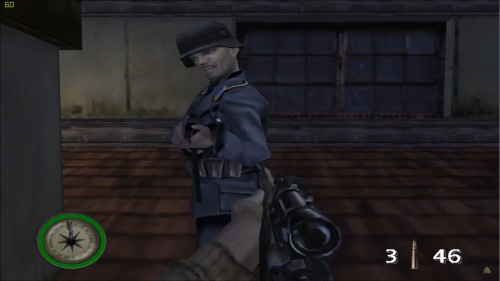
The Karabiner 98k is the standard weapon used by enemies. Like the first game, it is unusable for the player. Scoped versions can be seen being used by enemy snipers in Level 1 of Several Bridges Too Far (Mission 4). They have a low rate of fire and take enemies a considerable amount of time to reload. Enemies will likely use them as melee weapons if close enough. They slowly diminish in favor of the Gewehr 43 in later missions. It holds 5 rounds.
Short Magazine Lee-Enfield No.4 Mk I
The Short Magazine Lee-Enfield is seen in the hands of British Paratroopers Allies in Level 3 of Several Bridges Too Far (Mission 4). It is unusable for the player and only seen in this level. They share the same sound effect with the M1 Garand.
Sturmgewehr 44
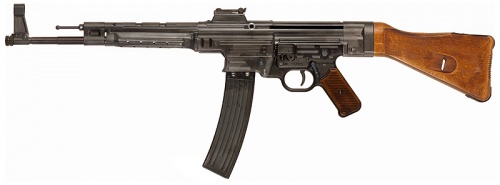
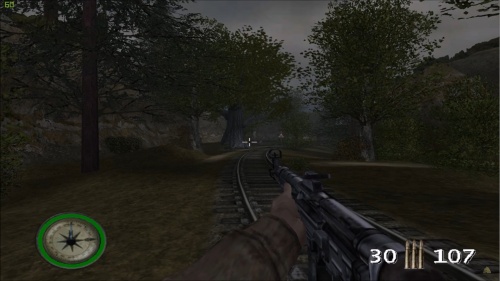
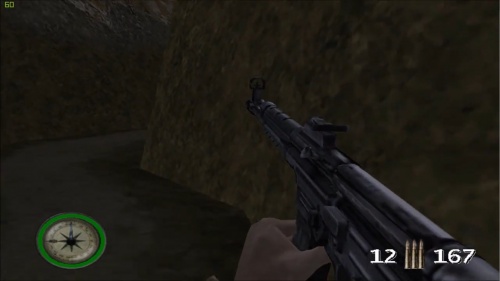
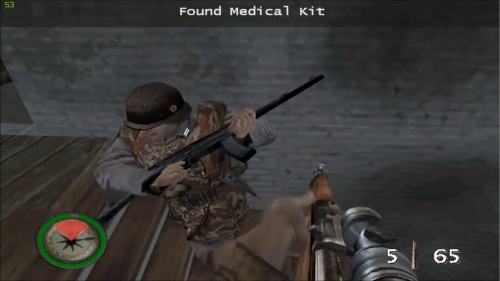
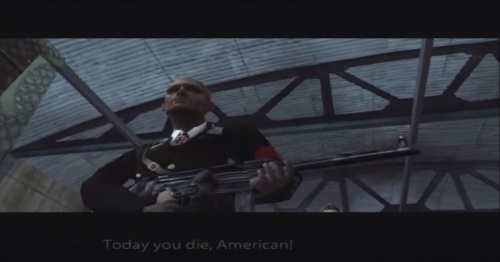
Known as the "STG44", the Sturmgewehr 44 is first obtained in Level 3 of Needle in a Haystack (Mission 3). It later comes back in Rolling Thunder (Mission 5). It is seen in enemy hands in any level where the player uses the B.A.R., likely to counter the firepower. The in-game model is disproportionate to the real STG44, seeming to be stretched out for some reason. Its rate of fire is generally slow, but seems to be much faster in enemy hands. At the game's climax, Baron Rudolph Ulbricht Von Sturmgeist is armed with a Sturmgewehr in the final duel.
Submachine Guns
M1A1 Thompson
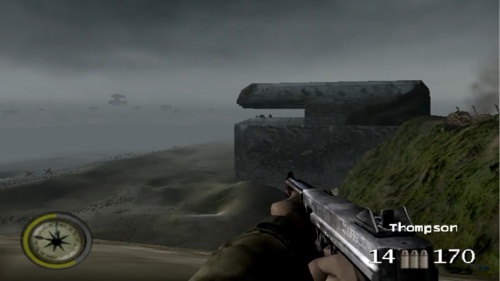
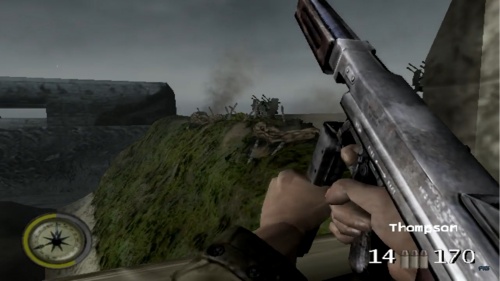
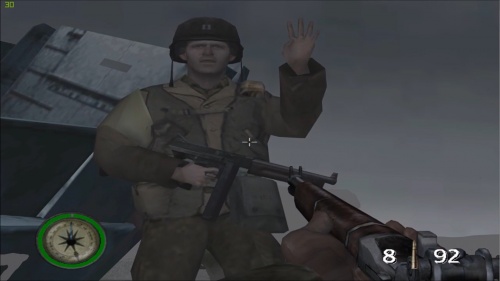
The M1A1 Thompson appears in D-Day (Mission 1) and Needle in a Haystack (Mission 3). It can be found in the surf and hidden by a Belgian Gate obstacle in Level 1 of D-Day. It has the highest rate of fire in terms of SMG's and is very powerful. The "Captain" on D-Day carries one (one of many homages to Saving Private Ryan), as do several allied U.S. Soldiers in Level 1 of Storm in the Port (Mission 2). Strangely, it holds 20 rounds despite being modeled with a 30 round magazine.
MP40
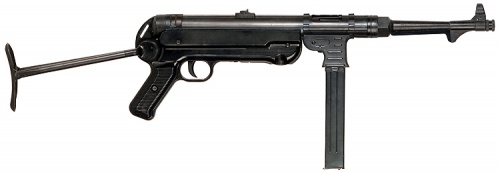
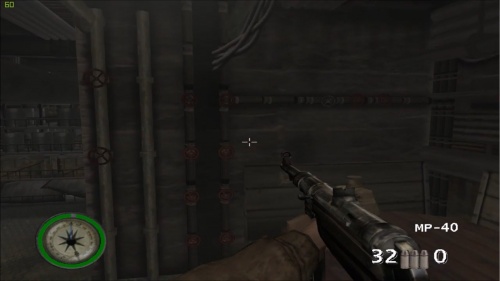
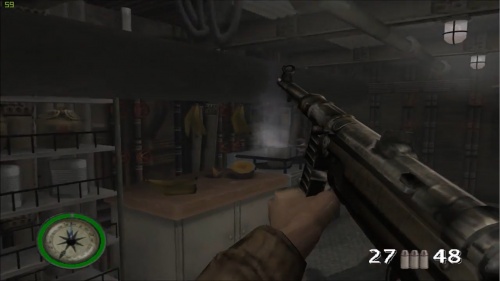
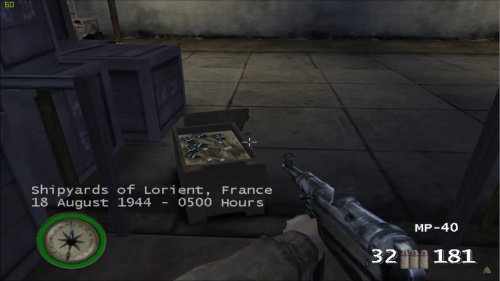
The MP40 is used by enemies throughout the game, but is slowly replaced by the Sturmgewehr 44 towards the end of the game. It is used in A Storm in the Port (Mission 2), Several Bridges Too Far (Mission 5) and Rolling Thunder (Mission 6). It has a high rate of fire, much higher than the actual MP40, but low damage rate. When used by enemies, the rate of fire is much higher, but they tend to fire it in short bursts. It is incorrectly shown firing with a closed bolt.
Sten Mk II
The Sten Mk II appears in Level 3 of Several Bridges Too Far (Mission 4) in the hands of British paratrooper allies, particularly the squad leader - Master Sgt. Kelso. Like the Lee-Enfield, the Sten is exclusive to the British paratrooper allies and not available for player use. Although armed with the Mk II, the British para's would have likely been armed with the Mk V Paratrooper variant. It uses the same sound effect of the Sturmgewehr 44.
Shotguns
Winchester Model 1897 'Trench Gun'
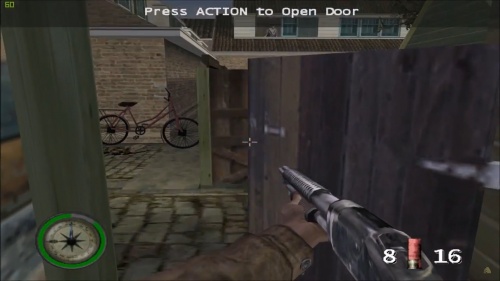
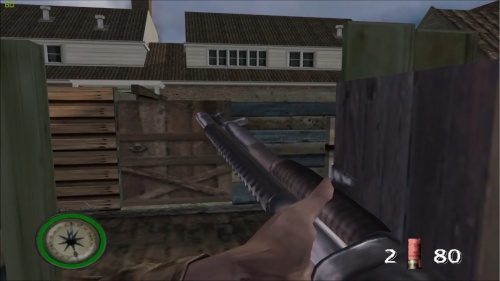
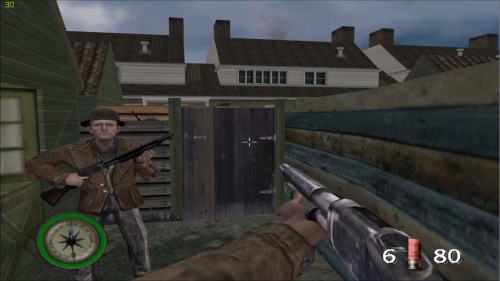
The militarized version of the Winchester Model 1897 shotgun appears in Needle in the Haystack (Mission 3) and Several Bridges Too Far (Mission 4). In Level 2 of Several Bridges Too Far (Mission 4), an elderly Dutch Resistance member is briefly seen armed with a Trench Gun, before being quickly taken down by an enemy sniper. It has a very short range but will usually kill enemies with one shot. For some reason, the weapon holds eight shells, despite the real weapon carrying six. It uses Shotgun Ammunition.
Machine Guns
Browning Automatic Rifle
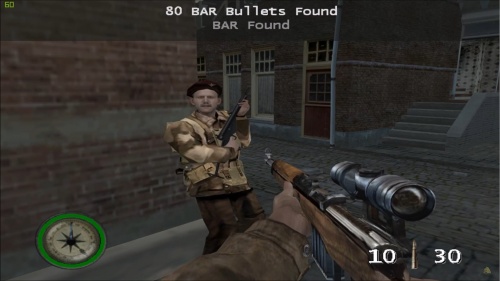
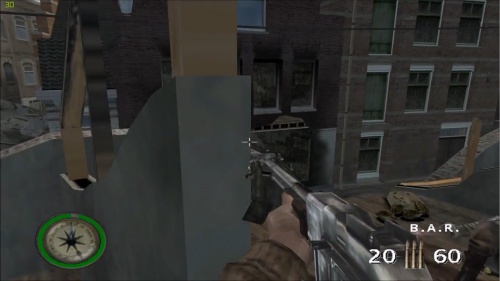
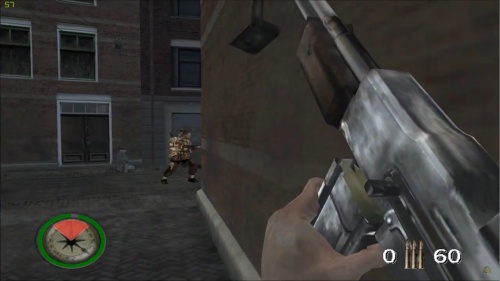
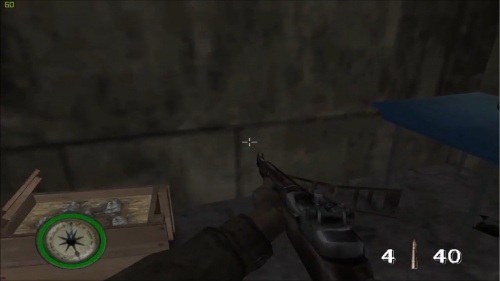
The Browning Automatic Rifle or BAR makes its first appearance in Level 2 of D-Day (Mission 1) in the hands of a US Army ally, but cannot be used. When in the hands of allies, the bipod is unfolded. But, when used by Patterson, the bipod is folded up and cannot be used. It can first be used in Level 3 of Several Bridges Too Far (Mission 3) and is later obtained in The Hornet's Nest (Mission 6). Although somewhat inaccurate at long range and having a slow rate of fire, it is the most powerful automatic weapon in the game. It holds 20 rounds.
Browning M1919
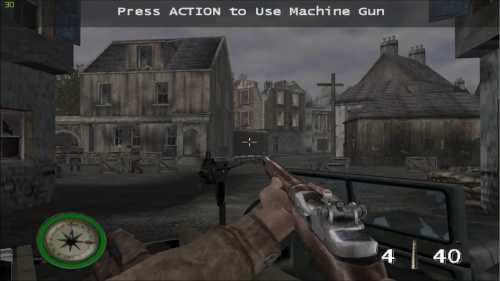
In Level 1 of A Storm in the Port (Mission 2), a Browning M1919 can be used, mounted on a wrecked US Army jeep after being strafed by a German Me-109. Like every mounted machine gun in the Medal of Honor series, manning the gun will spawn a swarm of enemies to gun down. It has unlimited ammo and the same rate of fire of the MG42 in the game.
MG42
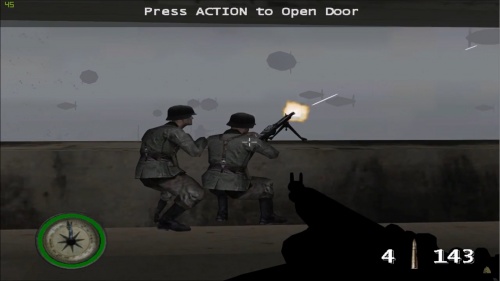
The MG42 appears frequently in the game mounted in several positions, most notably in enemy bunkers on D-Day (Mission 1). Just like the M1919 machine gun, manning one will trigger a swarm of enemies to come forth to attack, though you again have the benefit of unlimited ammo with which to counter the threat. The MG42 is also erroneously shown being capable of destroying enemy Panzer III tanks. Its rate of fire is also much lower than the real-life MG42.
Rocket Launchers
M9A1 "Bazooka"
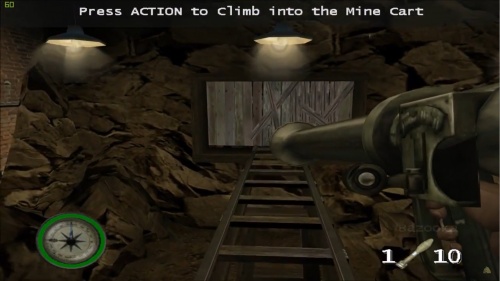
The M9A1 "Bazooka" appears in The Hornet's Nest (Mission 6). Contrary to the real-life version, it can be effectively operated by a single person, which at best would be highly impractical in a combat situation. It also takes little time to reload, and is aimed through an optic sight. It is more effective as an anti-personnel weapon than its' original anti-tank role.
Panzerschreck
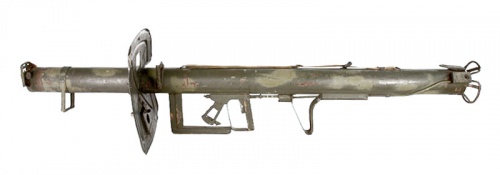
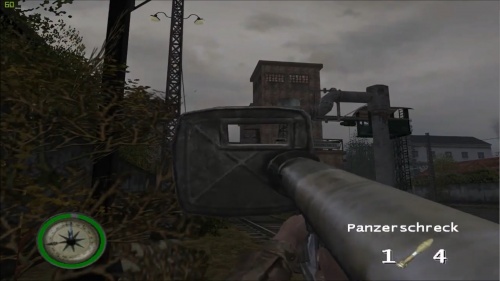
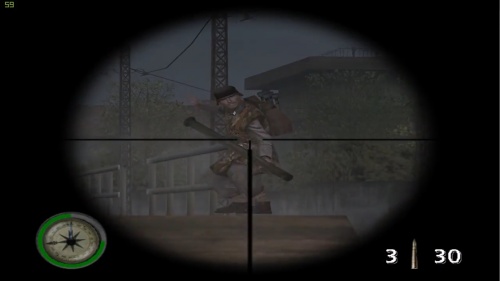
The Panzerschreck appears in the game as the German counterpart to the American Bazooka. It is first seen in Level 3 of Needle in the Haystack (Mission 3), in the hands of a frantic enemy who blows up a walkway bridge. It later comes back in Level 3 of Rolling Thunder (Mission 5). In the hands of enemies, they lack the blast shield for an unknown reason. Enemies are quite slow to using them, but can be pretty effective once firing. The blast shield obscures the view making it difficult to aim. And, unlike the Bazooka, it is impossible to aim the weapon. It takes a long time to reload and uses 'Panzerschreck Rocket' ammo.
Grenades
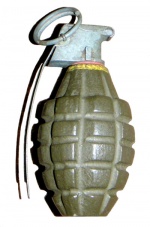
Mk 2 Hand Grenade
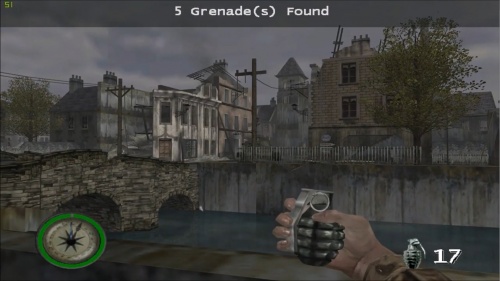
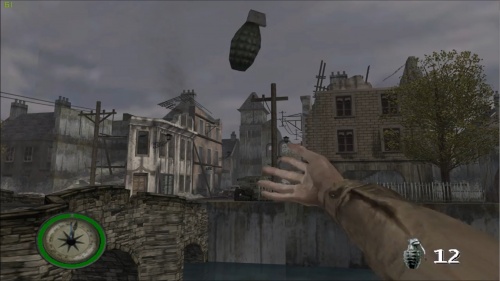
The Mk 2 hand grenade frequently appears in the game. They are used in Level 1 of A Storm in the Port (Mission 2), Needle in the Haystack (Mission 3), and Several Bridges Too Far (Mission 4). Like the other allied weapons, it is generally available where U.S. Army forces are present. Like previous Medal of Honor games, the grenades explode on impact when hitting enemy troops. If a grenade does not strike an enemy, they are likely to either throw it back or run away. Grenade bundles are frequently encountered through out levels, sometimes in bags and sometimes in crates.
Model 16 Stielhandgranate
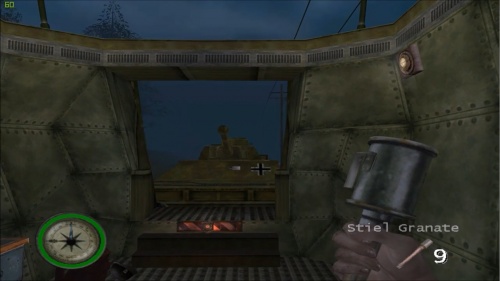
The German Model 16 Stielhandgranate grenades can also be used, and are used by enemies in later missions. They appear in Level 3 of A Storm in the Port (Mission 2), Rolling Thunder (Mission 5), and The Hornet's Nest (Mission 6). They share all characteristics with the Mk 2 grenades, including exploding on impact with enemies.
M18 Smoke Grenade
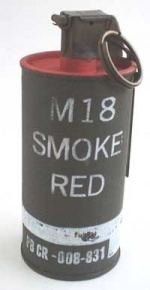
In Level 1 of D-Day (Mission 1), it is required to mark German bunkers for the Allied Fleet in the channel to destroy. This is done by placing a M18 smoke grenade in the "gun deck" of the bunker. Once placed, time is short to escape before the fleet nails the bunker.
Extras
Flak 29 Oerlikon
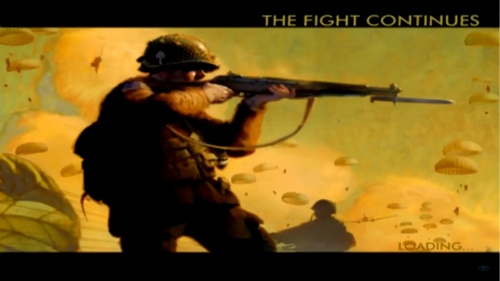
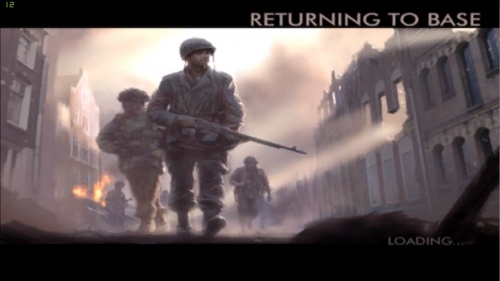
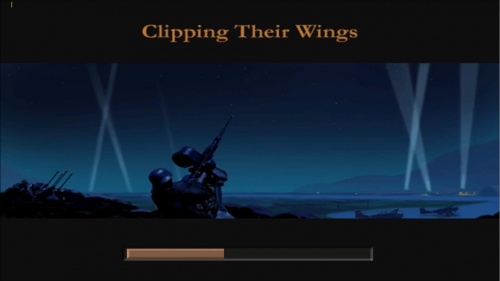
A Flak 29 Oerlikon is being used by a Luftwaffe Flak Crewman depicted on the loading screen for Level 1 of The Hornets Nest (Mission 6). This image, however, was obviously taken from a real-life photograph of a Kriegsmarine Soldier manning a Flak 29 aboard a ship (seen in the image below). The Flak 29 was mainly designed for the Kriegsmarine. Therefore, it would not likely be found near a Luftwaffe air strip.
Demolition Charges
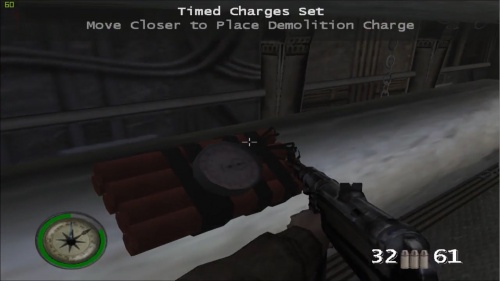
Like the previous games, it is required to obtain and use demolition charges to sabotage specific items and targets. And, just like in the first game again, targets marked for sabotage are identified by pulsating red boxes. Although the demolition charges still do not resemble any real-life demolition system used during WWII, the design is a step up from the red sticks strapped to a gigantic clock. The giant clock is replaced by a small timer wired to the dynamite.
2 cm Flakvierling 38
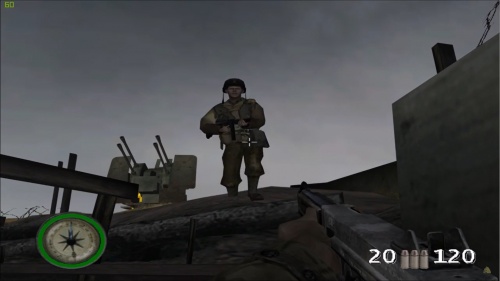
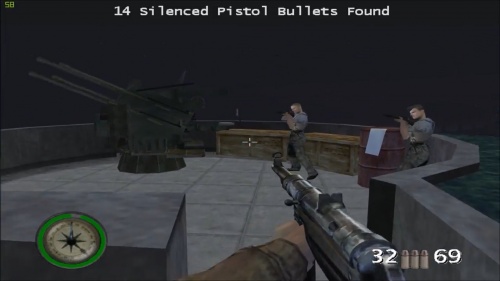
The Flakvierling 38 is seen a few times throughout the game, although it can never be used. It is first seen atop the bluff of Omaha Beach in Mission 1 (D-Day), despite the fact that there were no Flakvierling 38's on the real Omaha Beach. It becomes a target for destruction in Level 1 of Several Bridges Too Far (Mission 4), and can later be seen on a Panzerzug (Armored Train) in Level 2 of Riding Out the Storm (Mission 5).
15 cm Nebelwerfer 41
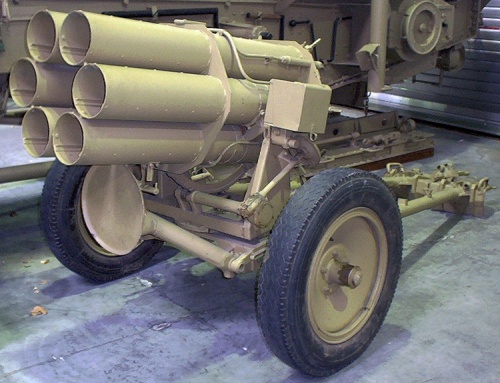
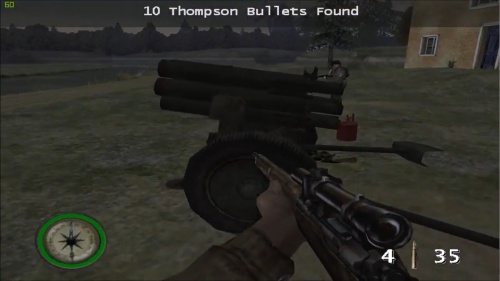
The Nebelwerfer 41 rocket launcher appears only once in the game. In Mission 1 of Needle in the Haystack (Mission 3), it is required to use a Nebelwerfer to destroy a Panzer III tank across a river. Cpl. Barnes advises "We can't get that tank from here. Try taking it out with that rocket launcher." Once triggered, it rapid fires all six rockets destroying the tank.
MG34 Panzerlauf
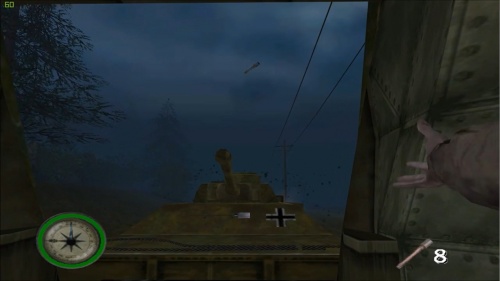
In several levels, particularly Level 1 of Needle in the Haystack (Mission 3), enemy Panzer III tanks use the MG34 Panzerlauf as their secondary weapon. Their rate of fire is much higher than the actual MG34, and their sound effect appears to be that of the MP40. They can be disabled if shot just right.
MG17
During the level "Seaside Stowaway", the player witnesses an Army jeep strafed by a German Me-109 fighter, the fighter armed with the ubiquitous MG17 machine gun as its main armament.
Special - Archive Footage
M3A1 "Grease Gun"
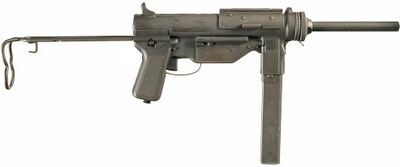
An M3A1 "Grease Gun" can be seen in the hands of an American soldier in the historical cutscene "The Choice".
Browning M2HB
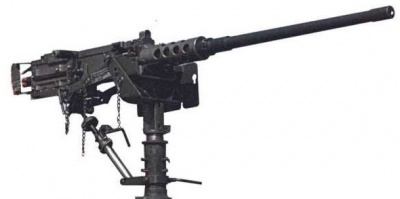
Many Browning M2HB heavy machine guns can be seen mounted on armored vehicles such as Sherman tanks and M3A1 APCs, and also the jeep carries General George S. Patton.
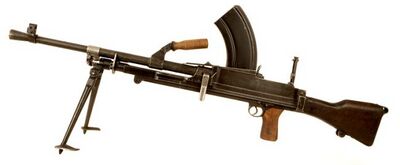
Bren
A Bren gun can be seen on a British paratrooper in the historical cutscene "Operation Market Garden".
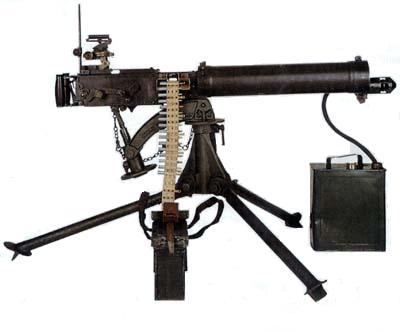
Vickers Machine Gun
A Vickers heavy machine gun can be seen being used by either British or Commonwealth soldiers in the historical cutscene "The Choice".
PPSh-41
A PPSh-41 can be seen in the hands of a Soviet soldier in the historical cutscene "On a Rail to Nowhere" and "Victory".
Mosin Nagant M91/30
Soviet Red Army infantry can be seen armed with Mosin Nagant M91/30 rifles in the historical cutscene "Operation Market Garden". Many have bayonets fixed.

